Plant garlic chive seeds in well-drained soil during spring or fall. Water regularly and ensure they receive full sunlight.
Garlic chives are a versatile herb that adds a mild garlic flavor to dishes. They grow best in well-drained soil and require full sunlight for optimal growth. Regular watering keeps the soil moist but not waterlogged. Garlic chives are low-maintenance, making them ideal for both novice and experienced gardeners.
They can be harvested multiple times throughout the growing season, ensuring a fresh supply. Additionally, garlic chives are resistant to most pests and diseases. Whether in a garden bed or container, they thrive and enhance culinary creations.

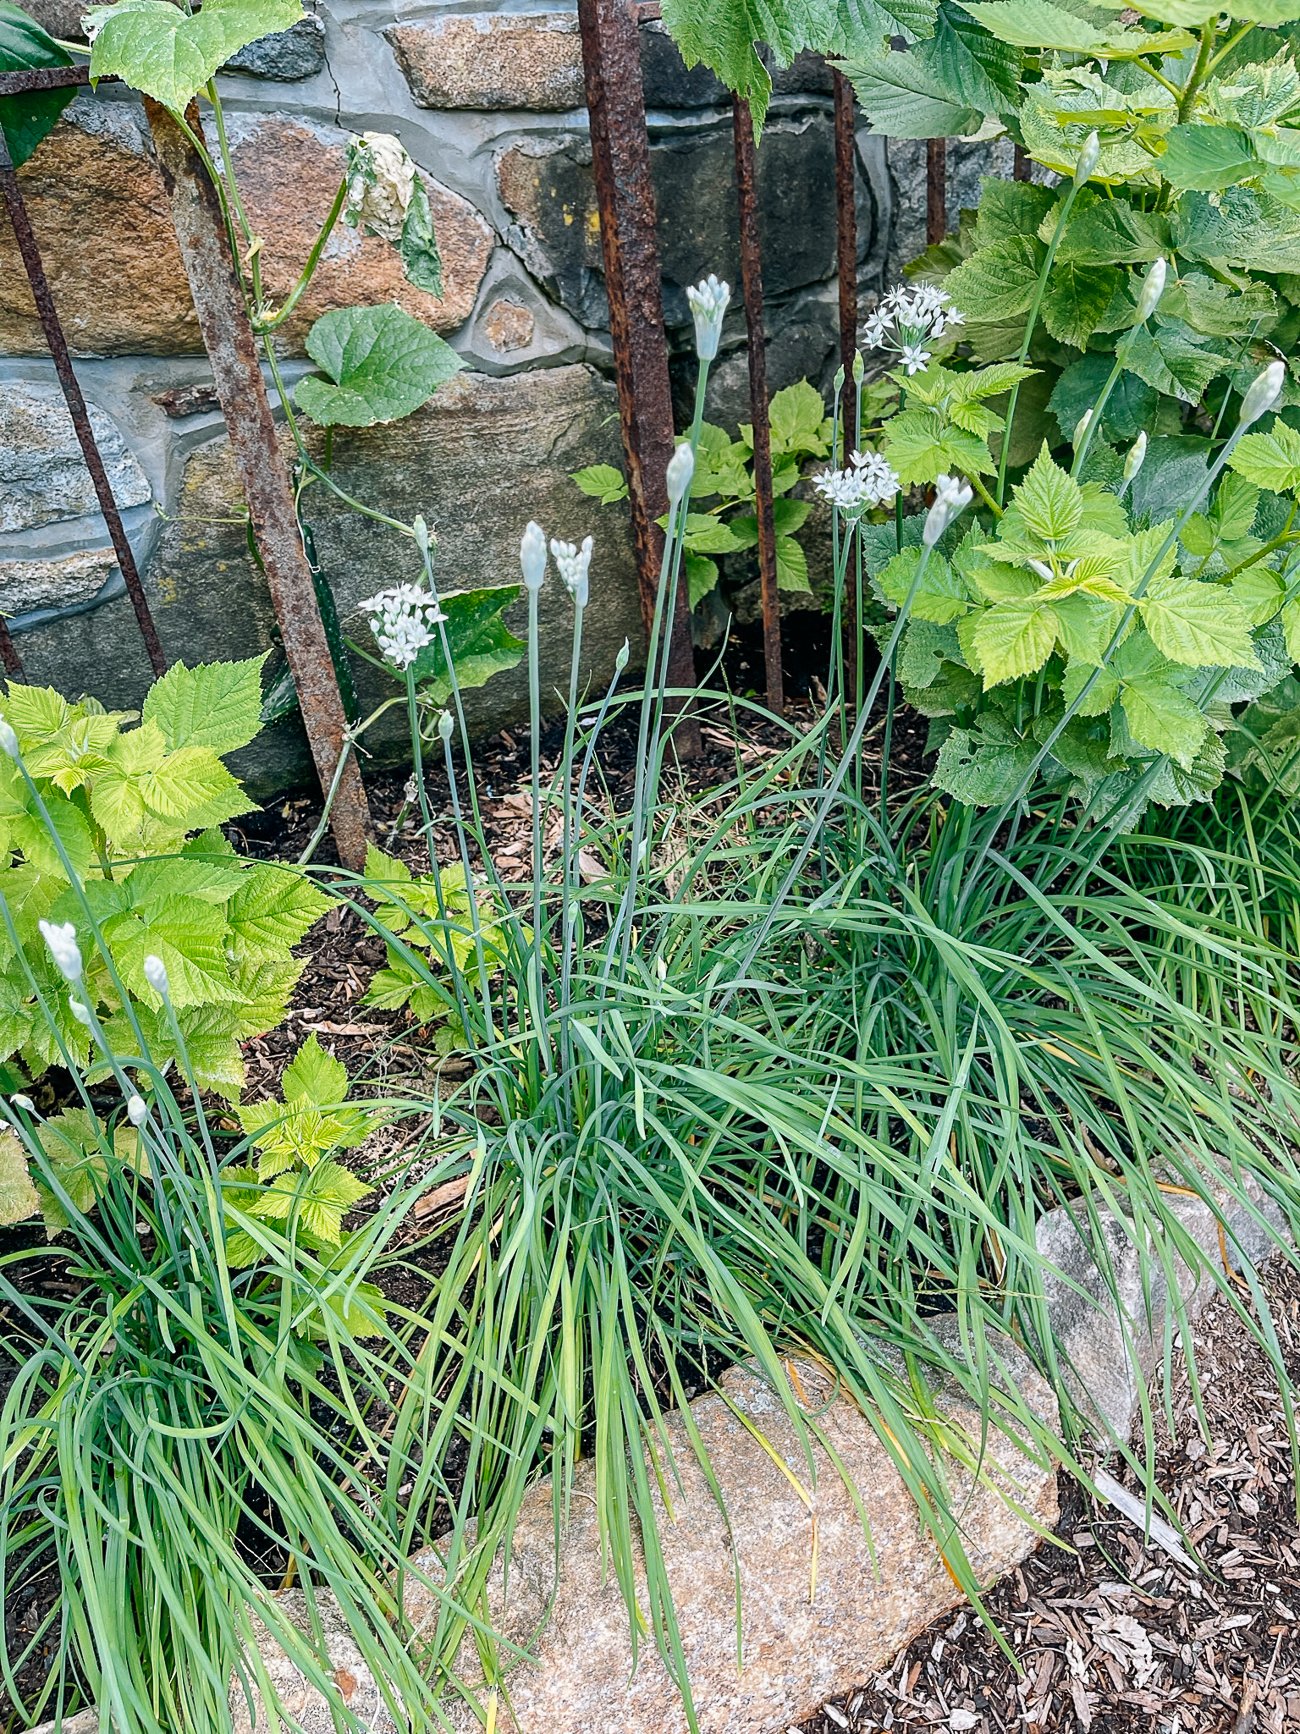
Credit: thewoksoflife.com
Choosing The Right Location
Growing garlic chives can be a rewarding experience. Choosing the right location is crucial for a healthy and robust harvest. This section will guide you through the ideal climate and soil requirements for planting garlic chives.
Ideal Climate
Garlic chives thrive best in a temperate climate. They prefer temperatures between 60°F and 70°F. These conditions allow the plants to grow vigorously. Avoid planting in areas with extreme heat or cold.
Sunlight is also essential for garlic chives. They need at least 6 hours of sunlight daily. A sunny spot in your garden would be ideal. Partial shade is acceptable but may result in slower growth.
Soil Requirements
Garlic chives prefer well-drained soil with a pH between 6.0 and 7.0. The soil should be rich in organic matter. Adding compost or aged manure can improve soil fertility.
Here’s a quick overview of soil requirements:
| Soil Property | Requirement |
|---|---|
| pH Level | 6.0 – 7.0 |
| Drainage | Well-drained |
| Organic Matter | Rich |
Ensure the soil is loose and not compacted. This allows the roots to spread easily. You can use a garden fork to loosen the soil before planting.
To summarize, choose a sunny spot with well-drained, rich soil for your garlic chives. Meeting these conditions will set you up for a successful harvest.

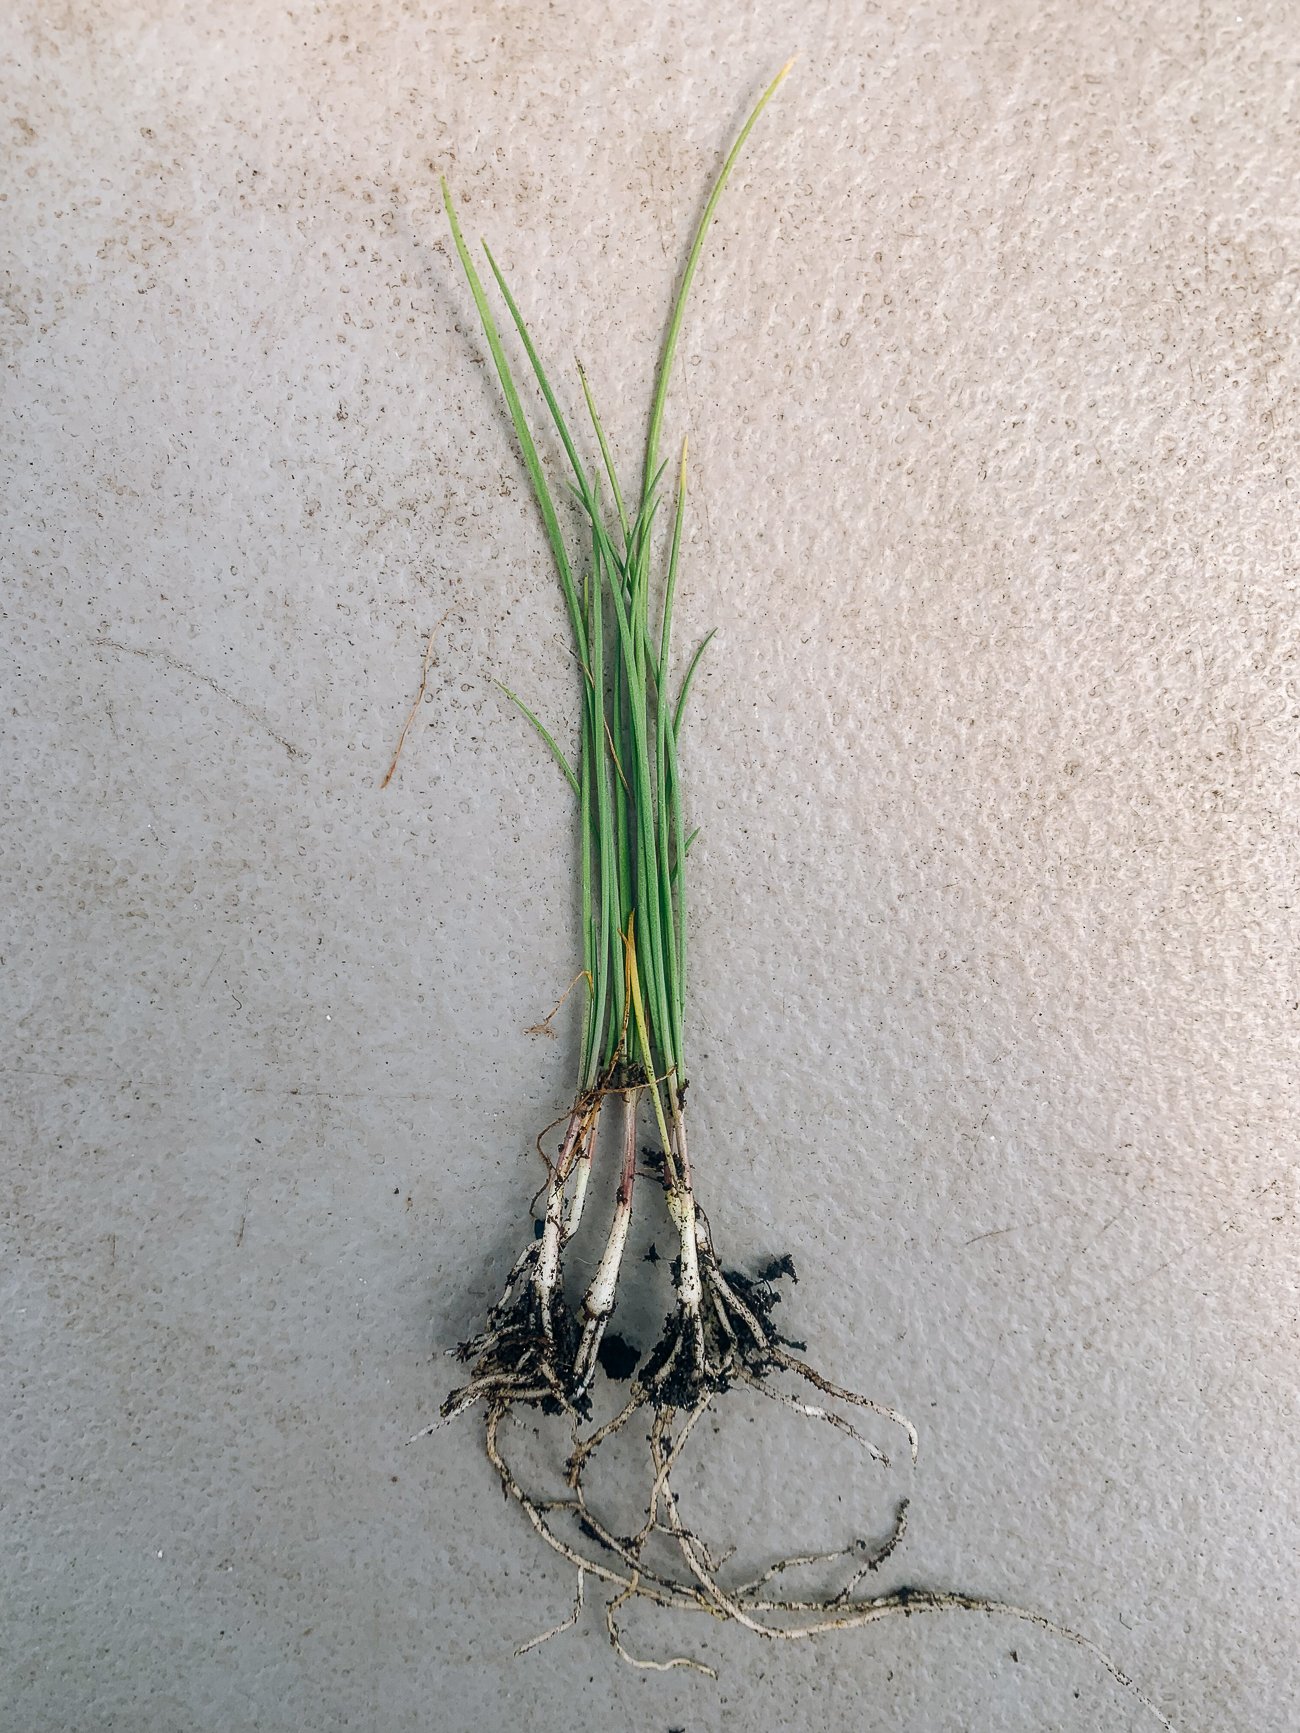
Credit: thewoksoflife.com
Planting Garlic Chives
Garlic chives are easy to grow and add flavor to many dishes. They can be grown in gardens or pots. Follow these steps to start planting garlic chives.
Starting From Seeds
Garlic chives grow well from seeds. Here is how to start:
- Fill a seed tray with potting soil.
- Sprinkle seeds evenly over the soil.
- Cover seeds with a thin layer of soil.
- Water gently but thoroughly.
Place the tray in a sunny spot. The seeds will sprout in 10 to 14 days. Keep the soil moist but not waterlogged.
Transplanting Seedlings
Seedlings need to be transplanted when they are 3 inches tall. Follow these steps:
- Choose a sunny spot in your garden.
- Dig holes 12 inches apart.
- Remove seedlings from the tray carefully.
- Place each seedling in a hole.
- Fill the holes with soil and press gently.
- Water the seedlings well.
Mulch around the plants to retain moisture. Garlic chives will be ready to harvest in 60 to 90 days.
Watering And Fertilizing
Proper watering and fertilizing are crucial for growing healthy garlic chives. These practices ensure your plants receive the necessary nutrients and moisture for optimal growth. Let’s explore the best ways to water and fertilize your garlic chives.
Watering Schedule
Garlic chives need a consistent watering schedule. Water the plants deeply once a week. Make sure the soil stays moist but not waterlogged.
In dry weather, water garlic chives twice a week. Always water the base of the plants to avoid wetting the leaves.
Use a soaker hose or drip irrigation system for even watering. This method minimizes water wastage.
Best Fertilizers
Garlic chives benefit from balanced fertilizers. Choose a fertilizer with an equal ratio of nitrogen, phosphorus, and potassium.
Apply a 10-10-10 fertilizer every four to six weeks. Follow the instructions on the fertilizer package for the correct amount.
You can also use organic compost or well-rotted manure. Add these to the soil before planting and as a top-dressing during the growing season.
| Fertilizer Type | Application Frequency | Benefits |
|---|---|---|
| 10-10-10 Fertilizer | Every 4-6 weeks | Balanced nutrients for growth |
| Organic Compost | Before planting and as needed | Improves soil structure and nutrients |
| Well-Rotted Manure | Before planting and as needed | Enhances soil fertility |
Pest And Disease Management
Growing garlic chives can be easy and rewarding. But pests and diseases can pose challenges. Managing these issues is crucial for healthy plants. Below, we discuss how to handle pests and diseases effectively.
Common Pests
Garlic chives are usually resilient. Yet, some pests can still cause damage. Here are the most common pests:
- Aphids: Small insects that suck plant sap.
- Thrips: Tiny bugs that cause leaves to curl.
- Leafminers: Larvae that tunnel through leaves.
- Onion Maggots: Larvae that feed on roots.
Preventive Measures
Preventing pests is easier than dealing with an infestation. Follow these steps to keep your garlic chives healthy:
- Plant Rotation: Rotate your crops yearly to avoid soil-borne pests.
- Companion Planting: Grow garlic chives with plants that repel pests.
- Good Drainage: Ensure soil drains well to prevent root rot.
- Regular Inspection: Check plants weekly for signs of pests.
- Healthy Soil: Use compost to improve soil quality.
Consider using natural predators like ladybugs for aphids. They help control pest populations naturally.
| Pest | Signs | Solution |
|---|---|---|
| Aphids | Sticky residue on leaves | Spray with soapy water |
| Thrips | Curled leaves | Use neem oil |
| Leafminers | Tunnels in leaves | Remove affected leaves |
| Onion Maggots | Wilting plants | Use beneficial nematodes |
Harvesting Garlic Chives
Garlic chives, also known as Chinese chives, are a popular herb. They add a mild garlic flavor to your dishes. Harvesting garlic chives at the right time ensures the best taste. Learn how to harvest them correctly for a continuous supply.
When To Harvest
The best time to harvest garlic chives is in the morning. This is when the leaves are crisp and full of flavor. You can start harvesting when the plants reach six inches tall. This usually happens 60 days after planting.
To ensure a steady supply, harvest garlic chives once every month. Regular harvesting encourages new growth. Avoid waiting too long, as older leaves can become tough.
How To Harvest
Harvesting garlic chives is simple. Use clean scissors or garden shears. Cut the chives about one inch above the soil. This method promotes healthy regrowth. Never pull the chives from the soil, as it can damage the plant.
After cutting, rinse the chives in cold water. Pat them dry with a clean towel. Store them in a plastic bag in the refrigerator. They will stay fresh for up to a week.
Harvesting Tips
- Always use clean tools to avoid spreading disease.
- Cut the leaves evenly to keep the plant looking neat.
- Rotate your harvesting spots for even growth.
Following these tips ensures a bountiful and tasty harvest. Enjoy your fresh garlic chives in various dishes!
Storing And Preserving
Garlic chives are a delicious addition to many dishes. Once harvested, it’s important to store and preserve them properly. This helps maintain their flavor and freshness. Here’s how you can do that effectively.
Fresh Storage
To keep garlic chives fresh, follow these steps:
- Wash the chives thoroughly under cold water.
- Pat them dry with a paper towel.
- Wrap the chives in a damp paper towel.
- Place the wrapped chives in a plastic bag.
- Store the bag in the refrigerator.
Fresh garlic chives can last up to a week in the fridge. This method keeps them crisp and flavorful.
Drying And Freezing
If you want to store garlic chives for a longer period, drying or freezing are great options.
Drying
- Wash and dry the chives thoroughly.
- Chop the chives into small pieces.
- Spread the pieces on a baking sheet.
- Dry them in the oven at a low temperature (around 150°F) for 2-3 hours.
- Store the dried chives in an airtight container.
Dried garlic chives can be stored for several months. They are perfect for soups and stews.
Freezing
To freeze garlic chives, follow these steps:
- Wash and dry the chives.
- Chop them into small pieces.
- Place the chopped chives in a single layer on a baking sheet.
- Freeze them for 1-2 hours.
- Transfer the frozen chives to a freezer bag or container.
Frozen garlic chives can last up to six months. They are great for quick cooking meals.
Proper storage and preservation ensure you enjoy garlic chives year-round.
Culinary Uses
Garlic chives, also known as Chinese chives, offer a unique garlicky flavor. They add an exciting twist to various dishes. These versatile herbs can enhance your cooking in delightful ways.
Popular Recipes
Garlic chives shine in many recipes. Here are some popular choices:
- Garlic Chive Pesto: Blend garlic chives, nuts, and olive oil.
- Stir-Fry: Add chopped chives to your favorite stir-fry.
- Omelets: Mix chives into eggs for a tasty breakfast.
- Dumplings: Use as a filling for homemade dumplings.
These recipes showcase the versatility of garlic chives in the kitchen.
Health Benefits
Garlic chives are not just tasty. They also offer significant health benefits:
| Benefit | Description |
|---|---|
| Rich in Vitamins | High in vitamins A and C, boosting your immune system. |
| Antioxidants | Contain antioxidants that protect your cells from damage. |
| Digestive Health | Improves digestion and reduces bloating. |
Incorporating garlic chives into your diet can improve your overall health.

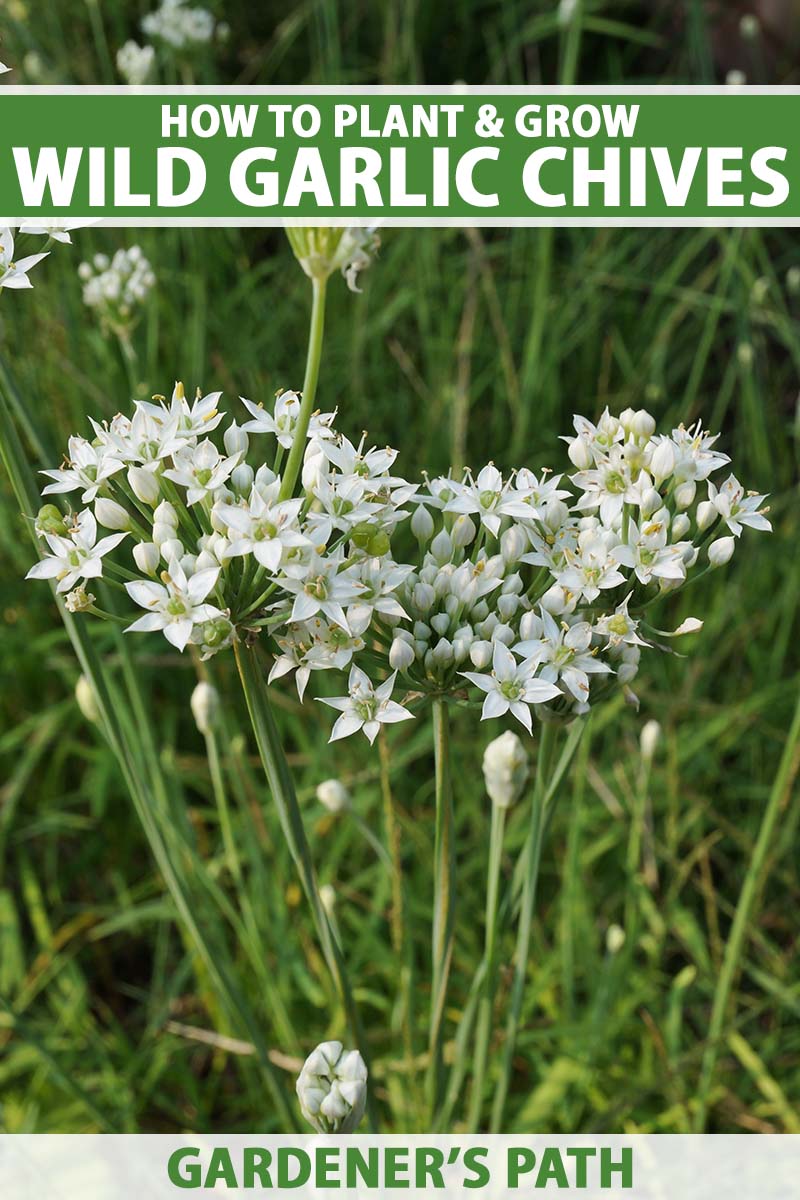
Credit: gardenerspath.com
Frequently Asked Questions
How Do You Plant Garlic Chives?
To plant garlic chives, choose a sunny spot. Sow seeds 1/4 inch deep in well-drained soil. Water regularly.
When Is The Best Time To Harvest Garlic Chives?
Harvest garlic chives when they reach 6-8 inches tall. This usually happens 60 days after planting.
How Often Should You Water Garlic Chives?
Water garlic chives regularly, ensuring the soil remains moist. Avoid waterlogging to prevent root rot.
Can Garlic Chives Grow In Pots?
Yes, garlic chives grow well in pots. Use well-draining soil and ensure the pot has drainage holes.
Conclusion
Growing garlic chives is simple and rewarding. With proper care, they thrive and enhance your garden. Enjoy fresh, flavorful harvests year-round. By following the steps outlined, you ensure healthy growth. Happy gardening! Share your experiences and tips with fellow enthusiasts.
Your garden will thank you.
