
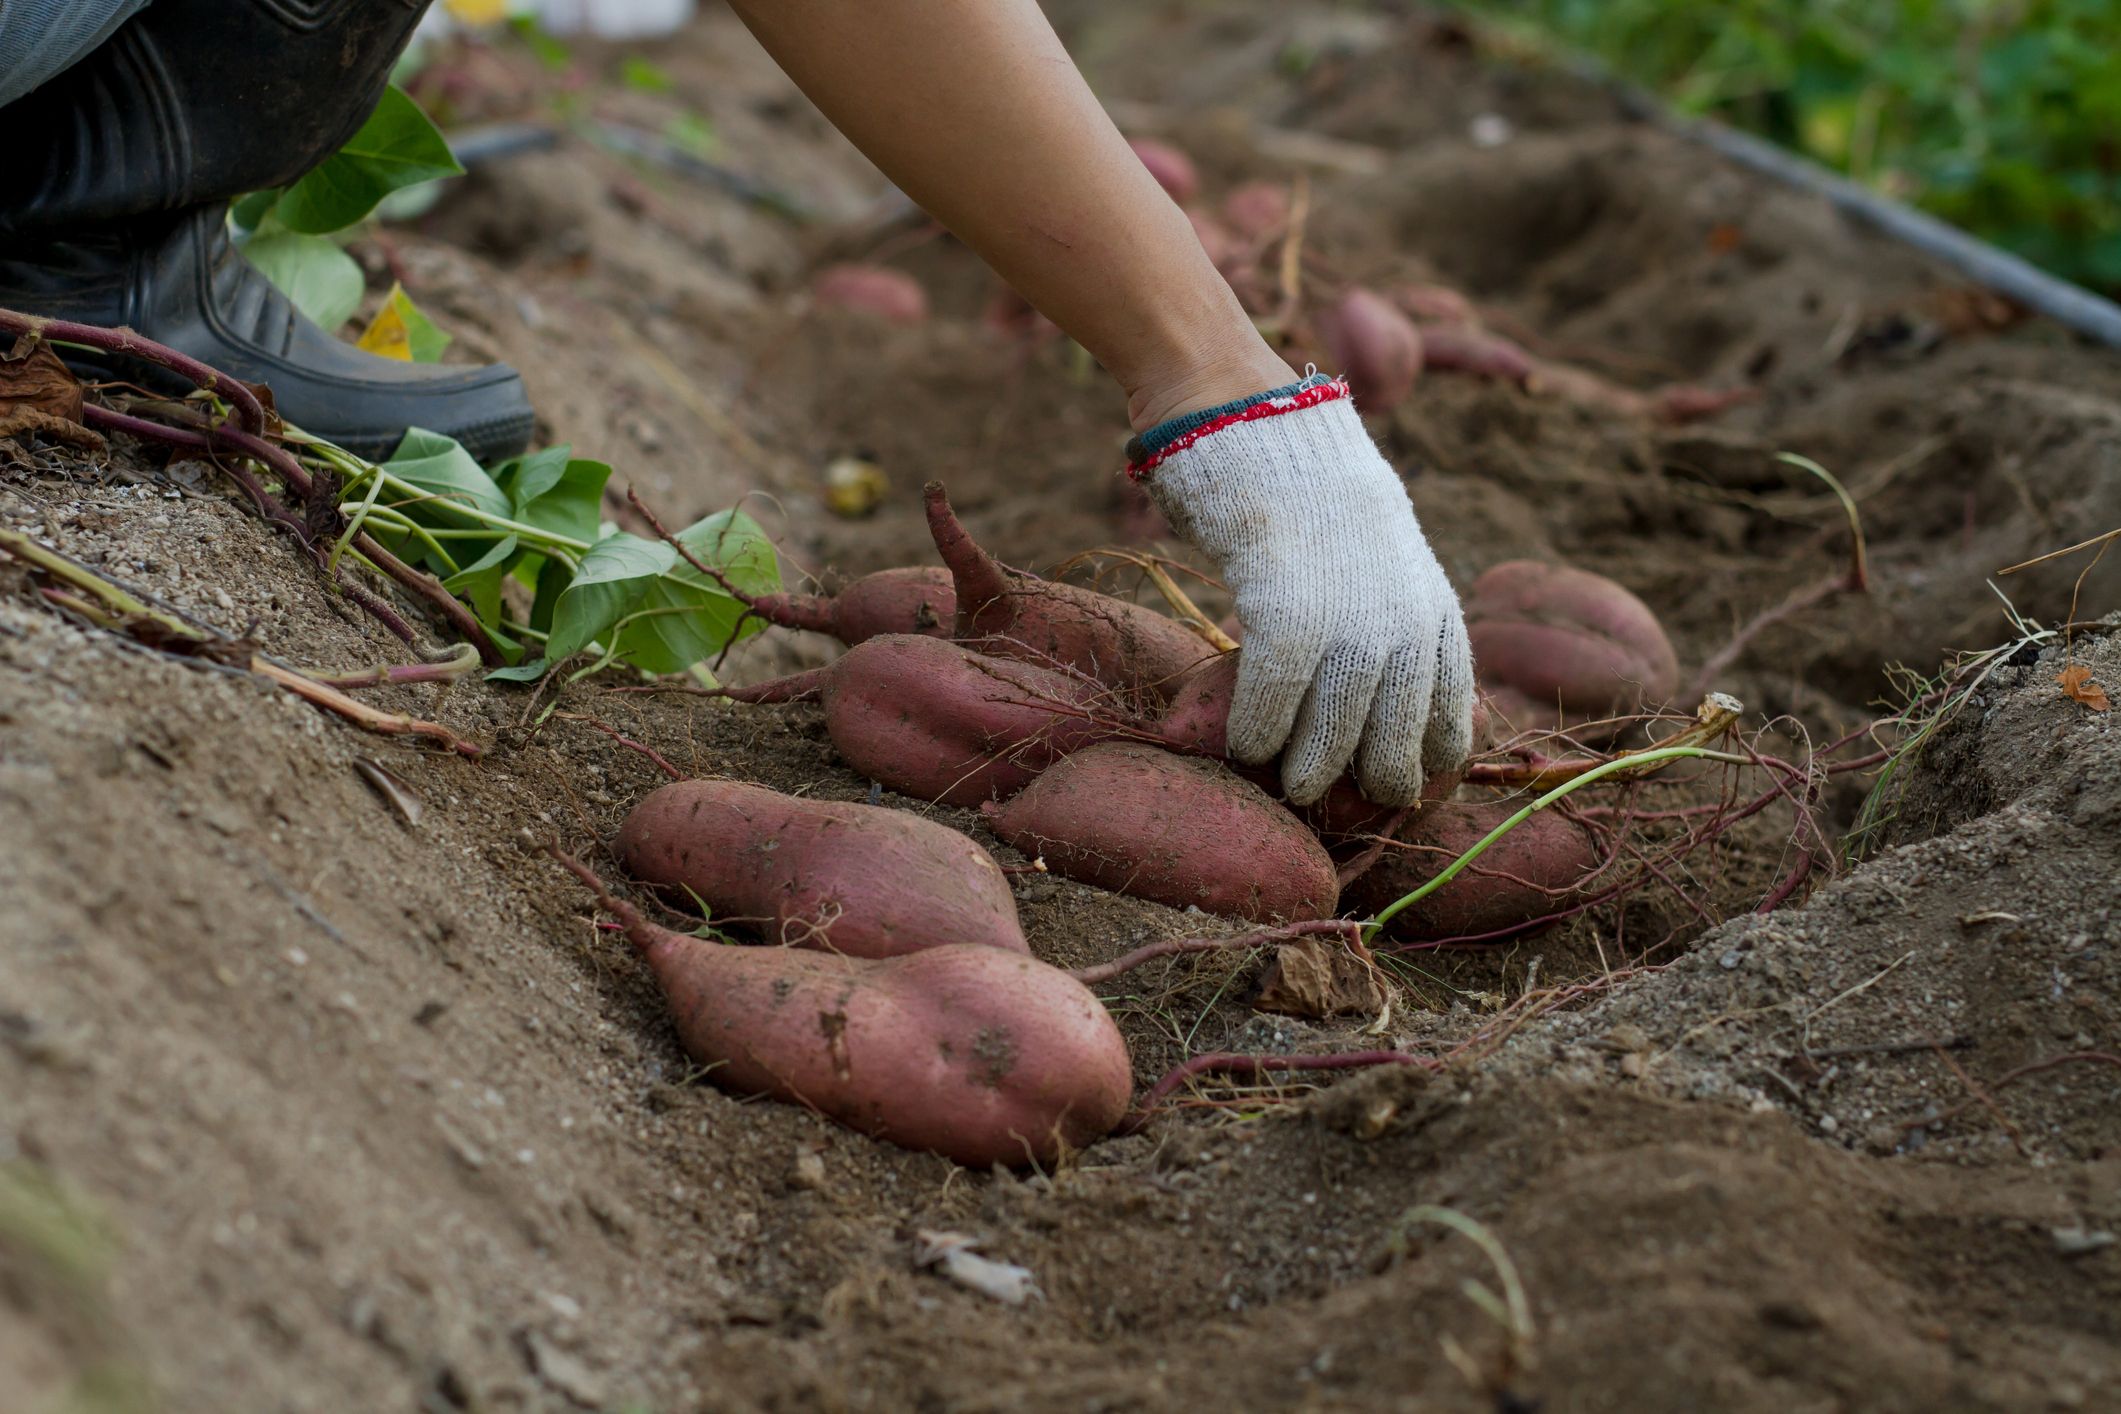
Plant sweet potato slips in well-drained soil after the last frost. Ensure they receive full sun for optimal growth.
Sweet potatoes are a nutritious and versatile crop that thrives in warm climates. They require minimal maintenance and can yield a bountiful harvest with proper care. Begin by selecting healthy slips or young plants, which are available from nurseries or online.
Plant these slips in well-drained soil, spacing them about 12 inches apart. Ensure they get at least six hours of direct sunlight daily. Water them regularly but avoid waterlogging the soil. Harvesting typically occurs around 90 to 120 days after planting, once the leaves start to yellow. Sweet potatoes are both delicious and rich in vitamins, making them a great addition to any garden.
Credit: www.goodhousekeeping.com
Choosing The Right Variety
Choosing the right variety of sweet potatoes is crucial for a successful harvest. Different types of sweet potatoes thrive in different climates and conditions. Let’s explore some popular varieties and their specific climate needs.
Popular Sweet Potato Types
| Type | Description |
|---|---|
| Beauregard | Bright orange flesh, sweet taste, and high yield. |
| Jewel | Orange flesh, moist texture, and disease-resistant. |
| Garnet | Dark red skin, deep orange flesh, and rich flavor. |
| Japanese | Pale yellow flesh, sweet, and firm texture. |
Climate Considerations
Sweet potatoes need warm temperatures to grow. They thrive in temperatures between 75°F and 95°F. Check your climate zone before planting.
- Tropical Climates: Opt for varieties like Beauregard and Jewel.
- Subtropical Climates: Garnet and Japanese varieties perform well.
- Temperate Climates: Use black plastic mulch to warm the soil.
Ensure the soil is well-drained and sandy. Avoid waterlogged areas. Plant sweet potatoes in full sun for the best results.
Credit: www.youtube.com
Preparing The Soil
Growing sweet potatoes begins with preparing the soil. Healthy soil helps sweet potatoes thrive. This section covers soil requirements and amending the soil for optimal growth.
Soil Requirements
Sweet potatoes need well-drained, loose soil. They grow best in sandy or loamy soil. The soil pH should be between 5.8 and 6.2. Ensure the soil is free from rocks and debris.
| Soil Type | pH Level |
|---|---|
| Sandy | 5.8 – 6.2 |
| Loamy | 5.8 – 6.2 |
Amending The Soil
To prepare the soil, start by removing weeds. Weeds compete for nutrients. Add compost to enrich the soil. Compost improves soil texture and adds nutrients. Mix compost into the soil at least 12 inches deep.
Consider these steps for amending the soil:
- Remove weeds and debris.
- Test soil pH.
- Add compost or well-rotted manure.
- Ensure soil is loose and well-drained.
For heavy clay soils, add sand. Sand improves drainage. This helps prevent root rot. Sweet potatoes need nutrient-rich soil. Ensure the soil is balanced for healthy growth.
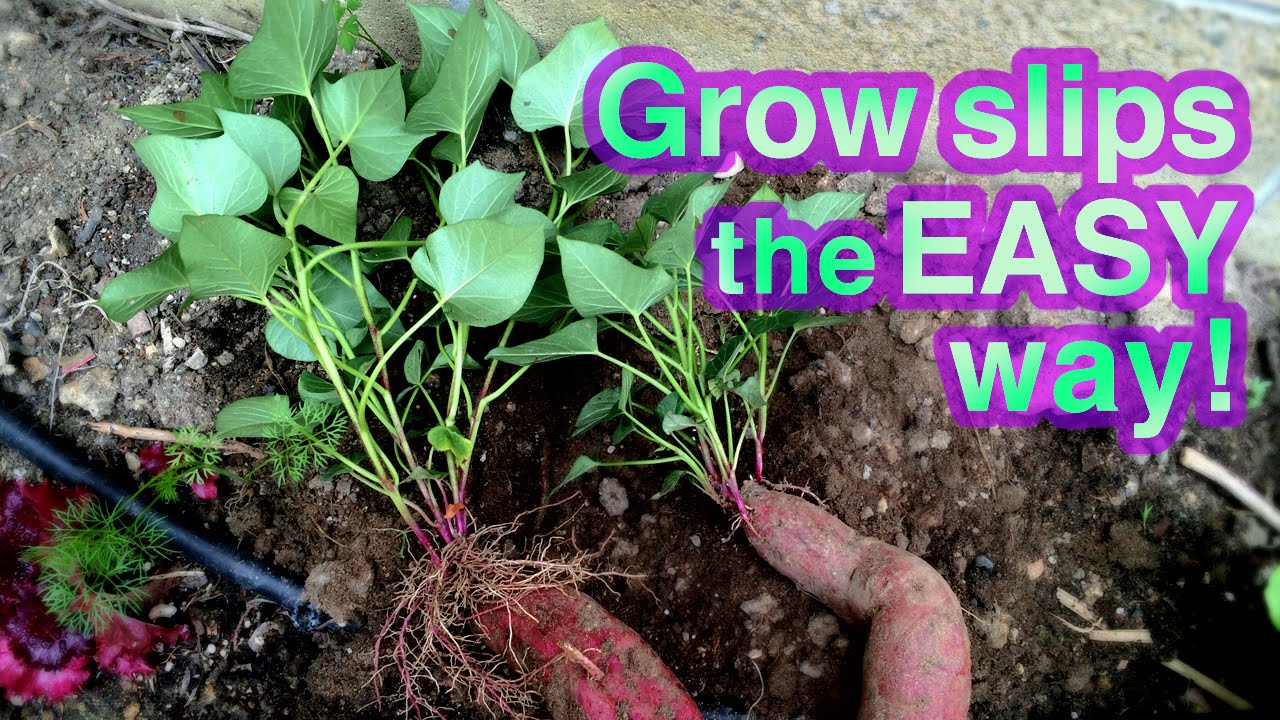
Starting From Slips
Growing sweet potatoes is an enjoyable and rewarding activity. A crucial step is starting from slips. These slips are essential for growing healthy sweet potatoes.
What Are Slips?
Slips are shoots that grow from mature sweet potatoes. They are the first step in growing new sweet potato plants.
These slips contain all the genetic material needed for new plants. They are easy to grow and manage.
How To Grow Slips
Growing slips is simple and fun. Follow these steps to start:
- Choose a healthy, mature sweet potato.
- Cut the sweet potato in half.
- Place each half in a jar of water.
- Ensure half of the sweet potato is submerged in water.
- Place the jar in a sunny spot.
After a few weeks, you will see slips forming. Change the water every few days to keep it fresh.
| Step | Action |
|---|---|
| 1 | Choose a healthy sweet potato |
| 2 | Cut it in half |
| 3 | Place in water |
| 4 | Keep in sunny spot |
| 5 | Change water regularly |
Once the slips are about 6 inches long, they are ready. Gently twist them off the sweet potato. Place the slips in water until they develop roots. Plant them in your garden or a container.
Growing slips ensures you have strong, healthy plants. This method gives the best results for your sweet potato harvest.
Planting Sweet Potatoes
Sweet potatoes are a nutritious and delicious addition to any garden. Planting them correctly ensures a bountiful harvest. This section will cover the best practices for planting sweet potatoes.
When To Plant
Timing is crucial for sweet potato planting. They thrive in warm weather. Plant them after the last frost. Ensure the soil temperature is at least 60°F (15°C). Early spring is the best time to plant in most regions.
Planting Techniques
Proper planting techniques can make or break your sweet potato harvest. Follow these steps for the best results:
- Prepare the soil: Sweet potatoes need loose, well-drained soil. Remove any rocks or debris. Add compost to enrich the soil.
- Space the slips: Plant each slip 12-18 inches apart. This spacing allows room for growth.
- Plant depth: Place each slip 4-6 inches deep. Ensure at least two leaves are above the soil.
- Watering: Water the slips immediately after planting. Keep the soil moist but not waterlogged.
Here’s a quick reference table for planting sweet potatoes:
| Task | Details |
|---|---|
| Soil Preparation | Loose, well-drained soil with compost |
| Spacing | 12-18 inches apart |
| Planting Depth | 4-6 inches deep |
| Watering | Keep soil moist |
By following these guidelines, you will set a strong foundation for your sweet potatoes. Happy gardening!
Caring For Sweet Potato Plants
Sweet potato plants need proper care to grow healthy and strong. Below are some key tips for ensuring your sweet potatoes thrive in your garden.
Watering Needs
Sweet potato plants need consistent watering. Keep the soil moist but not waterlogged. Water deeply at least once a week, especially during dry spells.
Over-watering can cause roots to rot. Make sure your soil drains well. Use mulch to retain moisture and reduce watering frequency.
Water the plants early in the morning. This helps the leaves dry quickly and prevents diseases.
Fertilizing Tips
Sweet potatoes benefit from a balanced fertilizer. Use a 10-10-10 fertilizer or compost. Apply the fertilizer before planting.
During the growing season, side-dress the plants with compost or fertilizer. Do this every 4-6 weeks.
Too much nitrogen can cause leafy growth but fewer tubers. Monitor your plants and adjust fertilizer as needed.
| Fertilizer Type | Application Frequency | Notes |
|---|---|---|
| 10-10-10 Fertilizer | Before planting | Promotes balanced growth |
| Compost | Every 4-6 weeks | Improves soil health |
| Organic Fertilizer | As needed | Use sparingly |
By following these simple tips, you can ensure your sweet potato plants get the care they need. This results in a bountiful harvest of delicious sweet potatoes.
Dealing With Pests And Diseases
Growing sweet potatoes can be rewarding. Yet, pests and diseases can affect your yield. Knowing how to manage these issues is crucial. This guide will help you tackle common pests and prevent diseases.
Common Pests
Sweet potatoes attract many pests. Here are the most common ones:
- Sweet Potato Weevil: These insects bore into roots and stems. Look for small, dark spots on the leaves.
- Wireworms: These pests are the larvae of click beetles. They eat the roots, leaving small holes.
- Aphids: Small, soft-bodied insects that suck sap from leaves. They can also spread viruses.
To manage these pests:
- Inspect your plants regularly.
- Use natural predators like ladybugs for aphids.
- Apply neem oil to deter weevils and wireworms.
Preventing Diseases
Diseases can harm your sweet potatoes. Here are some common ones:
| Disease | Symptoms |
|---|---|
| Fusarium Wilt | Yellowing leaves and wilting vines |
| Black Rot | Dark, sunken spots on roots |
| Scurf | Dark, rough patches on the skin of the roots |
Follow these steps to prevent diseases:
- Use disease-free planting material.
- Rotate crops every 2-3 years.
- Ensure proper drainage in your garden.
Healthy plants resist pests and diseases better. Regular care keeps your sweet potatoes thriving.
Harvesting Sweet Potatoes
Harvesting sweet potatoes is a rewarding process. This step determines the taste and quality of your yield. Let’s dive into the specifics of when and how to harvest sweet potatoes.
When To Harvest
Knowing when to harvest sweet potatoes is crucial. Typically, they are ready about 90-120 days after planting. Look for signs like yellowing leaves. Another indicator is the size of the tubers. You can gently dig around a plant to check.
Sweet potatoes are also sensitive to frost. Harvest before the first frost to avoid damage. Use a calendar to track your planting date. This helps you estimate the right time to harvest.
How To Harvest
Harvesting sweet potatoes requires care to avoid damage. Follow these steps for a successful harvest:
- Loosen the soil around the plant with a garden fork.
- Gently lift the plant from the base.
- Shake off excess soil from the roots.
- Carefully dig up the tubers by hand.
- Place the tubers in a basket or bucket.
After harvesting, cure the sweet potatoes to enhance their flavor. Lay them in a warm, humid place for about a week. Once cured, store them in a cool, dry area. Proper storage ensures they last longer.
| Step | Description |
|---|---|
| 1 | Loosen soil with a garden fork |
| 2 | Lift the plant gently from the base |
| 3 | Shake off excess soil |
| 4 | Dig up tubers by hand |
| 5 | Place tubers in a basket |
Harvesting sweet potatoes at the right time and with care ensures a tasty yield. Follow these steps to enjoy delicious, home-grown sweet potatoes.
Storing And Preserving
After harvesting your sweet potatoes, proper storage and preservation are essential. This ensures they remain fresh and nutritious for months. Below, we guide you through the processes of curing and storing sweet potatoes.
Curing Sweet Potatoes
Curing sweet potatoes is the first step in preserving them. This process heals any cuts or bruises on the tubers. Curing also helps develop their sweetness.
To cure sweet potatoes, follow these steps:
- Clean the sweet potatoes gently to remove any soil.
- Place them in a warm, humid environment. The ideal temperature is 85°F (29°C) with 85-90% humidity.
- Leave them in this environment for 4-7 days.
- Ensure good air circulation to prevent mold.
After curing, your sweet potatoes are ready for storage.
Storage Methods
Choosing the right storage method is crucial. It keeps sweet potatoes fresh and prevents spoilage. Here are some effective storage methods:
- Cool, Dark Place: Store cured sweet potatoes in a cool, dark place. Ideal temperature is between 55-60°F (13-16°C).
- Ventilated Container: Use a basket or a wooden crate. Ensure good air circulation to avoid moisture buildup.
- Basement or Cellar: A dry basement or root cellar can be ideal. Ensure it is not too damp.
Follow these storage tips:
| Tip | Description |
|---|---|
| Avoid Refrigeration | Refrigeration can cause hard centers and alter taste. |
| Check Regularly | Inspect sweet potatoes for any signs of spoilage. |
| Keep Dry | Ensure the storage area is dry to prevent rot. |
By following these steps, you can enjoy fresh sweet potatoes long after the harvest. Proper curing and storage are key to preserving their flavor and nutritional value.
:strip_icc()/100871876-db7b926a1d244a55ab28f532e44e16aa.jpg)
Credit: www.bhg.com
Frequently Asked Questions
How Do You Start Growing Sweet Potatoes?
To start growing sweet potatoes, plant slips in well-drained soil. Ensure they get full sun. Water consistently and mulch to retain moisture.
What Is The Best Time To Plant Sweet Potatoes?
The best time to plant sweet potatoes is in late spring. Wait until the soil is warm.
How Often Should You Water Sweet Potatoes?
Water sweet potatoes once a week. Increase watering during dry spells. Ensure soil stays moist but not waterlogged.
What Type Of Soil Is Ideal For Sweet Potatoes?
Sweet potatoes thrive in well-drained, sandy loam soil. Ensure the soil is loose for easy root development.
Conclusion
Growing sweet potatoes can be rewarding and fun. With the right steps, you can enjoy a bountiful harvest. Remember to choose the right soil and provide adequate water. Keep an eye on pests and diseases. Happy gardening and enjoy the fruits of your labor!