
To grow turmeric, plant rhizomes in well-drained soil with partial shade and water regularly. Harvest after 8-10 months.
Turmeric, a vibrant yellow spice, is famous for its health benefits and culinary uses. Originating from South Asia, this versatile root thrives in warm, humid climates. Growing turmeric at home is simple and rewarding. Start by selecting healthy rhizomes, which are the root-like stems of the turmeric plant.
Plant them in well-drained soil, ensuring they get partial shade to mimic their natural habitat. Water them consistently to keep the soil moist but not waterlogged. Within 8 to 10 months, your turmeric will be ready for harvest. Enjoy fresh, home-grown turmeric in your meals and reap its numerous health advantages.
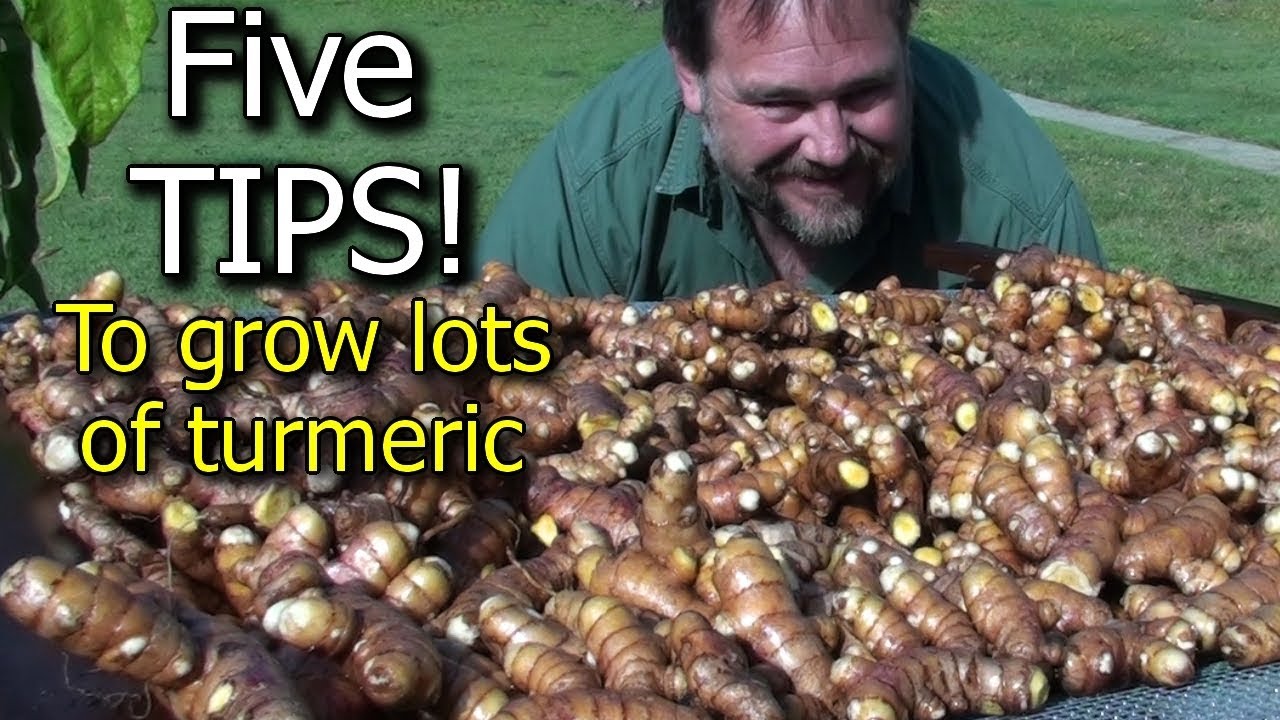
Credit: m.youtube.com
Choosing The Right Location
Choosing the right location is crucial for growing healthy turmeric. The location impacts the plant’s growth and yield. Let’s explore the ideal climate conditions and soil requirements for turmeric.
Ideal Climate Conditions
Turmeric thrives in warm and humid conditions. It prefers temperatures between 20°C and 30°C. The plant needs plenty of sunlight, at least 6-8 hours daily. Turmeric grows best in areas with high rainfall. Ensure the location is free from frost.
Soil Requirements
Turmeric requires well-drained, fertile soil. The soil pH should be between 5.5 and 7.0. Use loamy or sandy soil for better results. Ensure the soil is rich in organic matter.
| Soil Type | Suitability |
|---|---|
| Loamy | High |
| Sandy | Moderate |
| Clay | Low |
Avoid waterlogged areas to prevent root rot. Ensure good drainage to keep the roots healthy. Adding compost or manure can enhance soil fertility. Prepare the soil by tilling and removing weeds. Keep the soil loose for better root growth.

Credit: homegrownhandgathered.com
Preparing The Soil
Growing turmeric starts with preparing the soil. Healthy soil ensures robust turmeric growth. Follow these steps to get your soil ready.
Soil Testing
Testing your soil is the first step. Soil testing reveals pH levels and nutrient content. You can get a soil testing kit from a garden store. Follow the instructions carefully for accurate results.
| Soil Aspect | Ideal Range |
|---|---|
| pH Level | 5.5 – 7.0 |
| Nutrient Content | Rich in organic matter |
Adding Nutrients
Once you know your soil’s condition, you can add nutrients. Turmeric thrives in soil rich in organic matter. Consider adding compost or well-rotted manure. These materials improve soil structure and fertility.
You can also use organic fertilizers. Follow the instructions on the package. Over-fertilizing can harm the plants. Ensure even distribution of nutrients.
- Compost
- Well-rotted manure
- Organic fertilizers
Mix these materials into the top 6 inches of soil. This allows the turmeric roots to access nutrients easily.
Planting Turmeric
Planting turmeric at home is easy and rewarding. Turmeric is a tropical plant. It loves warm temperatures and ample water. Follow these steps to ensure your turmeric grows healthy and strong.
Selecting Rhizomes
Choose healthy, firm rhizomes for planting. Avoid ones that are soft or moldy. Look for rhizomes with at least one or two buds. These buds will sprout into new plants. You can buy rhizomes from a garden center or online.
Consider the source of your rhizomes. Organic rhizomes are often better. They are free from chemicals and pesticides. This can lead to healthier plants.
Planting Depth And Spacing
Plant the rhizomes 2 to 3 inches deep. This depth provides enough cover for the rhizome. It also helps retain moisture.
Space each rhizome 12 to 16 inches apart. This spacing allows enough room for growth. Proper spacing also ensures good air circulation. Good air flow reduces the risk of disease.
Plant in rows for easy maintenance. Rows should be 1 to 2 feet apart. This setup makes watering and weeding simpler.
| Depth | Spacing |
|---|---|
| 2-3 inches | 12-16 inches apart |
| 1-2 feet between rows |
Watering And Care
Growing turmeric requires proper watering and care. This ensures healthy and vibrant plants. Understanding the right techniques for watering and mulching is crucial. Below are essential practices for maintaining your turmeric plants.
Optimal Watering Schedule
Turmeric loves water but dislikes soggy soil. Water the plants deeply once a week. During hot weather, water them twice a week. Check the soil moisture before watering. Insert your finger into the soil up to two inches. If it feels dry, it’s time to water. Avoid waterlogging to prevent root rot.
Mulching Techniques
Mulching helps retain soil moisture and control weeds. Use organic materials like straw, leaves, or grass clippings. Apply a mulch layer 2-3 inches thick around the plants. Keep the mulch away from the stems to prevent rot. Mulch also adds nutrients to the soil as it decomposes.
| Mulch Material | Benefits |
|---|---|
| Straw | Retains moisture, controls weeds |
| Leaves | Improves soil structure, adds nutrients |
| Grass Clippings | Rich in nitrogen, quick to decompose |
Regular care and proper watering ensure your turmeric plants thrive. By following these techniques, you can enjoy a healthy harvest.
Pest And Disease Management
Managing pests and diseases is vital for healthy turmeric plants. Proper care ensures a strong harvest. Let’s explore the key aspects of turmeric pest and disease management.
Common Pests
Turmeric plants are susceptible to several pests. The most common pests include:
- Rhizome Fly: These flies lay eggs on the rhizomes. Larvae then damage the plant.
- Shoot Borer: This pest bores into the turmeric shoots. It weakens the plant’s structure.
- Leaf Roller: This pest causes leaves to roll and dry. It reduces photosynthesis.
Preventive Measures
Preventive measures can help control pests and diseases. Follow these steps:
- Crop Rotation: Rotate turmeric with other crops. This reduces pest buildup in the soil.
- Healthy Seed Rhizomes: Use disease-free rhizomes. Inspect them before planting.
- Proper Spacing: Space plants correctly. Good airflow prevents fungal infections.
- Regular Monitoring: Inspect plants weekly. Early detection helps manage pest attacks.
Natural Remedies
Natural remedies can also help manage pests. Consider using:
- Neem Oil: Spray neem oil on plants. It repels many pests.
- Garlic Spray: Crush garlic and mix with water. Spray on affected areas.
- Companion Planting: Grow marigolds near turmeric. They deter many harmful insects.
Following these steps ensures your turmeric plants remain healthy. Proper pest and disease management guarantees a bountiful harvest.
Harvesting Turmeric
Harvesting turmeric is an exciting part of the growing process. You finally get to see the fruits of your labor. This section will guide you through the signs of maturity and the best harvesting techniques.
Signs Of Maturity
Turmeric takes about 8 to 10 months to mature. Look for these signs to know when it’s ready:
- The leaves turn yellow and start drying up.
- The stems weaken and fall over.
- The rhizomes feel firm and plump.
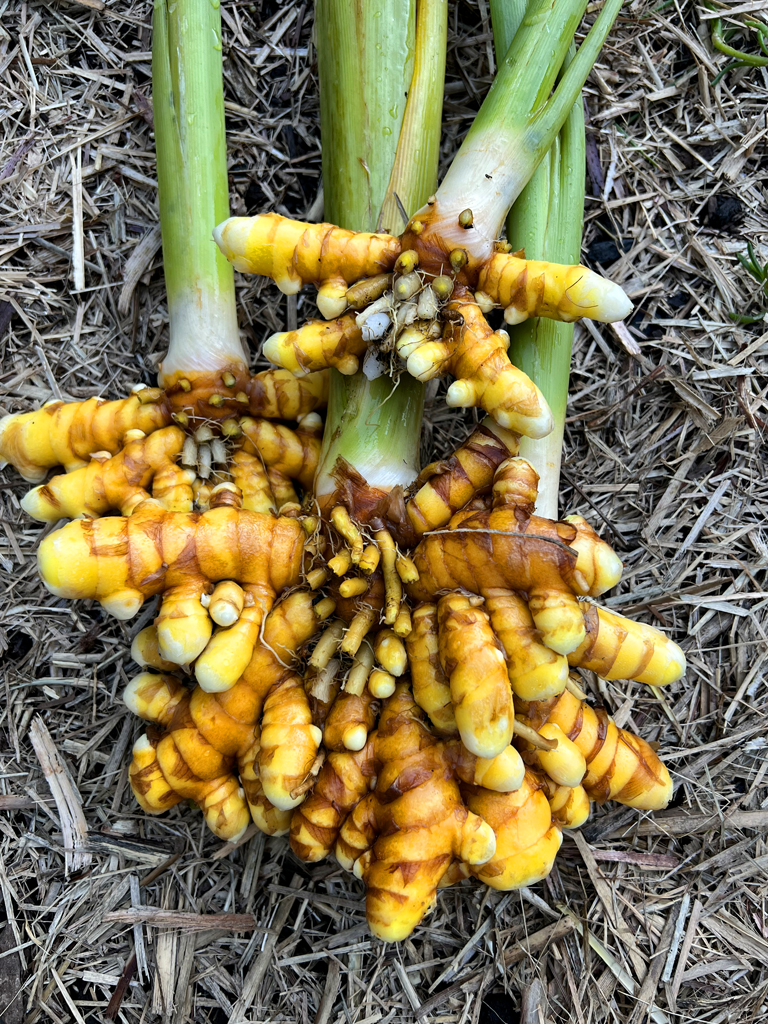
Harvesting Techniques
Follow these steps for harvesting turmeric:
- Loosen the soil: Use a garden fork to loosen the soil around the plant.
- Lift the plant: Gently lift the plant from the soil. Be careful not to damage the rhizomes.
- Separate the rhizomes: Cut the stems close to the rhizomes. Separate the mother and finger rhizomes.
- Clean the rhizomes: Wash the rhizomes thoroughly to remove dirt and soil.
After harvesting, let the rhizomes dry for a few days. This helps to reduce moisture content and improves storage life.
Storing And Using Turmeric
Harvesting turmeric is just the beginning. Proper storage keeps it fresh and flavorful. Knowing how to use it in cooking can enhance your meals. Learn the best ways to store and use your home-grown turmeric.
Storage Methods
Turmeric can be stored in several ways to maintain its quality. Here are some effective methods:
- Fresh Turmeric: Wrap in a paper towel. Place in a plastic bag. Store in the fridge. This keeps it fresh for weeks.
- Dried Turmeric: Slice thinly. Dry in the sun or a dehydrator. Store in an airtight container.
- Turmeric Powder: Grind dried slices into powder. Store in an airtight jar. Keep in a cool, dark place.
Culinary Uses
Turmeric is versatile and adds flavor and color to many dishes. Below are some popular culinary uses:
- Spice Blends: Use in curry powders and spice mixes.
- Golden Milk: Mix with milk, honey, and spices for a warm drink.
- Soups and Stews: Add to soups and stews for extra flavor.
- Rice Dishes: Incorporate into rice for a vibrant color.
- Marinades: Use in marinades for meats and vegetables.
Storing and using turmeric correctly enhances its shelf life and flavor. Enjoy the benefits of your home-grown turmeric in various dishes.
Credit: thegourmanticgarden.com
Frequently Asked Questions
How Long Does Turmeric Take To Grow?
Turmeric typically takes 8 to 10 months to grow. It thrives in warm, humid climates. Ensure well-drained soil and regular watering.
What Soil Is Best For Turmeric?
Turmeric grows best in well-drained, fertile soil. Sandy loam soil is ideal. Ensure the soil is rich in organic matter.
Can Turmeric Be Grown Indoors?
Yes, turmeric can be grown indoors. Use a large pot with good drainage. Place it in a sunny spot.
How Often Should I Water Turmeric?
Water turmeric regularly but avoid waterlogging. Keep the soil consistently moist. Overwatering can lead to root rot.
Conclusion
Growing turmeric is rewarding and straightforward. With the right conditions and care, you can enjoy a bountiful harvest. Remember to provide ample sunlight, water, and well-drained soil. Harvest your turmeric when the leaves turn yellow. Enjoy the health benefits and flavors of homegrown turmeric in your culinary creations.
Happy gardening!