
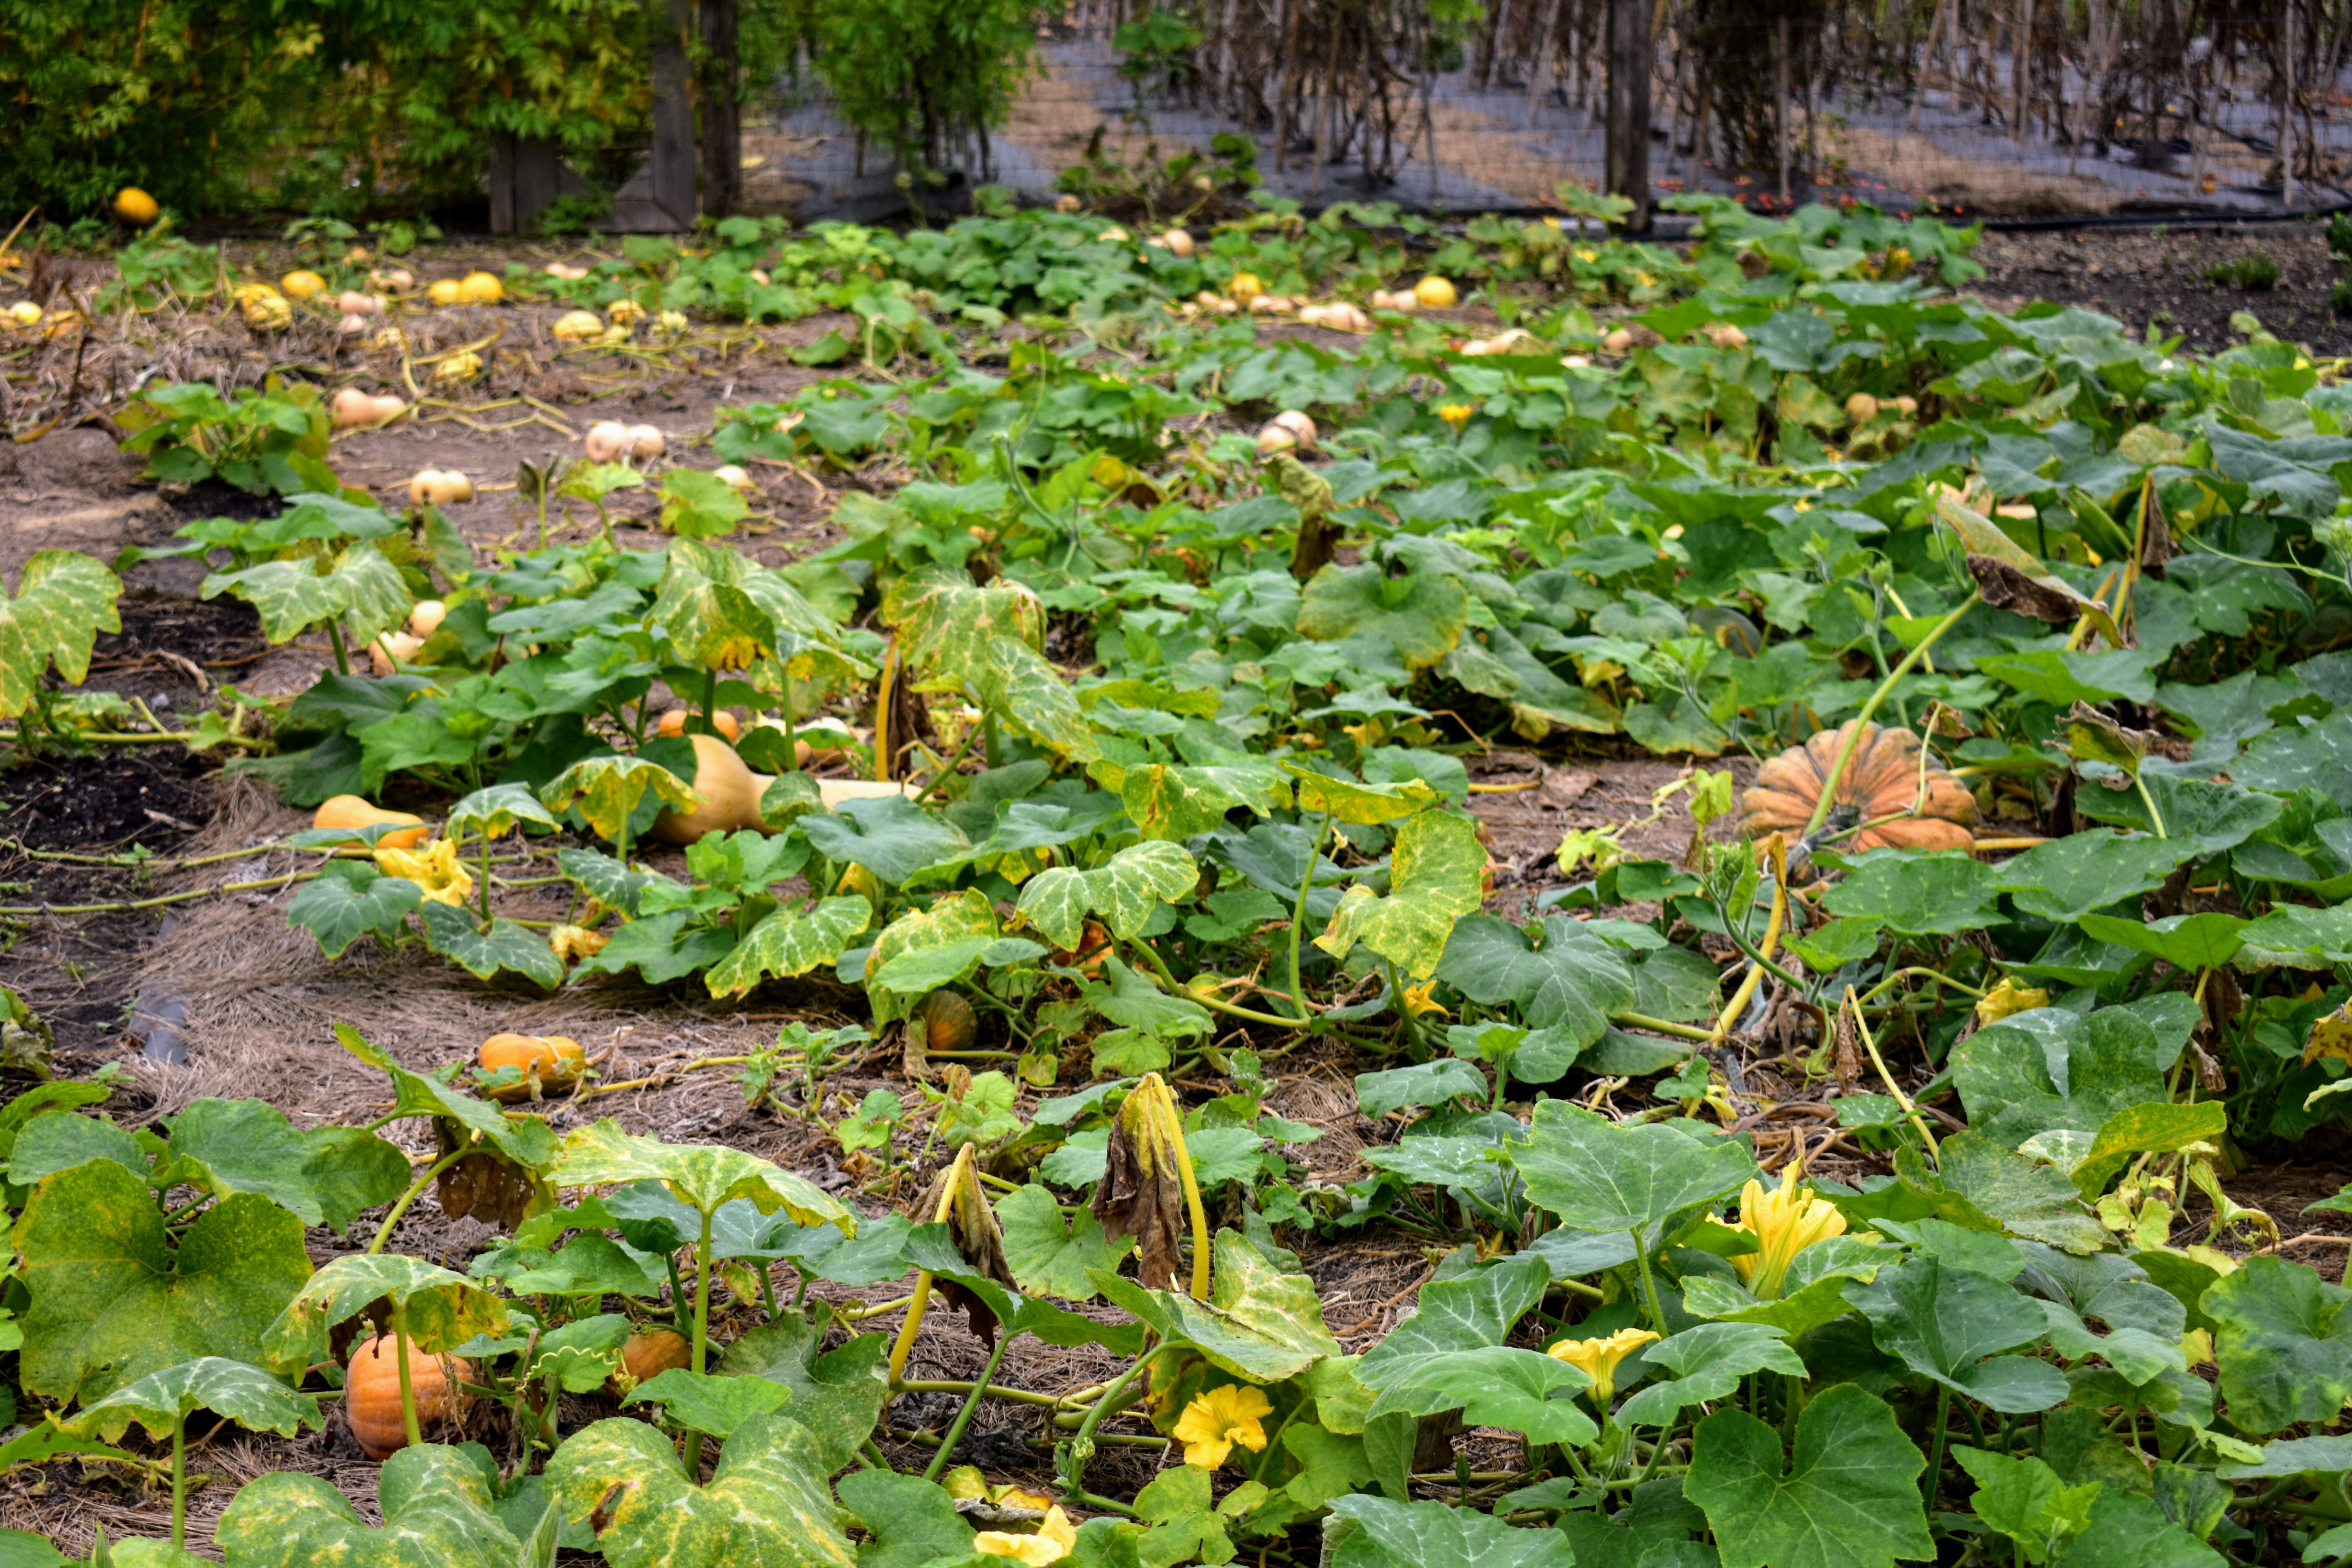
To grow winter squash, plant seeds in rich, well-drained soil after the last frost. Ensure they receive full sunlight and consistent watering.
Winter squash is a versatile and nutritious vegetable that thrives in warm weather. Start by selecting a sunny location with well-drained soil rich in organic matter. Plant seeds after the last frost date for your area, spacing them about three feet apart to allow for sprawling vines.
Regular watering is crucial, especially during dry spells, but avoid overwatering to prevent root rot. Mulching helps retain soil moisture and control weeds. Harvest mature squash before the first heavy frost. With proper care, winter squash can provide a bountiful and delicious harvest for your table.

Credit: m.youtube.com
Choosing The Right Varieties
Growing winter squash can be a rewarding experience. The key to success is choosing the right varieties. Different types of winter squash have unique flavors and growing requirements. This section will help you choose the best varieties for your garden.
Popular Types
There are many popular types of winter squash. Here are some favorites:
- Butternut Squash: Known for its sweet, nutty flavor.
- Acorn Squash: Small, ribbed, and perfect for baking.
- Spaghetti Squash: Forms noodle-like strands when cooked.
- Hubbard Squash: Large, with a hard shell and sweet flesh.
Disease-resistant Options
Choosing disease-resistant varieties can save you time and effort. Here are some great choices:
| Variety | Resistant To |
|---|---|
| Honey Nut | Powdery Mildew |
| Delicata | Fusarium Wilt |
| Sweet Dumpling | Downy Mildew |
These varieties offer a good balance of taste and hardiness. By choosing the right winter squash, you set yourself up for a bountiful harvest.

Credit: homesteadandchill.com
Preparing The Soil
To grow healthy winter squash, the soil needs proper preparation. Ensuring the soil is rich and well-drained is essential. Let’s dive into the details of getting your soil ready.
Ideal Soil Conditions
The ideal soil for winter squash should be loamy and well-drained. It must have a pH level between 6.0 and 6.8. Ensure the soil is rich in organic matter. This promotes healthy root growth and nutrient absorption.
Amendments And Fertilizers
Adding amendments improves soil structure and fertility. Here are some common soil amendments:
- Compost: Adds organic matter and nutrients.
- Well-rotted manure: Enhances soil fertility and structure.
- Peat moss: Improves soil texture and water retention.
For fertilizers, use balanced options like 10-10-10. This ensures the soil has enough nitrogen, phosphorus, and potassium. Apply these fertilizers as per the instructions on the package. Over-fertilizing can harm plants, so follow guidelines carefully.
| Amendment | Benefit |
|---|---|
| Compost | Boosts nutrient levels |
| Well-rotted manure | Improves fertility |
| Peat moss | Enhances soil texture |
Before planting, test your soil. This helps you understand its current state. Adjust amendments and fertilizers based on test results. This ensures your winter squash gets the best start.
Planting Techniques
Growing winter squash can be a rewarding experience. To ensure a bountiful harvest, using the right planting techniques is crucial. In this section, we’ll explore the best methods to plant winter squash, including starting seeds indoors and transplanting seedlings.
Starting Seeds Indoors
Start winter squash seeds indoors for the best results. This gives them a head start before moving outdoors.
- Use small pots or seed trays.
- Fill them with nutrient-rich potting soil.
- Plant seeds 1 inch deep in the soil.
- Keep the soil moist but not soggy.
- Place pots in a warm, sunny spot or under grow lights.
Seeds typically germinate in 7 to 10 days. Once the seedlings have two true leaves, they are ready for transplanting.
Transplanting Seedlings
Transplant seedlings outdoors after the last frost date.
- Prepare the garden bed by loosening the soil and adding compost.
- Harden off seedlings by placing them outside for a few hours each day.
- Dig holes 3 feet apart in all directions.
- Gently remove seedlings from pots, taking care not to damage roots.
- Place each seedling in a hole and fill with soil.
- Water thoroughly to help plants settle in.
Ensure the garden bed receives full sun and has well-drained soil. Mulch around the plants to retain moisture and control weeds.
Credit: www.themarthablog.com
Watering And Irrigation
Proper watering is essential for growing healthy winter squash. They need consistent moisture to develop. Too much or too little water can harm them. Let’s dive into the best practices for watering and irrigation.
Watering Schedule
Winter squash plants need regular watering. Water deeply once a week. This helps the roots grow strong. If the weather is hot, water more often. Check the soil moisture before watering. The top 1-2 inches should be dry.
Efficient Irrigation Methods
Using efficient irrigation methods saves water and keeps plants healthy.
- Drip Irrigation: Delivers water directly to the roots. This reduces water loss from evaporation.
- Soaker Hoses: Lay these hoses on the soil. They slowly release water, ensuring even soil moisture.
- Mulching: Cover the soil with mulch. It helps retain moisture and reduces weed growth.
| Method | Advantages |
|---|---|
| Drip Irrigation | Reduces evaporation, targets roots, saves water |
| Soaker Hoses | Even moisture distribution, easy to set up |
| Mulching | Retains moisture, reduces weeds |
Use these methods to keep your winter squash plants hydrated. This will ensure they grow strong and healthy.
Managing Pests And Diseases
Winter squash can be prone to pests and diseases. Proper management is essential to ensure a healthy crop. By understanding common pests and organic control methods, you can protect your plants effectively.
Common Pests
Several pests frequently attack winter squash. Here are some common ones:
- Squash Bugs: These bugs suck the sap from leaves, causing them to wilt.
- Cucumber Beetles: These beetles chew on leaves and can spread bacterial wilt.
- Squash Vine Borers: These larvae burrow into stems, causing plants to wilt and die.
- Aphids: These small insects suck plant juices, leading to distorted growth.
Organic Control Methods
Using organic methods helps maintain a healthy garden ecosystem. Here are some effective techniques:
- Companion Planting: Planting flowers like marigolds can repel pests.
- Hand-Picking: Regularly inspect plants and remove visible pests by hand.
- Neem Oil: Apply neem oil to leaves to deter insects.
- Row Covers: Use floating row covers to protect young plants from pests.
- Beneficial Insects: Introduce ladybugs and lacewings to eat pests.
Here is a summary table for quick reference:
| Pest | Organic Control Method |
|---|---|
| Squash Bugs | Hand-Picking, Neem Oil |
| Cucumber Beetles | Companion Planting, Row Covers |
| Squash Vine Borers | Hand-Picking, Row Covers |
| Aphids | Beneficial Insects, Neem Oil |
Supporting Growth
Winter squash needs proper support to thrive. Supporting growth means healthier plants and better yields. Here are some effective methods to support your winter squash.
Using Trellises
Trellises help squash grow vertically, saving space. Use strong materials like wood or metal for your trellis. Secure the trellis firmly in the ground.
Guide the squash vines up the trellis gently. Use soft ties to secure the vines to the trellis. This keeps the squash off the ground, reducing rot and pests.
- Materials: Wood, metal
- Benefits: Saves space, reduces rot, prevents pests
- Steps:
- Secure trellis in the ground
- Guide vines up the trellis
- Use soft ties to secure vines
Pruning Techniques
Pruning helps control the growth of winter squash. Remove dead or yellow leaves regularly. This improves air circulation and prevents disease.
Cut back long vines to focus energy on fruit production. Use clean, sharp scissors to prune. Be gentle to avoid damaging the plant.
| Technique | Benefits |
|---|---|
| Remove dead leaves | Improves air circulation, prevents disease |
| Cut back long vines | Focuses energy on fruit production |
Harvesting Tips
Harvesting winter squash at the right time ensures the best flavor and storage life. Follow these tips to get the most from your crop.
When To Harvest
The best time to harvest winter squash is before the first frost. Check for a hard rind and deep color. The stem should be dry and brown. A green stem means the squash is not ready yet.
Use a thumbnail to test the rind. If it is hard to pierce, the squash is ready. Harvest all squash before the first heavy frost. Frost can damage the squash and shorten its storage life.
Proper Harvesting Techniques
Use sharp pruning shears or a knife to cut the squash. Leave 2-3 inches of stem attached. This helps prevent rot during storage.
Handle the squash gently to avoid bruises. Place them in a dry, shaded area for curing. Curing helps harden the skin and improves storage time.
| Step | Action |
|---|---|
| 1 | Check for a hard rind and deep color. |
| 2 | Use sharp tools to cut the stem. |
| 3 | Leave 2-3 inches of stem attached. |
| 4 | Handle gently to avoid bruises. |
| 5 | Cure in a dry, shaded area. |
Storing And Preserving
Storing and preserving winter squash ensures you enjoy your harvest longer. Proper techniques help maintain the squash’s flavor and texture. Let’s explore how to cure and store your winter squash effectively.
Curing Squash
Curing squash is the first step to long-term storage. This process helps toughen the skin and seal any cuts.
- Harvest squash leaving a few inches of stem.
- Place the squash in a warm, dry area.
- Ensure good air circulation around each squash.
- Keep the squash at 80-85°F for 10 days.
- Turn the squash periodically to ensure even curing.
Storage Methods
Once cured, proper storage methods are essential to extend shelf life.
| Storage Method | Temperature | Humidity | Duration |
|---|---|---|---|
| Cool, Dry Storage | 50-55°F | 50-70% | 2-6 months |
| Refrigeration | 40-50°F | Higher than 70% | 1-2 months |
Ensure the storage area is dark and well-ventilated. Avoid stacking squash directly on the floor.
- Place squash on wooden shelves or pallets.
- Inspect squash regularly for signs of rot.
- Remove any damaged squash immediately to prevent spreading.
By following these methods, you can enjoy your winter squash throughout the season.
Frequently Asked Questions
How Do You Plant Winter Squash Seeds?
Plant winter squash seeds in well-drained soil after the last frost. Space seeds about 3 feet apart. Water regularly and ensure full sun exposure.
When Is The Best Time To Harvest Winter Squash?
Harvest winter squash when the skin is hard and the stem is dry. Typically, this is in late summer or early fall.
What Is The Ideal Soil For Winter Squash?
Winter squash thrives in well-drained, fertile soil. Ensure the soil is rich in organic matter and has a pH between 6. 0 and 6. 8.
How Often Should You Water Winter Squash?
Water winter squash deeply once a week. Ensure the soil stays consistently moist but not waterlogged. Mulch to retain moisture.
Conclusion
Growing winter squash can be both rewarding and enjoyable. Follow the steps outlined for a bountiful harvest. Remember to water consistently and watch for pests. With patience and care, your garden will thrive. Enjoy the delicious, home-grown squash all season long.
Happy gardening!