Zinnias are some of the most colorful and easy-to-grow flowers you can have in your garden. They thrive in a variety of climates and add a bright touch to any outdoor space. Plus, they require minimal care, making them perfect for both experienced and novice gardeners.
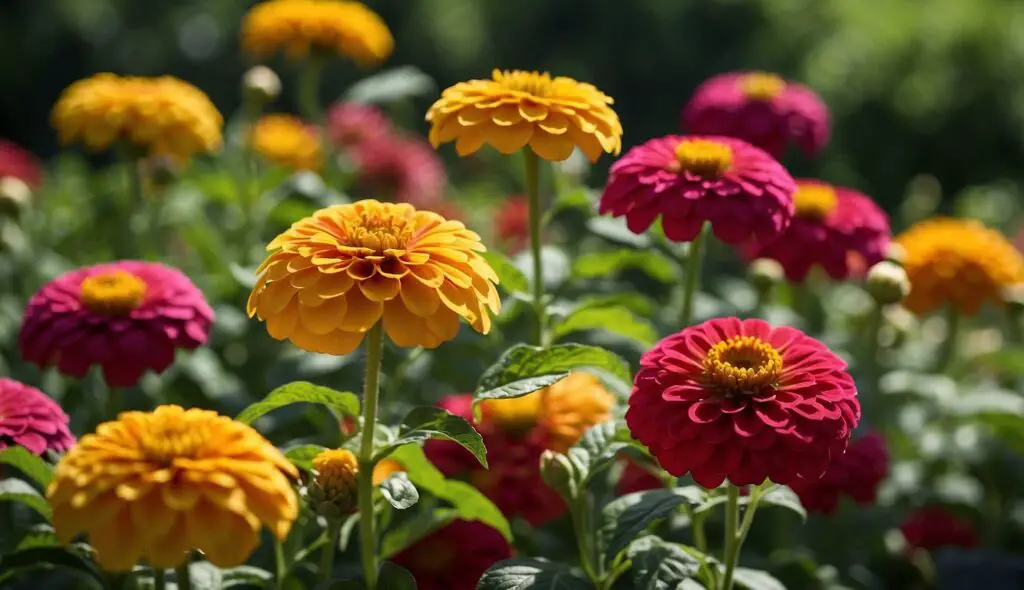
Ever wondered how to grow zinnias that bloom brilliantly and last all season? Whether you’re planting them in beds or containers, there are helpful tips to ensure your zinnias grow strong and stay vibrant. Let’s look at what you need to know to get the most out of these beautiful flowers.
1. Select a sunny location
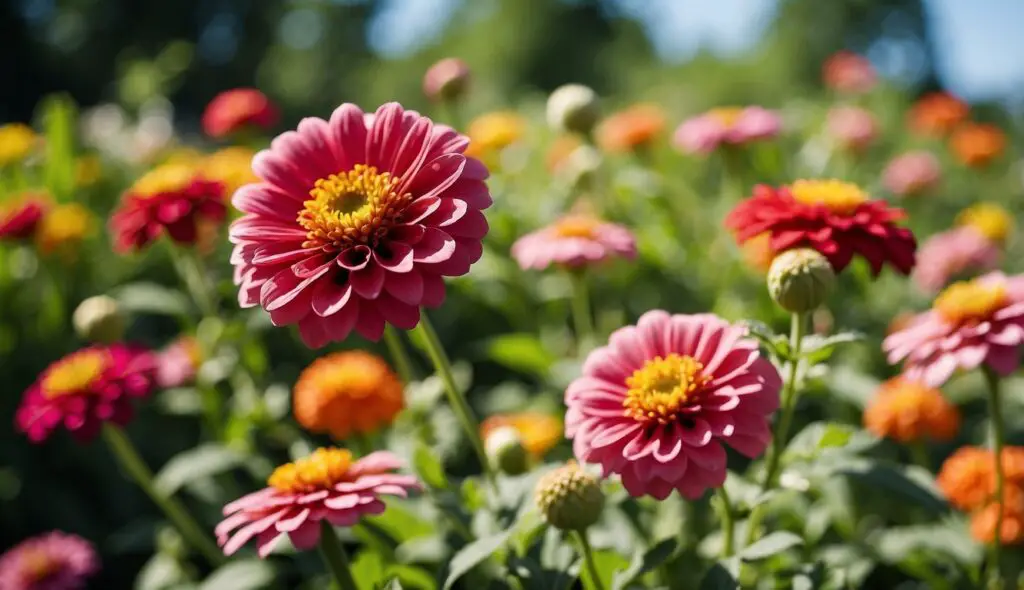
Zinnias love the sun. They need at least six hours of sunlight every day. A sunny spot helps them grow strong and vibrant.
Too much shade can make them weak. They might grow tall and spindly instead of healthy and bushy. So, find the sunniest place in your garden.
If you have big trees, avoid planting zinnias in their shadow. Keep them in open spaces. This way, they get all the sunlight they need.
Morning sun is the best for zinnias. It helps dry off any morning dew, reducing the risk of diseases.
Remember, good sunlight leads to more flowers. If you want a colorful garden, sun is your friend!
2. Use well-draining soil
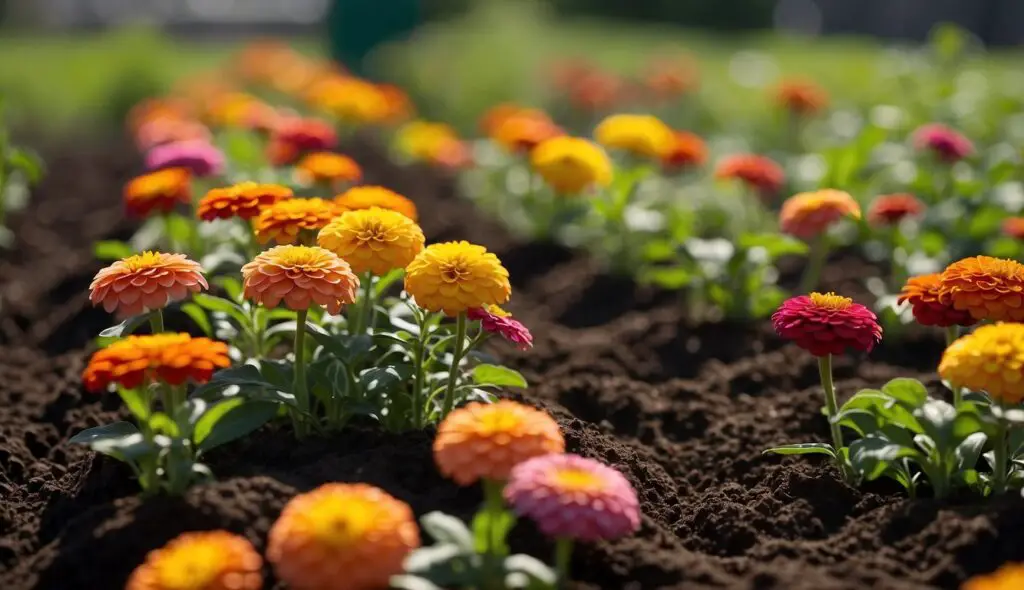
Zinnias love well-draining soil. If the soil holds too much water, zinnias can get root rot. This is bad news for your plants!
One way to improve soil drainage is to mix in some sand or compost. This helps the water move through the soil better. Plus, compost adds nutrients that zinnias love.
Another tip is to plant your zinnias in raised beds. Raised beds improve drainage by lifting the soil above the ground. This way, water doesn’t stay around the roots too long.
You can also use pots with drainage holes. Make sure the pots are not sitting in water. Empty saucers under pots to avoid water buildup.
Check the drainage by watering the soil before planting. If the water drains quickly, you’re good to go. If not, add more sand or compost. Testing soil early can save a lot of headaches later.
Avoid clay-heavy soils. They hold too much water and can suffocate your zinnias. Sandy or loamy soil types are best. These soils let water flow freely, keeping your plants happy.
Lastly, mulch around your zinnias. Mulch helps keep the soil loose and improves drainage. Just make sure not to pile mulch against the stems.
3. Start Seeds Indoors
Planting zinnia seeds indoors can give you a head start. It’s fun and easy, and the results are worth it.
Find a sunny spot inside your home. Choose a place where your seeds can get at least 6 hours of sunlight each day. If you don’t have enough sunlight, you can use grow lights.
Use small pots or seed trays. Fill them with seed-starting mix, not regular soil. This mix is light and helps seeds sprout faster.
Plant the seeds about 1/4 inch deep. Keep the soil moist but not too wet. Water gently so you don’t wash the seeds away.
Keep the temperature between 70-75°F for best results. You can cover the pots with plastic wrap to keep in moisture, but make sure to remove it once the seeds sprout.
Once the seedlings have 2-3 leaves, you can start getting them used to the outdoors. This is called hardening off. Place them outside for a few hours each day, increasing the time daily.
After the last frost date, you can plant your young zinnias in the garden. They will be stronger and will bloom sooner.
4. Space plants properly
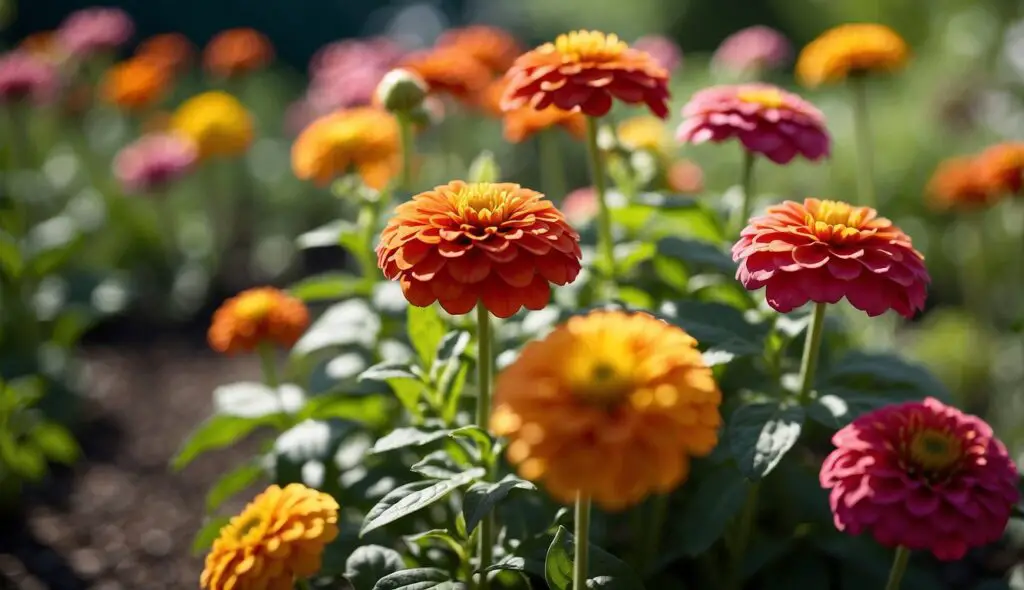
Planting zinnias too close together can cause problems. They need room to grow and spread out. Aim to plant them 12-18 inches apart. This helps the air move between the plants, which keeps them healthy and reduces the chance of diseases.
Crowded plants compete for nutrients. Giving them space ensures each zinnia gets what it needs. Plants with enough space will also have more room to grow strong stems. This is important because weak stems break easily.
If you’re planting in rows, keep at least 30 inches between each row. This makes it easier for you to water and tend to each plant. Plus, it gives you enough room to enjoy the full beauty of your zinnias.
5. Water regularly
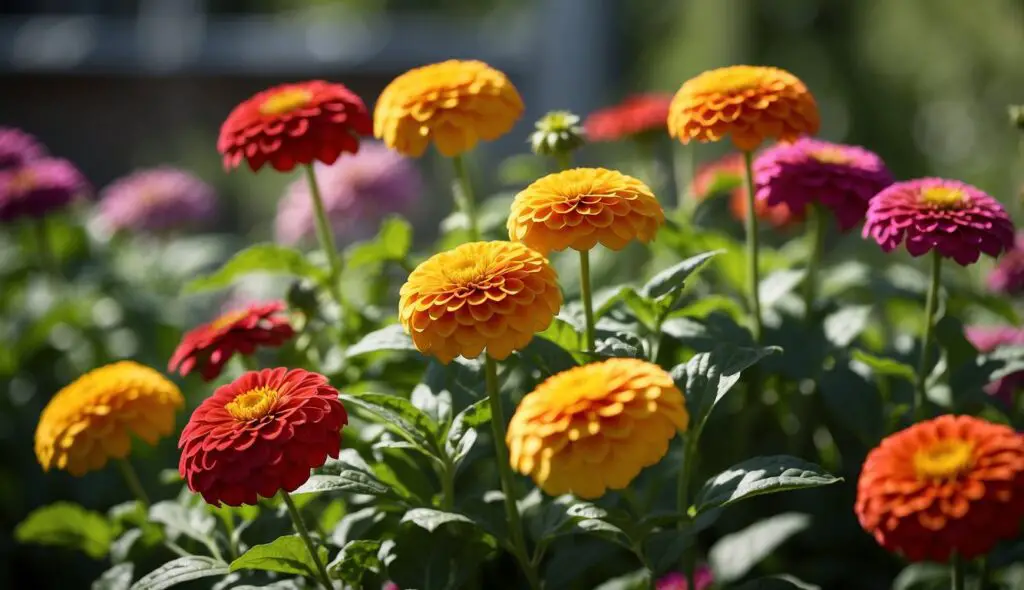
Zinnias love water, but too much can be bad. Water your zinnias deeply around once a week. If it’s really hot, you might need to water more.
Use a watering can or hose with a spray attachment. Make sure the water goes directly to the roots. Keep the leaves dry to prevent disease.
Check the soil by sticking your finger an inch deep. If it feels dry, it’s time to water. Mulching around your zinnias can help retain moisture.
6. Use mulch to conserve moisture

Mulch is like a blanket for your zinnias. It helps keep the soil moist, which is crucial during hot summer days. Mulch can be made from things like straw, wood chips, or even leaves.
Spread a layer of mulch about 2-3 inches thick. This layer helps to lock in moisture and keep the soil cool. It also reduces the need for frequent watering.
Besides conserving moisture, mulch can help control weeds. Fewer weeds mean less competition for your zinnias. It also helps keep the garden looking neat and tidy.
You can even use organic mulch like compost. It breaks down over time and adds nutrients to the soil, making your zinnias even healthier. Just make sure not to pile the mulch too close to the stems. This can cause rot and other issues.
7. Fertilize Lightly
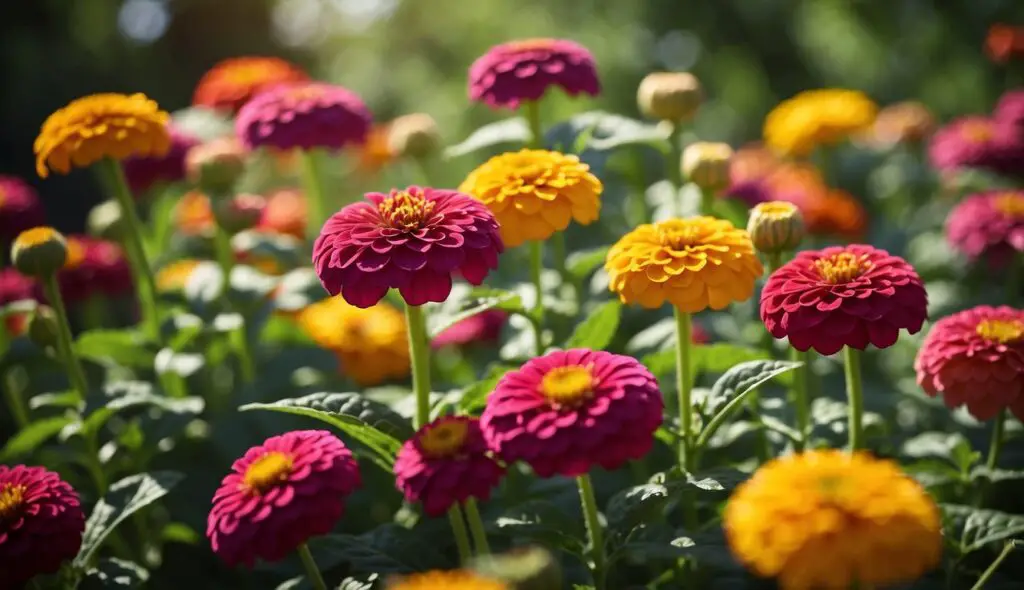
Zinnias aren’t heavy feeders, so avoid overdoing it with fertilizer. Light fertilization can make them healthier without causing harm.
Use a balanced, water-soluble fertilizer like 10-10-10. Mix it at half the recommended strength. Apply it once every 4-6 weeks during the growing season.
Over-fertilizing can lead to lush foliage but fewer flowers. That’s not what you want! Stick to light, infrequent feedings.
Organic options work well too. Compost or well-rotted manure are excellent choices. They provide nutrients slowly and improve soil structure.
You can also use slow-release fertilizers. These release nutrients over time, reducing the need to feed frequently.
Understanding Zinnias
Zinnias offer several types, each with its unique charm, and have specific needs to thrive well in your garden. Let’s dig into their varieties and the best growing conditions.
Varieties of Zinnias
Different zinnia varieties boast diverse colors, shapes, and sizes. The most popular types are Zinnia elegans, Zinnia angustifolia, and Zinnia haageana.
- Zinnia elegans: Classic and comes in many vibrant colors like red, purple, and yellow. Flowers can be single, semi-double, or fully double.
- Zinnia angustifolia: Often called the narrow-leaf zinnia. Known for its heat tolerance and daisy-like flowers, it’s perfect for hot climates.
- Zinnia haageana: Also known as the Mexican zinnia, they have smaller, more compact blooms. Ideal for container gardens.
These types provide options whether you’re looking for bright, showy flowers or hardy, low-maintenance plants.
Ideal Growing Conditions
Zinnias love sunshine. Make sure they get 6-8 hours of direct sunlight daily. They do best in well-draining soil. If your garden soil holds too much water, mix in some sand or compost to improve drainage.
They prefer slightly acidic to neutral pH levels (6.0 to 7.5). Use a soil test kit to check your soil’s pH and adjust if necessary. When planting, keep seeds about 12 inches apart for optimal air circulation, reducing the risk of disease.
Watering should be consistent. Aim to keep the soil moist but not soggy. Overwatering can lead to root rot. Try watering at the base rather than overhead to keep leaves dry.
Planting Zinnias
You want to know the best ways to plant zinnias, right? There are two main ways: starting from seeds or transplanting seedlings.
Starting From Seeds
Zinnias are easy to grow from seeds. To get started, plant the seeds directly in the garden. Pick a spot that gets full sun because zinnias love it. The soil should be well-draining and rich in organic matter.
Prepare the soil by tilling it to a fine texture. Plant the seeds about 1/4 inch deep and 6-12 inches apart. You don’t need to plant them too deep. Water the area gently but thoroughly to keep the soil moist. Expect the seeds to sprout within 7-10 days.
Once the seedlings appear, thin them out so they are about 12-18 inches apart. This spacing helps the plants grow healthy and strong. Keep the soil consistently moist, especially during dry spells.
Transplanting Zinnias
If you prefer starting zinnias indoors, you’ll need to transplant them later. Start the seeds indoors about 4-6 weeks before the last expected frost date. Use seed trays and good-quality potting mix.
Sow the seeds at the same depth as you would outside, about 1/4 inch. Keep the soil moist and place the tray in a warm, sunny spot. Once the seedlings have two sets of true leaves, they’re ready to be transplanted outside.
Before you transplant, harden off the seedlings by gradually exposing them to outdoor conditions for about a week. This helps them adjust to the new environment. Then, dig holes in your garden that are the same depth as the seedling containers and spaced 12-18 inches apart.
Gently remove the seedlings from their trays, being careful not to damage the roots. Place each seedling in a hole and fill in with soil. Water the plants thoroughly to help them settle in. Keep an eye on the moisture levels in the soil, especially during hot weather.
Maintaining Healthy Zinnias
To keep your zinnias in top condition, focus on their watering needs and proper fertilization. These are key to ensuring vibrant blooms and lush foliage.
Watering Requirements
Zinnias thrive in well-drained soil. Water them deeply, about 1-2 inches per week, ensuring the soil stays moist but not soggy. Morning watering is best to prevent fungal diseases. During hot spells, check the soil more often. If you see wilting, it might be time for a drink. Use a soaker hose or drip irrigation to keep leaves dry, minimizing disease risk.
Key Points to Remember:
- Frequency: Deep watering once a week.
- Time of Day: Early morning.
- Tools: Soaker hose or drip irrigation.
Fertilization Tips
Zinnias appreciate regular feeding. Start with a balanced 10-10-10 fertilizer when planting. Use a water-soluble fertilizer every 4-6 weeks to boost blooms. Avoid over-fertilizing, as this can lead to leggy plants. Compost can be a great natural alternative, enriching the soil without chemical overload.
Key Points to Remember:
- Initial Fertilizer: 10-10-10 at planting.
- Frequency: Every 4-6 weeks afterward.
- Alternative: Use compost for natural enrichment.
