
The soil is the very foundation of a plant’s life, providing essential nutrients, water, and oxygen needed for optimal growth. In fact, the Food and Agriculture Organization (FAO) estimates that 95% of our food comes from soil. However, over time, the soil in potted plants can become compacted, depleted of nutrients, and even harbor pests or diseases, negatively impacting the health and growth of your plants. This is where refreshing the soil during the repotting process comes into play.
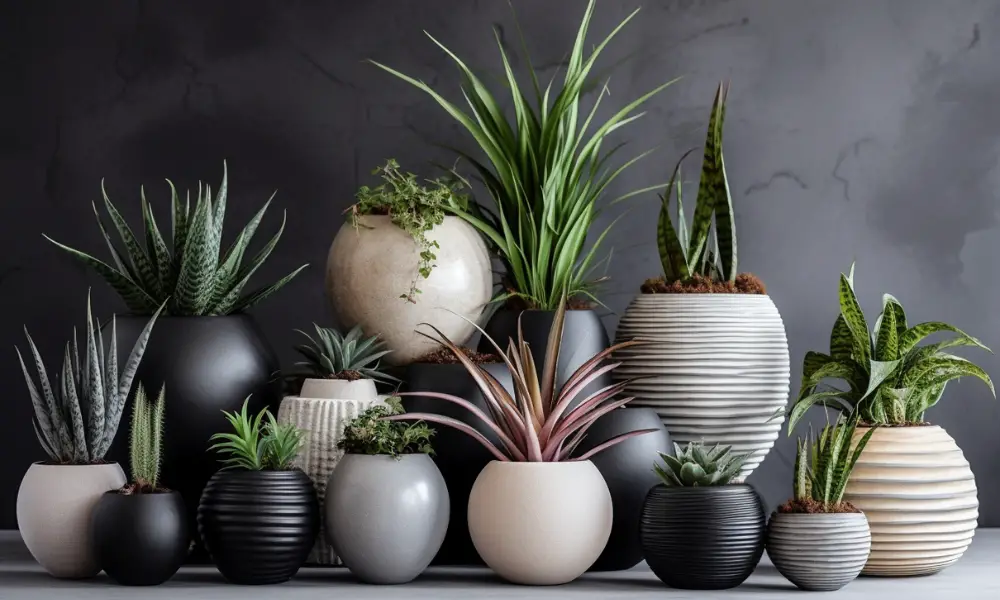
Repotting involves carefully removing a plant from its current pot, discarding the old soil, and replacing it with fresh, nutrient-rich soil tailored to the plant’s specific needs.
In this comprehensive guide, we’ll dive deep into the benefits of refreshing soil, how to determine when it’s time to repot, the types of soil suitable for different plants, and a step-by-step guide to repotting and soil maintenance. By mastering the art of refreshing soil, you’ll set your plants on a path towards robust health and vibrant growth.
Why is refreshing the soil essential during the repotting process?
One of the key factors in maintaining healthy, thriving plants is the quality of their soil. Over time, the soil in a pot can become compacted, depleted of nutrients, or even host to pests and diseases. This section delves into the benefits of refreshing soil, addressing common problems, and ensuring proper nutrient balance.
Benefits of fresh soil for plant health and growth
A fresh batch of soil offers several advantages for your plants. For one, it helps improve aeration, allowing the roots to breathe more easily. This leads to stronger root systems, which in turn support better nutrient uptake and overall plant growth.
Additionally, new soil often has a more balanced pH level, which is crucial for nutrient absorption. In short, refreshing soil during repotting can give your plants the boost they need to thrive.
Addressing common problems due to old, compacted soil
Over time, the soil in your pot may become compacted due to watering and settling. This compaction reduces aeration and water drainage, leading to root suffocation and potentially root rot. Refreshing the soil can alleviate these issues by introducing air pockets and improving drainage.
Ensuring proper nutrient balance for optimal growth
Lastly, old soil may no longer provide the necessary nutrients for your plant’s growth. By refreshing the soil, you can ensure your plants receive the right balance of nutrients to support healthy development.
How to identify when it’s time to refresh the soil during repotting?
Knowing when to repot and refresh your soil is critical for maintaining healthy plants. In this section, we’ll discuss the signs of root-bound plants, evaluating soil quality, and determining the appropriate repotting time for various species.
Recognizing signs of root-bound plants
A root-bound plant is one where the roots have outgrown the pot and become entangled, leading to decreased nutrient and water uptake. Signs of a root-bound plant include:
- Roots growing out of drainage holes
- Slow or stunted growth
- Yellowing leaves
- Wilting despite adequate watering
If you notice these signs, it’s time to refresh your soil and repot your plant.
Evaluating soil quality and consistency
When determining if it’s time to refresh your soil, consider the following factors:
- Soil texture: Healthy soil should be crumbly and hold its shape when squeezed. If it’s hard, clumpy, or muddy, it’s time to refresh.
- Drainage: Water should drain easily through the soil. If it pools on the surface or takes too long to drain, you may need to refresh the soil.
- Odor: Healthy soil should have a pleasant, earthy smell. If you notice a sour or rotten odor, it’s time to replace the soil.
Determining the appropriate time for repotting based on plant species
Different plants have different repotting schedules. Some plants, like fast-growing annuals, may need repotting every year, while others, like slow-growing cacti, might only require it every 2-3 years. Research your plant’s specific repotting time to ensure optimal growth.
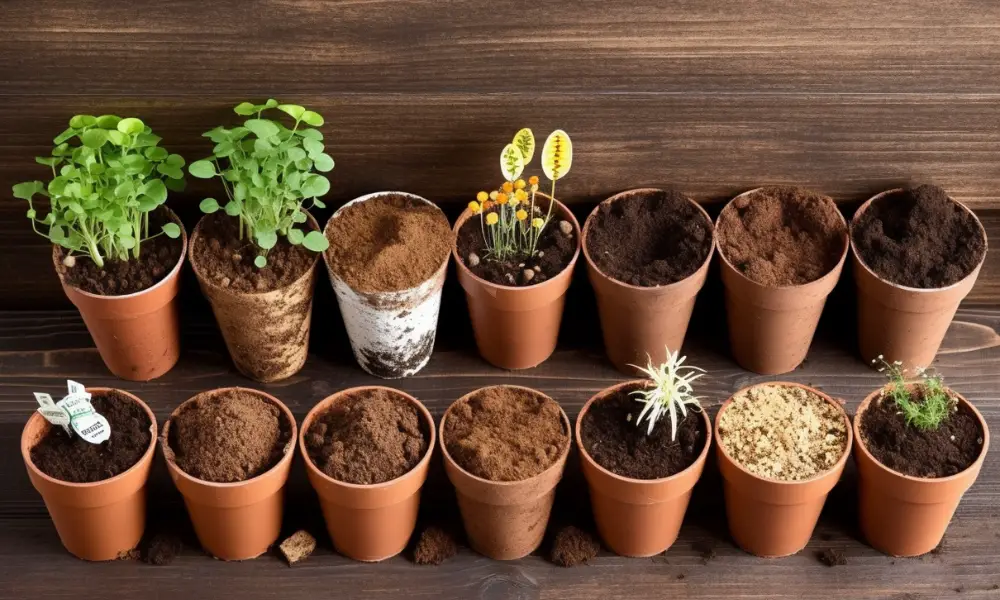
What are the best types of soil for repotting plants?
Selecting the right soil for your plant is crucial for successful repotting. In this section, we’ll discuss the characteristics of various soil types, selecting the right mix, and customizing soil mixes for specific plant requirements.
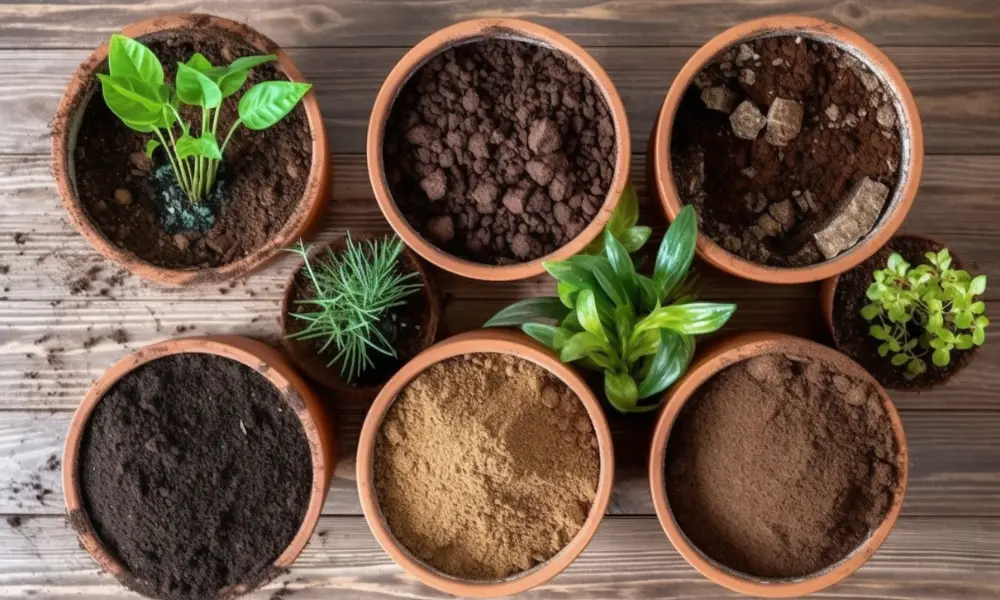
Understanding the characteristics of different soil types
There are several types of soil commonly used for potting plants, including:
- Loam: A balanced mixture of sand, silt, and clay, loam is a popular choice for many plants due to its well-draining properties and nutrient content.
- Sandy soil: With larger particles and excellent drainage, sandy soil is ideal for plants that prefer drier conditions, such as succulents and cacti.
- Peat-based soil: Rich in organic matter and with good water retention, peat-based soil is well-suited for moisture-loving plants, but can be acidic and may require pH adjustment.
- Coconut coir-based soil: An eco-friendly alternative to peat, coconut coir has excellent water retention and aeration properties, making it suitable for a wide range of plants.
Selecting the right soil mix for various plant types
Understanding your plant’s specific needs is essential for choosing the right soil mix. Research your plant’s native habitat and consider its preferences for moisture, drainage, and nutrients. As a general rule:
- Most houseplants thrive in well-draining, loamy soil.
- Cacti and succulents prefer a sandier mix with excellent drainage.
- Moisture-loving plants like ferns and African violets do well in peat-based or coconut coir-based soil mixes.
Customizing soil mixes for specific plant requirements
To create the perfect soil mix for your plant, you may need to customize a store-bought mix or create your own from scratch. This could involve:
- Adding perlite, vermiculite, or sand to improve drainage.
- Incorporating compost or well-rotted manure to boost nutrient content.
- Adjusting the pH with lime (to raise it) or sulfur (to lower it) based on your plant’s needs.
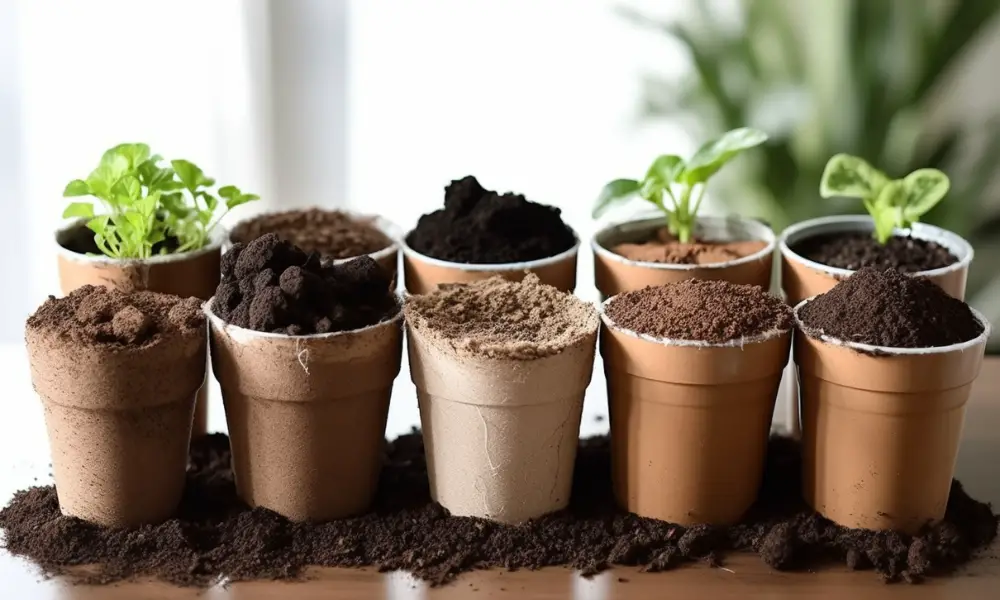
How to prepare the new soil for repotting?
Proper preparation of your new soil is essential for successful repotting. This section will cover mixing and aerating soil components, ensuring the right moisture level, and incorporating additives and fertilizers.
Properly mixing and aerating soil components
Before repotting, thoroughly mix your soil components to create a uniform blend. Break up any clumps and ensure the additives are evenly distributed. Aerating the soil by turning it over with a trowel or fork can help introduce air pockets and improve drainage.
Ensuring the right moisture level for the new soil
The ideal moisture level for your new soil will depend on your plant’s needs. As a general rule, the soil should be moist but not soaking wet. Adjust the moisture level by adding water or allowing the soil to dry out, as necessary.
Incorporating additives and fertilizers for optimal plant growth
Many store-bought soil mixes contain slow-release fertilizers to provide nutrients over time. If your mix does not include these, or if you’re creating your own mix, consider adding a balanced, slow-release fertilizer or organic compost to nourish your plants.
What is the step-by-step process for refreshing soil during repotting?
Now that you understand the importance of refreshing soil and how to prepare it, let’s walk through the repotting process step by step.
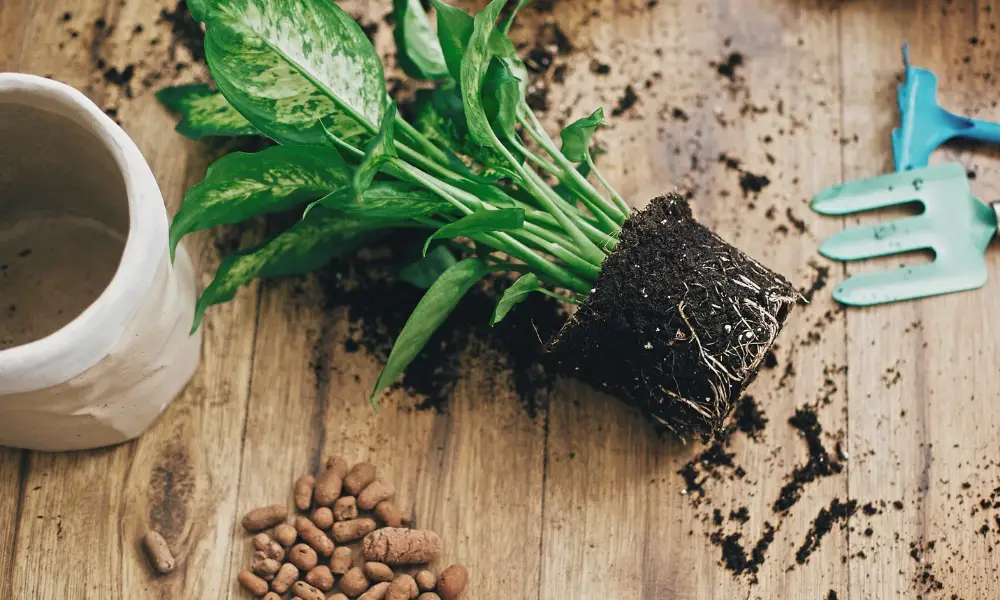
Carefully removing the plant from its current pot
- Water your plant thoroughly a day before repotting to help minimize stress.
- Gently remove the plant from its pot by tipping it on its side and easing the root ball out. Avoid pulling on the stems or leaves.
Inspecting and trimming plant roots, if necessary
- Examine the root ball for any signs of pests, diseases, or rot.
- If the roots are severely root-bound or tangled, gently tease them apart and trim any damaged or excessively long roots with clean, sharp pruning shears.
Discarding old soil and cleaning the pot
- Remove as much of the old soil from the root ball as possible without damaging the roots.
- If reusing the same pot, clean it thoroughly with warm, soapy water to remove any debris, pests, or pathogens.
Adding the prepared soil to the pot and repotting the plant
- Add a layer of fresh soil to the bottom of the pot, ensuring it’s deep enough for the root ball to sit at the correct height.
- Position the plant in the center of the pot and gently spread the roots out.
- Fill the pot with fresh soil, pressing it down gently around the root ball to eliminate air pockets. Leave a small gap between the soil surface and the rim of the pot for watering.
Providing post-repotting care for the plant
- Water your plant thoroughly after repotting, allowing any excess water to drain away.
- Place the plant in a shaded, protected area for a few days to help it acclimate to its new environment.
- Resume normal care routines, monitoring the plant closely for signs of stress or growth.
How to maintain soil quality between repotting sessions?
To keep your plant healthy and happy between repotting sessions, it’s essential to maintain soil quality. This section covers implementing a regular fertilizing schedule, monitoring soil moisture levels, and aerating the soil surface.
Implementing a regular fertilizing schedule
Provide your plant with the nutrients it needs by following a regular fertilizing schedule. Research your plant’s specific nutrient requirements and use a suitable fertilizer, following the recommended application rates and frequencies.
Monitoring soil moisture levels and watering appropriately
Regularly check the moisture level of your plant’s soil and water as needed to maintain the ideal level. Overwatering can lead to root rot, while underwatering can cause wilting and stunted growth. Adjust your watering schedule based on your plant’s needs and the season.
Aerating the soil surface to prevent compaction
To prevent soil compaction, occasionally use a fork or chopstick to gently aerate the soil surface, taking care not to damage the roots. This helps maintain aeration and drainage, promoting healthy root growth.
Potential issues or risks to consider while refreshing soil during repotting
While repotting and refreshing soil can greatly benefit your plants, there are some potential issues and risks to be aware of. This section discusses minimizing plant stress, addressing potential pest or disease issues, and managing nutrient imbalances.
Minimizing plant stress and shock during the process
Repotting can be stressful for plants, particularly if they’re already struggling. Minimize stress by:
- Repotting during the appropriate season, usually spring or early summer.
- Watering your plant thoroughly before and after repotting.
- Giving your plant time to adjust in a shaded, protected area after repotting.
Addressing potential pest or disease issues
When repotting, be vigilant for signs of pests or diseases, both in the old soil and on the plant itself. Treat any issues promptly and quarantine affected plants, if necessary, to prevent the spread of pests or diseases.
Managing potential nutrient imbalances in the new soil
Refreshing the soil can sometimes introduce nutrient imbalances. Monitor your plant closely after repotting for signs of nutrient deficiencies or toxicities. Adjust your fertilizing schedule or soil mix as needed to address any issues.
Conclusion
Refreshing the soil during repotting is essential for maintaining healthy, thriving plants. By understanding the importance of soil quality, recognizing when it’s time to refresh the soil, and following the proper steps for preparation and repotting, you can provide your plants with the optimal growing environment. Remember to maintain soil quality between repotting sessions, monitor your plants for any issues, and adjust care routines as needed. With proper soil care, your plants will continue to grow and flourish.