
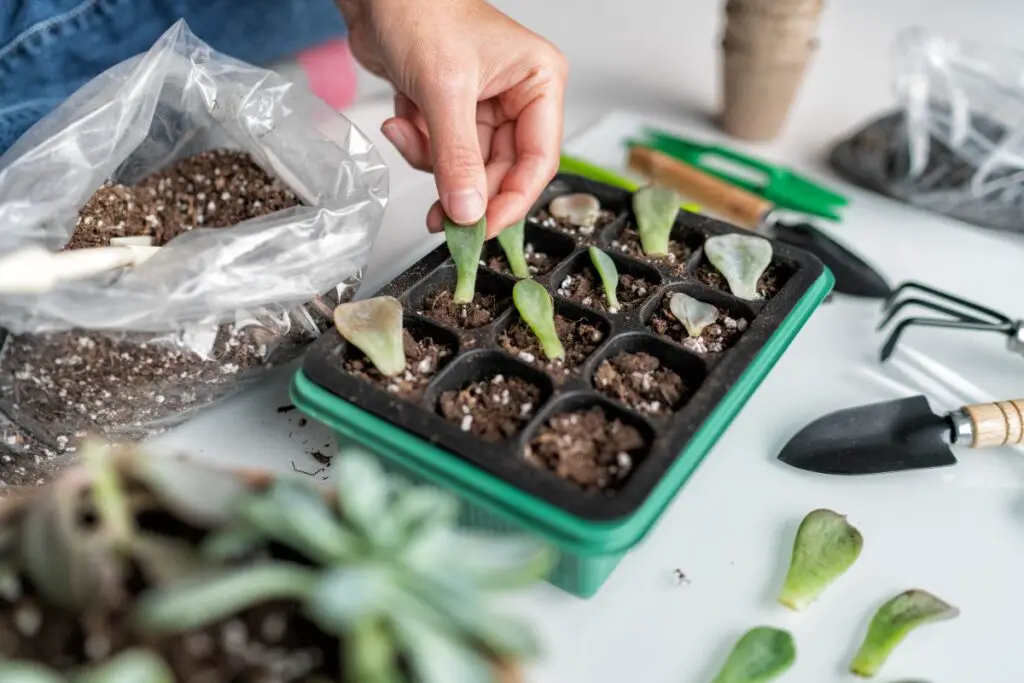
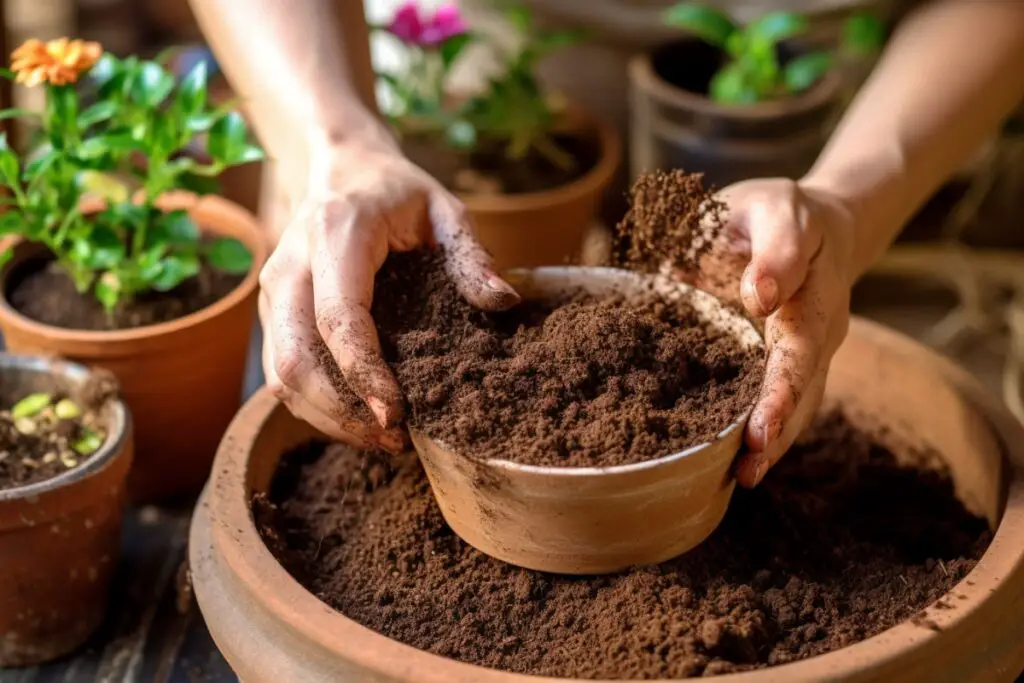
Behind every thriving indoor garden lies a secret ingredient: sterilized soil and potting mixes. Ensuring your plants have a clean, disease-free environment to grow in is crucial to their overall health and vitality. In this comprehensive guide, we’ll take you on a journey to discover the importance of soil sterilization, the different methods to achieve it, and how to maintain a pristine environment for your indoor plants.
Sterilizing your soil and potting mixes is a crucial step in maintaining healthy indoor plants. This process helps prevent the spread of pests and diseases, eliminates weeds, and ensures optimal plant growth. Moreover, it allows you to control the nutrient content of your growing medium, ensuring your plants receive the right balance of nutrients for their specific needs. In the following sections, we’ll explore the reasons for sterilization, common contaminants, and various sterilization methods.
Why should you sterilize the soil and potting mixes for your indoor plants?
Sterilizing soil and potting mixes is essential for several reasons as listed below.
- Preventing pests and diseases: Sterilization helps eliminate harmful microorganisms, insects, and their eggs, reducing the chances of your plants getting infested or diseased. This, in turn, minimizes the need for chemical pesticides and fungicides, promoting a healthier indoor environment for both plants and people.
- Eliminating weeds and pathogens: Sterilized soil is free from weed seeds and pathogens, which can compete with your plants for nutrients and space. This ensures that your indoor plants have access to all the essential nutrients they need for optimal growth.
- Optimal plant growth: By providing a clean environment, your plants can grow without the stress of fighting off pests, diseases, and competition. This results in more vigorous growth, stronger root systems, and ultimately healthier, more resilient plants.
What are the common contaminants found in soil and potting mixes?
Before diving into sterilization methods, it’s essential to understand the common contaminants that can impact your indoor plants. 3 most common contaminants are listed below.
- Soilborne pathogens: These microorganisms, including bacteria, fungi, and viruses, can cause various diseases in your plants, such as root rot, damping-off, and wilt. Soilborne pathogens can survive in the soil for extended periods, making sterilization even more critical.
- Pests: Insects and larvae, like fungus gnats, root aphids, and soil-dwelling grubs, can damage your plants and spread diseases. These pests can multiply rapidly and infest other plants in your home, making early detection and control essential.
- Weeds: Undesirable weeds can grow alongside your indoor plants, competing for nutrients, water, and sunlight, ultimately hindering their growth and overall health. By sterilizing the soil, you remove any weed seeds, ensuring a weed-free growing medium for your plants.
Which methods can be used for sterilizing soil and potting mixes at home?
There are several methods to sterilize soil and potting mixes at home, each with its pros and cons. Let’s explore them in detail.
- Solarization: Harnessing sunlight to heat the soil, killing pests, and pathogens. Solarization is an eco-friendly, cost-effective method that requires no special equipment. However, it relies on direct sunlight and warm temperatures, making it less effective in cloudy or cooler climates.
- Baking: Using your oven to heat the soil, eliminating contaminants. Baking offers the advantage of precise temperature control and can be done year-round, regardless of outdoor conditions. The downside is that it can produce unpleasant odors and may require significant energy consumption, depending on the volume of soil being sterilized.
- Microwaving: Utilizing microwave technology to heat and sterilize the soil quickly and effectively. Microwaving is a fast and convenient method that works well for small batches of soil. However, it requires careful monitoring to prevent overheating and may not be suitable for large volumes of soil.
- Boiling water treatment: Pouring boiling water over the soil to kill pathogens and pests. This method is relatively simple and does not require any special equipment. However, it can be time-consuming and may not be as effective in treating large quantities of soil.
- Chemical sterilization: Using commercial products, such as hydrogen peroxide or bleach solutions, to treat the soil. Chemical sterilization can be effective in killing pathogens and pests, but it requires proper application techniques and safety precautions. Additionally, it may have environmental implications and can potentially harm beneficial microorganisms in the soil.
How do you solarize soil and potting mixes for effective sterilization?
Solarization is an eco-friendly and cost-effective method to sterilize soil and potting mixes. Here’s how to solarize your soil effectively.
- Prepare the soil: Remove any large debris, such as stones or roots, and break up any clumps to ensure even heating. Spread the soil in a thin layer (about 2-4 inches) on a flat surface, such as a tarp or plastic sheet.
- Cover the soil: Place a clear plastic sheet or tarp over the soil, securing the edges with rocks or soil to create an airtight seal. This traps heat and moisture, creating a greenhouse effect that raises the soil temperature.
- Expose to sunlight: Place the covered soil in a sunny location, ensuring it receives direct sunlight for at least 6-8 hours per day. Depending on the outdoor temperature and sunlight intensity, the soil may need to be solarized for 4-6 weeks to achieve effective sterilization.
- Monitor the process: Check the soil temperature regularly using a soil thermometer. For optimal results, the soil temperature should reach at least 120°F (49°C) for a few hours each day.
What are the steps for sterilizing soil and potting mixes using the baking method?
Sterilizing soil and potting mixes using the baking method is a reliable way to eliminate contaminants. Here’s how to do it.
- Prepare the soil: Remove any debris and break up clumps to ensure even heating. Preheat your oven to 180-200°F (82-93°C).
- Place the soil in the oven: Spread the soil in a thin layer on a large baking sheet or oven-safe container. Cover the container with aluminum foil to reduce moisture loss and minimize odors.
- Bake the soil: Place the covered container in the preheated oven and bake for 30-60 minutes. Check the soil temperature using a probe thermometer, ensuring it reaches at least 180°F (82°C) for at least 30 minutes to kill most contaminants.
- Cool and store: Once the soil has reached the desired temperature, carefully remove it from the oven and allow it to cool completely. Store the sterilized soil in a clean, airtight container until ready to use.
How do you use a microwave to sterilize soil and potting mixes?
Microwaving is a fast and convenient method for sterilizing small amounts of soil. Here’s how to do it.
- Prepare the soil: Remove debris and break up clumps for even heating. Moisten the soil slightly, as the microwave heats through moisture.
- Place the soil in a microwave-safe container: Spread the soil in a thin layer in a microwave-safe container, such as a glass or ceramic dish.
- Microwave the soil: Cover the container with a microwave-safe lid or plastic wrap, leaving a small vent for steam to escape. Microwave the soil on high for 90 seconds to 2 minutes per pound of soil, depending on the wattage of your microwave.
- Monitor the process: Check the soil temperature using a probe thermometer, ensuring it reaches at least 180°F (82°C) to effectively kill contaminants. Be cautious when removing the container from the microwave, as it will be hot.
- Cool and store: Allow the soil to cool completely before handling or transferring it to a clean, airtight container for storage.
What is the boiling water treatment method and how do you apply it to soil and potting mixes?
The boiling water treatment method is a simple way to sterilize soil and potting mixes by pouring boiling water over them. Here’s how to apply this method.
- Prepare the soil: Remove debris and break up clumps for even treatment. Place the soil in a heat-resistant container, such as a metal or ceramic pot.
- Boil water: Bring a sufficient amount of water to a rolling boil. The water-to-soil ratio should be approximately 2:1 to ensure thorough sterilization.
- Pour boiling water over the soil: Carefully pour the boiling water over the soil, ensuring that all areas are saturated. Stir the soil to help distribute the heat evenly.
- Cool and dry: After treating the soil with boiling water, allow it to cool completely. Spread the soil in a thin layer to air dry before using it for planting.
How do you use chemical sterilization methods for soil and potting mixes?
Chemical sterilization can be an effective way to treat soil and potting mixes. Here’s how to use this method.
- Identify the right chemical sterilization products: Choose a product specifically designed for soil sterilization, such as hydrogen peroxide or a commercial soil sterilant. Read the label carefully to ensure proper usage and safety.
- Prepare the soil: Remove debris and break up clumps for even treatment. Place the soil in a container suitable for chemical treatment, such as a plastic tub or bucket.
- Apply the chemical sterilant: Follow the manufacturer’s instructions for mixing and applying the sterilant. This may involve diluting the product with water and thoroughly mixing it into the soil.
- Allow the soil to rest: After applying the chemical sterilant, let the soil sit for the recommended time on the product label. This allows the chemicals to work effectively in killing contaminants.
- Rinse and dry: Once the treatment period is over, rinse the soil thoroughly with water to remove any residual chemicals. Spread the soil in a thin layer to air dry before using it for planting.
How do you ensure the sterilized soil and potting mixes remain pathogen-free after treatment?
To maintain the cleanliness of your sterilized soil and potting mixes, follow the below steps.
- Store sterilized soil properly: Keep sterilized soil in a clean, airtight container to prevent recontamination. Store the container in a cool, dry location away from potential sources of pests or pathogens.
- Regular monitoring: Inspect your plants regularly for signs of pests and diseases. Catching and addressing issues early can prevent the spread of contaminants to your sterilized soil and other plants.
- Implement ongoing preventive measures: Practice good plant hygiene by keeping your gardening tools clean, removing dead leaves and debris from your plants, and ensuring proper air circulation and humidity control in your growing environment.
Additional Read: Choosing The Right Potting Mix For your Indoor Plants
Wrapping Up
Sterilizing soil and potting mixes is an essential step in maintaining healthy indoor plants. By eliminating pests, diseases, and weeds, you provide your plants with a clean, stress-free environment in which they can thrive. Sterilized soil also ensures that your plants have access to the nutrients they need without competition from unwanted organisms.
There are several methods available for sterilizing soil and potting mixes at home, including solarization, baking, microwaving, boiling water treatment, and chemical sterilization. Choose the method that best suits your needs and resources. Remember to follow proper storage and ongoing preventive measures to keep your sterilized soil pathogen-free and maintain a healthy environment for your indoor plants.
Investing time and effort into sterilizing your soil and potting mixes will reward you with vibrant, healthy plants that brighten up your home and bring you joy. Happy gardening!