
Monstera Deliciosa, commonly known as Monstera, originates from the tropical regions of Central America. Its distinct split leaves and rapid growth have made it a favorite among plant enthusiasts and interior designers alike. Beyond its visual appeal, many indoor plants, including the Monstera, have been associated with improved air quality, though specific studies on the Monstera’s air-purifying capabilities are limited.
The key to a thriving Monstera lies in understanding its growth patterns and discerning when and how to split it. Splitting is a propagation method that ensures the plant doesn’t become root-bound, allowing it to continue its healthy growth. The ideal time for this procedure aligns with the plant’s maturity, evident through its larger leaves and a strong root system.
In this article, we’ll guide you through the nuances of recognizing the optimal time to split your Monstera, the detailed process, and the essential aftercare. We’ll also focus into the benefits of regular splitting and highlight common pitfalls to avoid. This comprehensive guide aims to equip both seasoned plant lovers and beginners with the knowledge to help their Monstera thrive.
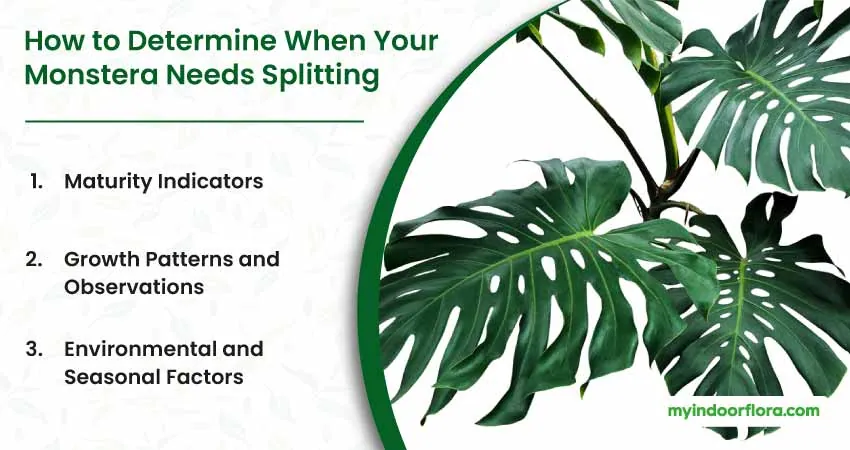
How to Determine When Your Monstera Needs Splitting
Recognizing the optimal time to split your Monstera is crucial for the plant’s health and future growth. Splitting too early or too late can lead to various complications, from stunted growth to root damage. Here’s a deeper dive into understanding the right time.
Maturity Indicators
Monstera plants, like many tropical plants, have specific indicators of maturity:
- Leaf Size and Number: Mature Monsteras typically have larger leaves, often with more pronounced splits or fenestrations. A plant with at least five to seven mature leaves is generally considered mature enough for splitting.
- Root System: When your Monstera’s roots start to grow tightly wound in a ball, it’s a clear signal that it’s time for a split. At this stage, the roots are likely pot-bound. This is a common phenomenon in potted plants where the roots run out of space and can’t spread out, leading to stunted growth.
Tip: A Monstera ready for splitting typically has at least two separate stems and is at least two feet tall.
Root overcrowding is a more urgent sign. If your Monstera’s roots are growing through the drainage holes of the pot, splitting becomes not just an option, but a necessity. Overcrowded roots can result in less water and nutrients available for each root, leading to weaker plants.
Signs of Root Overcrowding:
- Roots growing through the drainage holes
- Plant wilting despite regular watering
- Slower growth despite good conditions
Growth Patterns and Observations
Observing your Monstera’s growth patterns can provide insights into its readiness for splitting:
- Active Growth Phases: Monsteras have periods of active growth, typically in spring and summer. During these phases, the plant will produce new leaves more rapidly. This active growth phase is the best time for splitting as the plant is in its most resilient state.
- Stagnation in Growth: If your Monstera hasn’t produced new leaves in a while, despite receiving adequate care, it might be feeling cramped. Splitting can rejuvenate such plants, giving them a fresh environment to thrive.
Environmental and Seasonal Factors
The environment plays a significant role in determining the right time for splitting:
- Seasonal Timing: As mentioned, spring and early summer are ideal. Splitting during the dormant phase in winter can stress the plant, leading to slower recovery.
- Humidity Levels: Monsteras thrive in high humidity. If you’re planning to split, ensure the surrounding environment has adequate humidity levels. This promotes faster healing and growth.
Preparing the Monstera for Splitting
Before you embark on the journey of splitting your Monstera, adequate preparation is essential. This ensures a smooth process and reduces the risk of damage to the plant.
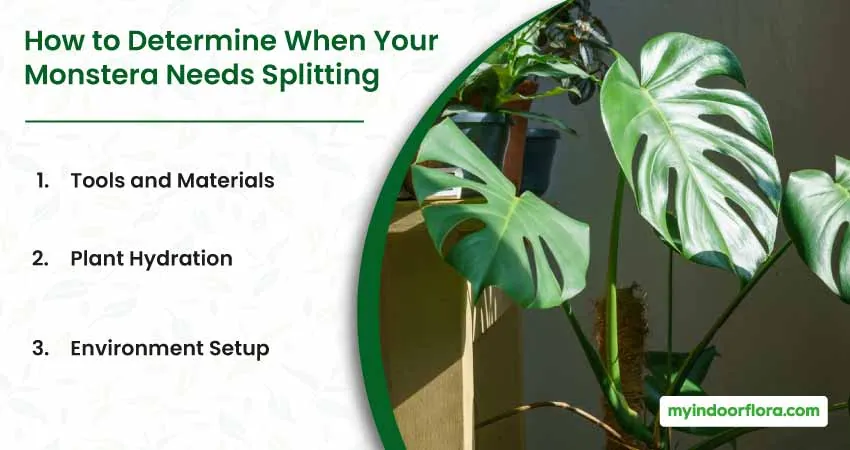
Tools and Materials
Having the right tools on hand can make the process efficient and stress-free:
- Soil: Monstera prefers a peaty, well-draining soil. Consider a mix that contains peat, perlite, and pine bark. This combination ensures good aeration, crucial for root health.
- Pots: Choose a pot that is about 2 inches larger in diameter than the root ball of your new Monstera division. A larger pot gives roots room to grow.
- Pruning Shears or Sharp Knife: Sterilize your tools before use. This can be done using rubbing alcohol. Sterilization prevents the transfer of diseases or pests.
Sharp and clean shears or a knife are crucial. Sharp tools make cleaner cuts, which helps the plant to heal faster.
| Tool Type | Best For | Why It’s Important |
|---|---|---|
| Shears | Making precise and sharp cuts | Less damage to plant tissue, encouraging faster healing |
| Knife | Cutting through dense roots | Allows for precise cuts in tighter spaces |
- Gloves and Safety Gear: Wearing gloves protects both you and your Monstera. Monstera’s sap can be irritating to some people’s skin, so gloves are a useful preventative measure.
Plant Hydration
Hydration is a critical aspect of the preparation phase.
- Watering Schedule: Water your Monstera thoroughly 24-48 hours before the planned split. Well-hydrated roots are more flexible and less prone to damage.
- Avoid Overwatering: While hydration is essential, overwatering can make the soil too muddy and the roots too fragile. Stick to your regular watering routine, ensuring the soil is moist but not waterlogged.
Environment Setup
Setting up the right environment can ease the splitting process:
- Workspace: Choose a spacious workspace, preferably outdoors or in a well-lit room. Lay down newspapers or plastic sheets to catch any soil spillage.
- Post-Split Location: Decide on a location for the newly split plants. A spot with bright, indirect light is ideal. Avoid placing the new plants in direct sunlight immediately after splitting, as this can stress them.
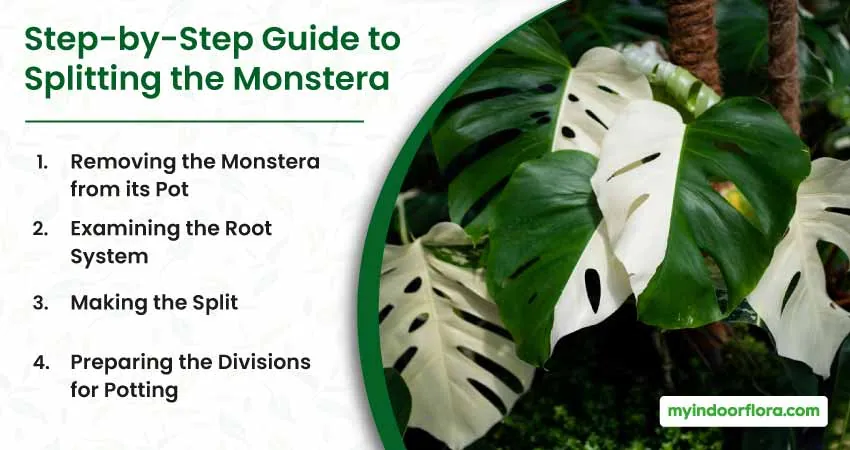
Step-by-Step Guide to Splitting the Monstera
The Monstera, with its iconic split leaves, is a favorite among plant enthusiasts. However, as it grows, there may come a time when splitting becomes essential for its health and vitality. Splitting a Monstera can seem daunting, but with the right approach, it can be a smooth process that leads to even more beautiful plants.
1. Removing the Monstera from its Pot
- Loosening the Soil: The first step is to ensure the plant can be easily removed from its pot. By gently tapping the sides of the pot, you can dislodge any compacted soil, making the removal process smoother. This minimizes the risk of root damage, which can be detrimental to the plant’s health.
- Gentle Uprooting: With care, grip the base of the Monstera stem. As you do this, tilt the pot to the side, using gravity to assist you. The aim is to ease the plant out rather than forcefully pulling it. A forceful tug can lead to broken roots, which can hinder the plant’s growth in the future.
2. Examining the Root System
- Spread Out the Roots: Once out of the pot, lay the Monstera on a flat, clean surface. Delicately spread out the roots, being careful not to snap or damage them. This step is crucial as it allows you to assess the health of the roots and identify any potential issues.
- Identifying Division Points: As you examine the roots, look for natural separations or areas where distinct stems are emerging. These points are ideal for splitting as they indicate where the plant can be divided without causing undue stress or damage.
3. Making the Split
- Using the Right Tool: The tool you choose depends on the thickness and density of the root system. For thinner roots, your fingers might suffice. However, for denser root clusters, a sterilized knife or pruning shears are more appropriate. It’s vital to ensure any tool used is clean to prevent the introduction of pathogens.
- Clean Cuts: If you’re using a cutting tool, aim for swift, clean cuts. Hesitant or jagged cuts can harm the roots, making it harder for them to recover and grow in their new environment.
4. Preparing the Divisions for Potting
- Root Pruning: Not all roots are beneficial. Damaged roots or those that are excessively long can sap the plant’s energy. By trimming these, you promote more vigorous growth and ensure the plant’s energy is directed to healthy roots.
- Aerial Roots: One of the Monstera’s unique features is its aerial roots. These roots can sometimes become tangled or overly long. While it’s not essential to trim them, doing so can make potting easier and neater. If you choose to trim, ensure you leave enough length for the root to anchor the plant in its new pot.
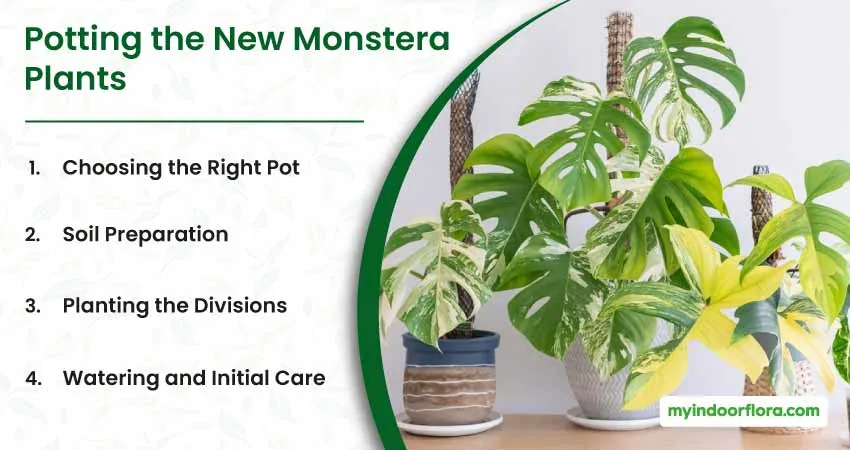
Potting the New Monstera Plants
Once you’ve successfully split your Monstera, the next crucial step is potting the new divisions. Proper potting ensures the plants have a strong start in their new environment.
1. Choosing the Right Pot
- Size Matters: The pot should be large enough to accommodate the roots comfortably but not so large that the soil remains wet for extended periods. A pot that’s 2-3 inches larger in diameter than the root ball is ideal.
- Drainage: Ensure the pot has adequate drainage holes. Monsteras don’t like sitting in water, and good drainage prevents root rot.
2. Soil Preparation
- The Ideal Mix: Monstera prefers a well-draining soil mix. A combination of peat moss, perlite, and a bit of sand works well. This mix ensures adequate aeration and moisture retention.
| Soil Component | Percentage |
|---|---|
| Peat Moss | 60% |
| Perlite | 30% |
| Sand | 10% |
3. Planting the Divisions
- Positioning: Place the Monstera division in the center of the pot. Ensure the roots are spread out and not clumped together.
- Soil Filling: Gently fill in the pot with your soil mix, pressing down lightly to remove air pockets. The base of the stem should be at the same level as it was in the original pot.
4. Watering and Initial Care
- First Watering: Water the plant thoroughly after potting. This helps settle the soil and provides the roots with immediate hydration.
- Placement: For the first few weeks, place the pot in a location with bright, indirect light. This encourages root growth without stressing the plant.
Aftercare and Monitoring the Split Monstera Plants
After splitting and potting your Monstera, the journey doesn’t end there. Proper aftercare is essential to ensure the plant thrives and grows healthily.
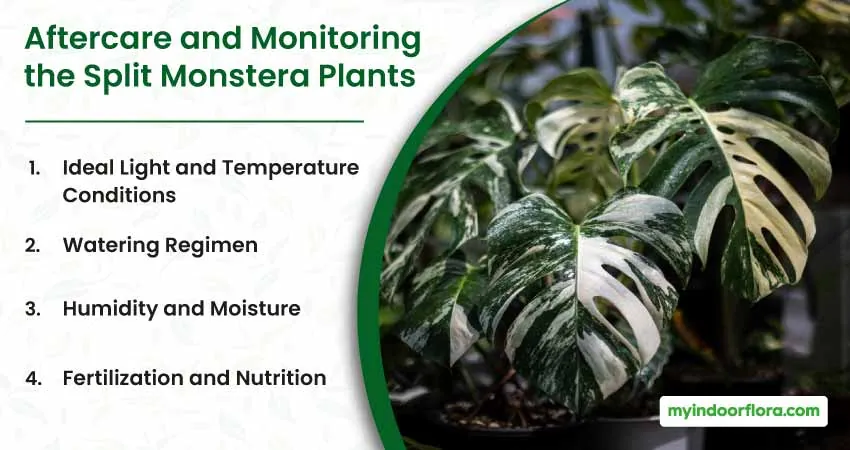
1. Ideal Light and Temperature Conditions
- Light Requirements: Monsteras prefer bright, indirect light. Direct sunlight can scorch their leaves, causing brown spots. A north or east-facing window is ideal. If you notice the leaves turning yellow, it might be receiving too much light.
- Temperature Needs: Monsteras thrive in temperatures between 65-75°F (18-24°C). They can tolerate a bit cooler, but it’s best to avoid sudden temperature drops. Keep them away from drafts, air conditioners, and heaters.
2. Watering Regimen
- Frequency: Water your Monstera when the top 1-2 inches of soil are dry. Overwatering can lead to root rot, a common issue with Monsteras.
- Water Quality: Monsteras are sensitive to chemicals in tap water. If possible, use rainwater. If using tap water, let it sit for 24 hours to allow chlorine to evaporate.
3. Humidity and Moisture
- Humidity Levels: Monsteras are tropical plants and thrive in higher humidity. Aim for a humidity level of 60% or higher. If you live in a dry area, consider using a humidifier or placing a tray of water near the plant.
- Misting: Misting the leaves can increase humidity around the plant. However, ensure the leaves don’t remain wet for extended periods, as this can lead to fungal issues.
4. Fertilization and Nutrition
- Fertilizer Type: Use a balanced liquid fertilizer, diluted to half the recommended strength.
- Frequency: During the growing season (spring and summer), fertilize once a month. Reduce to once every 2-3 months in fall and winter.
Troubleshooting Common Problems After Splitting
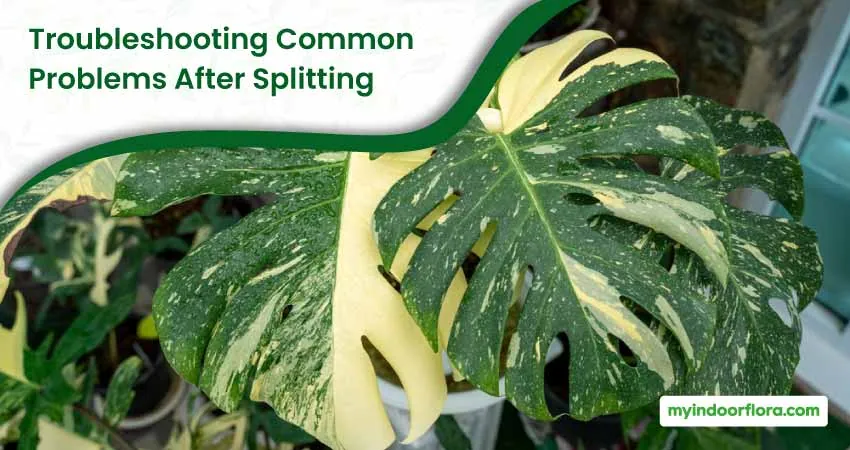
After splitting a Monstera, it’s not uncommon to encounter a few issues as the plant adjusts to its new environment. Recognizing these problems early and addressing them can ensure the plant recovers quickly and continues to thrive.
| Problem | Possible Causes | Solutions |
|---|---|---|
| Yellowing Leaves | – Overwatering | – Check soil moisture before watering. Ensure pot has adequate drainage. |
| – Stress from the splitting process | – Provide a stable environment with consistent temperature and humidity. Give the plant time to adjust. | |
| Weak or Leggy Growth | – Insufficient light | – Move the Monstera to a location with ample indirect light. Avoid prolonged direct sunlight exposure. |
| – Nutrient deficiencies | – After 2 months post-splitting, use a balanced, water-soluble fertilizer. Follow recommended dosage. |
By being observant and addressing these common issues promptly, you can ensure your split Monstera plants remain vibrant and healthy, gracing your space with their unique beauty.
Benefits of Regularly Splitting Your Monstera
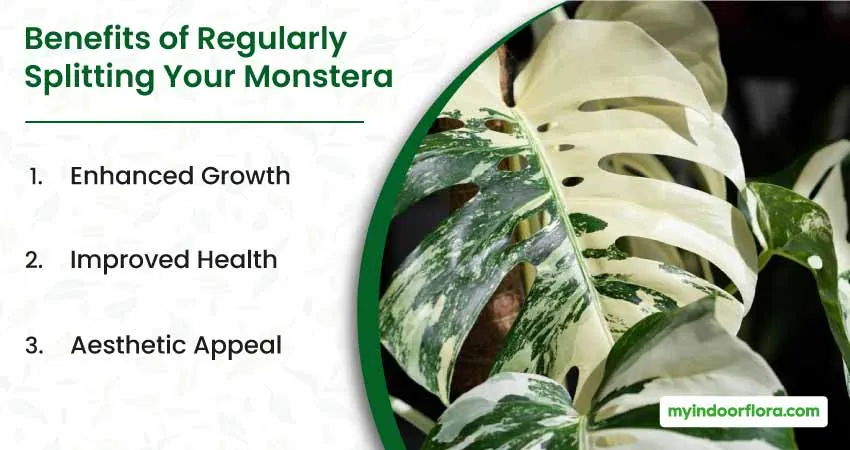
Regularly splitting your Monstera isn’t just about propagation; it offers several benefits to the plant’s health and aesthetics.
1. Enhanced Growth
Splitting can rejuvenate a Monstera, especially if it was becoming root-bound. With more space to grow, the plant can produce larger, more vibrant leaves.
2. Improved Health
Regular splitting can prevent issues like root rot and overcrowding. By giving the roots more space, you ensure better nutrient absorption and overall plant health.
3. Aesthetic Appeal
A well-maintained Monstera is a sight to behold. Regular splitting ensures the plant remains an aesthetic centerpiece, with balanced growth and lush foliage.
Common Mistakes to Avoid When Splitting a Monstera
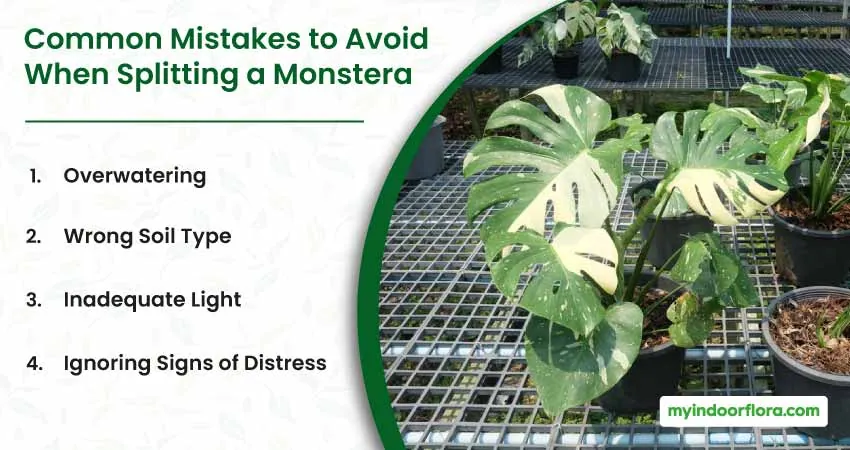
While splitting a Monstera is a straightforward process, there are pitfalls to avoid.
1. Overwatering
Newly split plants are vulnerable. Their root system is establishing itself, and overwatering can lead to root rot. Ensure the soil is moist but not soggy.
2. Wrong Soil Type
Using a soil that doesn’t drain well can be detrimental. Monsteras need well-draining soil to prevent waterlogged roots.
3. Inadequate Light
While Monsteras don’t like direct sunlight, they do need bright, indirect light. Placing them in a dimly lit corner can stunt their growth.
4. Ignoring Signs of Distress
After splitting, monitor your Monstera for signs of distress, like yellowing leaves or wilting. These can be indicators of issues like overwatering, pests, or diseases.
Conclusion
Splitting a Monstera is more than just a gardening task; it’s an art. With the right knowledge and approach, you can ensure your Monstera remains a healthy and beautiful addition to your indoor garden. Remember, the key is to be gentle, patient, and attentive to the plant’s needs. Happy gardening!