
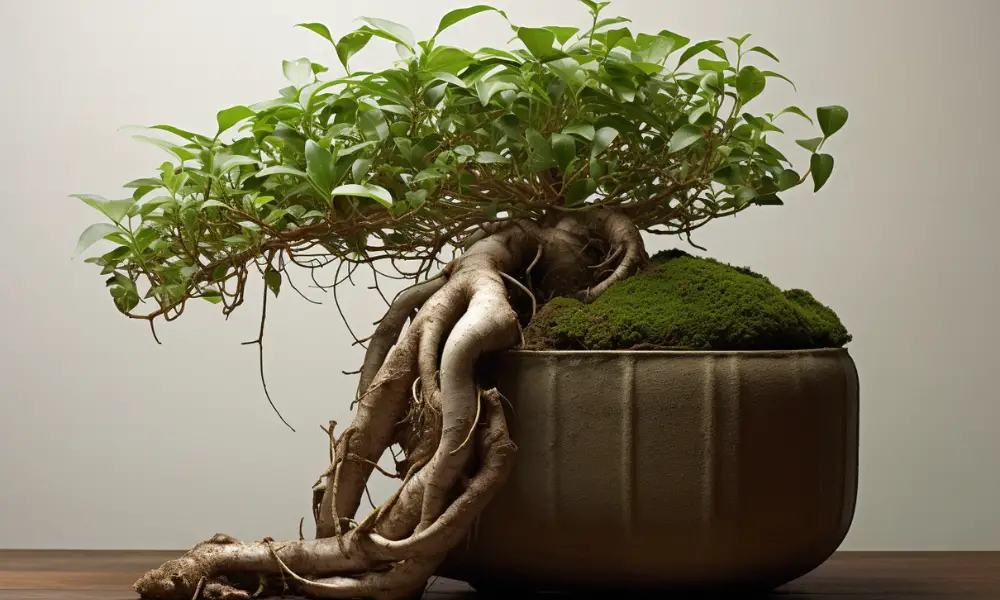
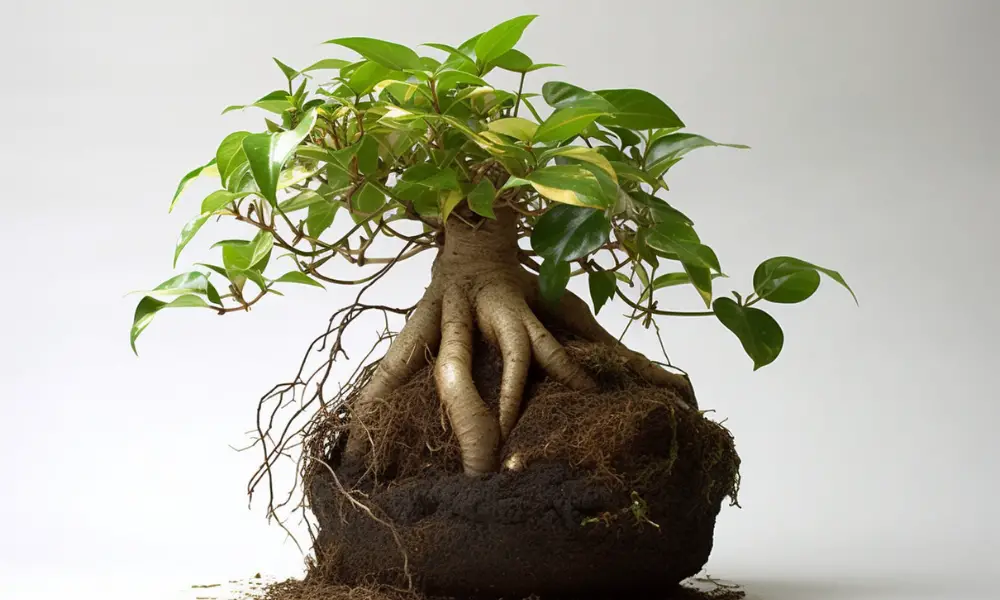
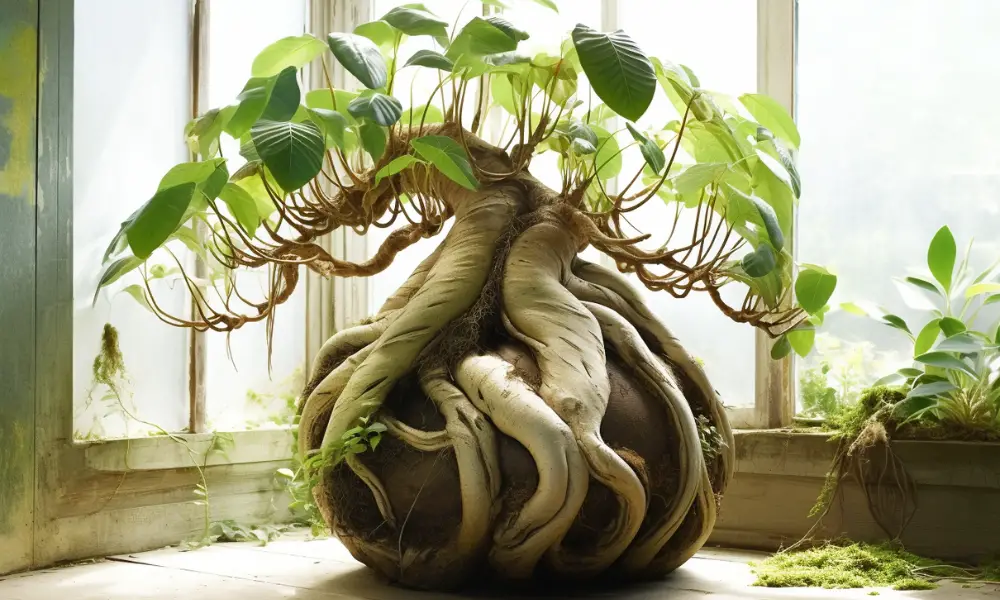
Repotting root-bound indoor plants is an essential task for every plant enthusiast, ensuring the long-term health and growth of their cherished green companions. A root-bound plant is one whose roots have outgrown their container, becoming tightly entwined and congested, and ultimately inhibiting the plant’s ability to absorb water, nutrients, and oxygen.
As indoor plants continue to gain popularity, with a 50% increase in sales between 2016 and 2019 according to the National Gardening Association, it’s crucial to understand the importance of addressing root-bound plants.
In this comprehensive guide, we delve into the identification, repotting process, and post-repotting care for root-bound indoor plants, providing you with the knowledge necessary to maintain a thriving indoor garden.
How Can You Identify a Root-Bound Indoor Plant?
Root-bound plants are those whose roots have outgrown their containers, wrapping around the inside of the pot and limiting the plant’s ability to absorb nutrients and water effectively.
What are the visible signs of a root-bound plant?
There are a few tell-tale signs that your indoor plant is root-bound:
- Roots emerging from drainage holes: If you notice roots protruding from the bottom of your plant’s pot, it’s likely root-bound.
- Soil drying out quickly: Root-bound plants have a dense root system, causing the soil to dry out faster than normal.
- Stunted growth: A root-bound plant can’t grow properly due to its restricted root system, resulting in slow or halted growth.
What are the less obvious signs of a root-bound plant?
In addition to the visible symptoms, some more subtle signs may indicate that your plant is root-bound:
- Yellowing leaves: The plant may struggle to obtain nutrients, causing leaves to yellow.
- Reduced flowering or fruiting: A root-bound plant may produce fewer flowers or fruits as it diverts energy to its struggling root system.
- Declining overall health: Your plant may appear generally unhealthy, with a weakened appearance and susceptibility to pests or diseases.
Step-by-Step Process of Repotting a Root-Bound Indoor Plant
Repotting a root-bound plant can be done in several stages. In the following sections, we’ll guide you through each step to ensure the success of your repotting endeavor.
Step 1: prepare the new pot and potting soil.
Before repotting, gather a new pot and fresh potting soil. The new pot should be slightly larger than the current one, with adequate drainage holes. Select a potting soil that’s appropriate for your plant type, ensuring it provides the necessary nutrients, drainage, and aeration.
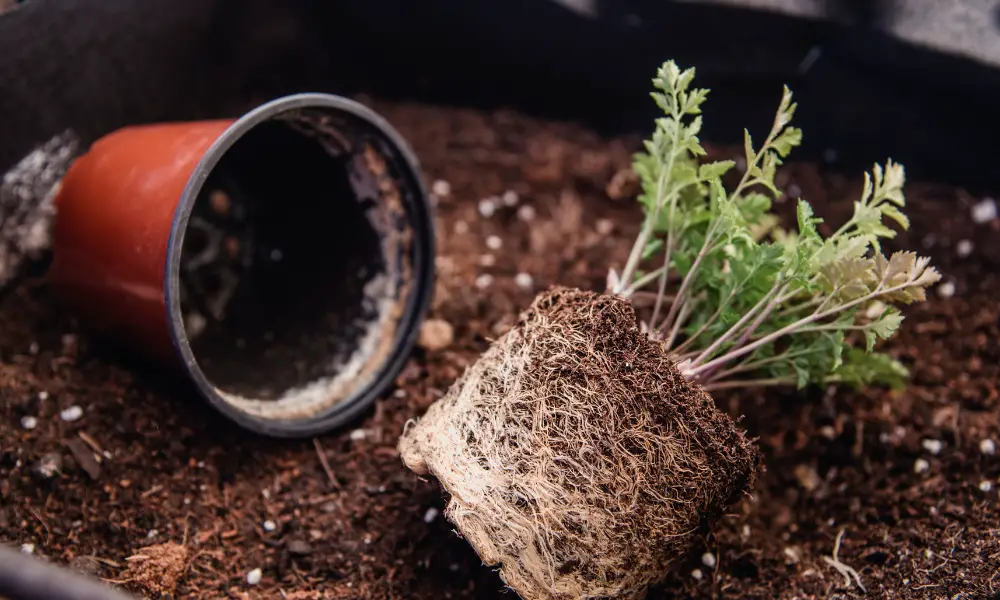
Step 2: safely remove the root-bound plant from its old pot.
Carefully remove the plant from its current pot by gently tapping the sides of the pot to loosen the root ball. If the plant is firmly stuck, use a knife or spatula to carefully separate the root ball from the pot’s interior.
Step 3: untangle and trim the root ball.
Once you’ve removed the plant, examine the root ball. If the roots are tightly wound, carefully untangle them using your fingers or a fork. Trim away any damaged, dead, or excessively long roots.
Step 4: properly place the plant in the new pot.
Position the plant in the center of the new pot, ensuring that the top of the root ball is approximately one inch below the pot’s rim. This allows room for watering and prevents soil from spilling over the edge.
Step 5: fill the new pot with potting soil.
Add fresh potting soil to the pot, filling in the gaps around the root ball. Gently press the soil down to eliminate air pockets, but avoid compacting it too much, as this can limit root growth.
Step 6: water and care for the plant immediately after repotting.
Water the plant thoroughly after repotting, ensuring the soil is evenly moist. Place the plant in a location with appropriate light conditions and temperature, allowing it time to adjust to its new environment.
Post-Repotting Care
Proper post-repotting care is essential for helping your plant adjust to its new pot and environment. Follow these steps to ensure your plant thrives after repotting.
Acclimate your plant to its new environment
Allow your plant time to adjust to its new pot and surroundings. Keep it in a location with consistent temperature and humidity levels, and avoid exposing it to extreme temperature fluctuations or drafts. Gradually reintroduce it to its optimal light conditions over a period of a few days.
Monitoring water and nutrient needs
During the first few weeks after repotting, closely monitor your plant’s water requirements. The new potting soil may retain moisture differently than the old soil, so adjust your watering schedule accordingly. Observe your plant for signs of nutrient deficiencies, and consider adding slow-release fertilizer or liquid plant food to promote healthy growth.
When to expect new growth and signs of recovery?
After repotting, it may take a few weeks for your plant to show signs of new growth. Be patient, and remember that it’s focusing on re-establishing its root system. Once the plant has settled into its new pot, you should see improvements in its overall health and vigor.
Why It Is Important to Repot Root-Bound Houseplants
Repotting root-bound indoor plants is crucial for several reasons. 6 of them are explained below.
- Improved nutrient absorption: A root-bound plant’s tangled and congested roots struggle to access nutrients from the soil. Repotting allows roots to spread out, ensuring they can absorb essential nutrients to support growth and overall health.
- Enhanced water uptake: In root-bound plants, the densely packed roots occupy most of the pot’s volume, leaving limited room for soil and moisture. Repotting provides more space for soil and water, enabling the roots to access and absorb water more effectively.
- Proper aeration: The compacted root system of a root-bound plant restricts airflow in the soil, depriving roots of the oxygen necessary for healthy growth. Repotting into a larger pot with fresh soil improves aeration, promoting a strong and resilient root system.
- Revitalized growth: A root-bound plant may experience stunted growth or a decline in overall health due to the lack of nutrients, water, and oxygen. Repotting helps reinvigorate the plant, promoting new growth and encouraging a healthier, more vibrant appearance.
- Prevention of root rot: Root-bound plants are more susceptible to root rot and other diseases due to their stressed state and reduced airflow in the soil. Repotting creates a healthier root environment, decreasing the chances of diseases taking hold.
- Increased longevity: Repotting root-bound indoor plants addresses their immediate needs and promotes overall plant health, ensuring they can thrive and live for a longer period.
How Can You Prevent Indoor Plants from Becoming Root-Bound in the Future?
Taking a proactive approach to plant care can help prevent indoor plants from becoming root-bound. Here are some tips for maintaining healthy root systems in your indoor plants:
- Routine monitoring of root growth: Periodically check the roots of your indoor plants by gently removing them from their pots or observing the drainage holes for signs of root emergence.
- Choosing appropriate pot sizes and types: Select pots that are appropriately sized for your plants, providing ample room for root growth while ensuring proper drainage.
- Implementing a regular repotting schedule: Repot your indoor plants every one to three years, depending on their growth rate and specific needs.