
Repotting is the process of carefully transferring a plant from its current container into a new, larger one to accommodate its growing root system and provide fresh, nutrient-rich soil. It is an essential aspect of indoor plant care, ensuring that our leafy companions can continue to grow and thrive. In this comprehensive step-by-step guide to repotting indoor plants, we will cover the best practices for handling the repotting process, from identifying when it’s time to repot to selecting the ideal pot, potting mix, and proper post-repotting care.
According to a study published in HortScience by Bringslimark, Hartig, and Patil in 2007, indoor plants can enhance air quality, reduce stress, and improve mental health by up to 60%. By mastering the art of repotting, you’ll be better equipped to nurture your indoor plants and maintain the numerous benefits they bring to your living space. So let’s dive in and discover how to expertly repot your indoor plants for a thriving, verdant indoor garden.
How to Repot Your Indoor Plant?
Repotting your indoor plant may seem like a daunting task, but fear not! Follow these step-by-step instructions to ensure a successful transition for your green friends.
Step 1: Determine if it’s time to repot
Is your plant exhibiting signs that it’s time for a new home? It’s crucial to repot at the right time to avoid unnecessary stress on the plant. Let’s look at the factors that indicate it’s time for a change.
Signs your plant needs repotting
- Root-bound or root-circling: When roots start to wrap around the pot or peek out of the drainage holes, it’s a sign they’re running out of space.
- Slowed growth or yellowing leaves: Lack of nutrients or space can cause stunted growth and discoloration.
- Top-heavy or unstable plant: As plants grow, they may become too large for their current pot, causing instability.
Ideal time of the year
The best time to repot indoor plants is during spring and early summer, when they’re in their active growth phase. Repotting during the dormant period can cause undue stress and hinder recovery.
Step 2: Choose the right pot and size
Selecting an appropriate pot is vital for the health of your indoor plant. Consider the material and size of the pot to ensure the plant has room to grow and receives proper drainage.
When choosing a new pot, aim for one that’s 1-2 inches larger in diameter than the current pot. Ensure the pot has proper drainage holes to prevent root rot and maintain soil health.
Step 3: Select the appropriate potting soil
The right potting soil can make all the difference in your plant’s growth and overall health. Different plants have varying soil requirements, so let’s explore the options.
- All-purpose potting mix: A blend of soil, peat moss, and perlite, suitable for most indoor plants.
- Soilless mix: Contains no soil, often made of peat moss, vermiculite, and perlite; ideal for plants that need good drainage.
- Specialty mix: Formulated for specific plant types, such as cacti, succulents, or orchids.
To cater to your plant’s specific needs, consider adding amendments like perlite (for drainage), vermiculite (for moisture retention), or coco coir (for aeration).
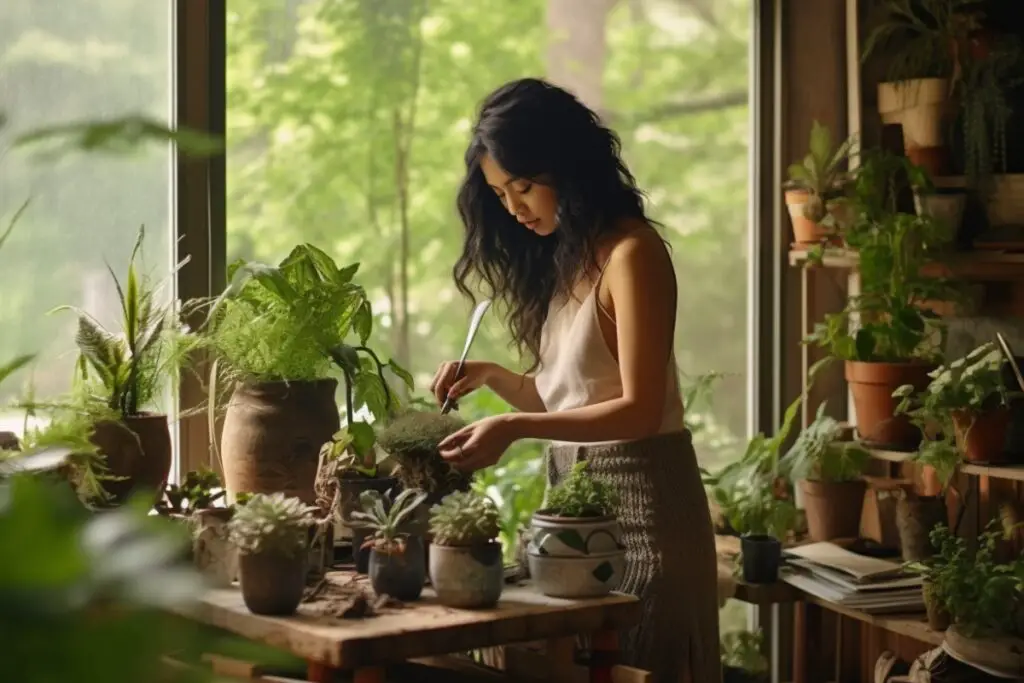
Step 4: Prepare your plant for repotting
Before repotting, take a few preparatory steps to ensure your plant’s health and make the transition smoother.
Water your plant thoroughly a day before repotting to help the roots slide out more easily. Gently remove the plant from its current pot by loosening the soil around the edges and carefully lifting it out.
Examine your plant for any signs of pests or diseases. Treat any infestations or infections, and prune damaged roots or foliage as needed.
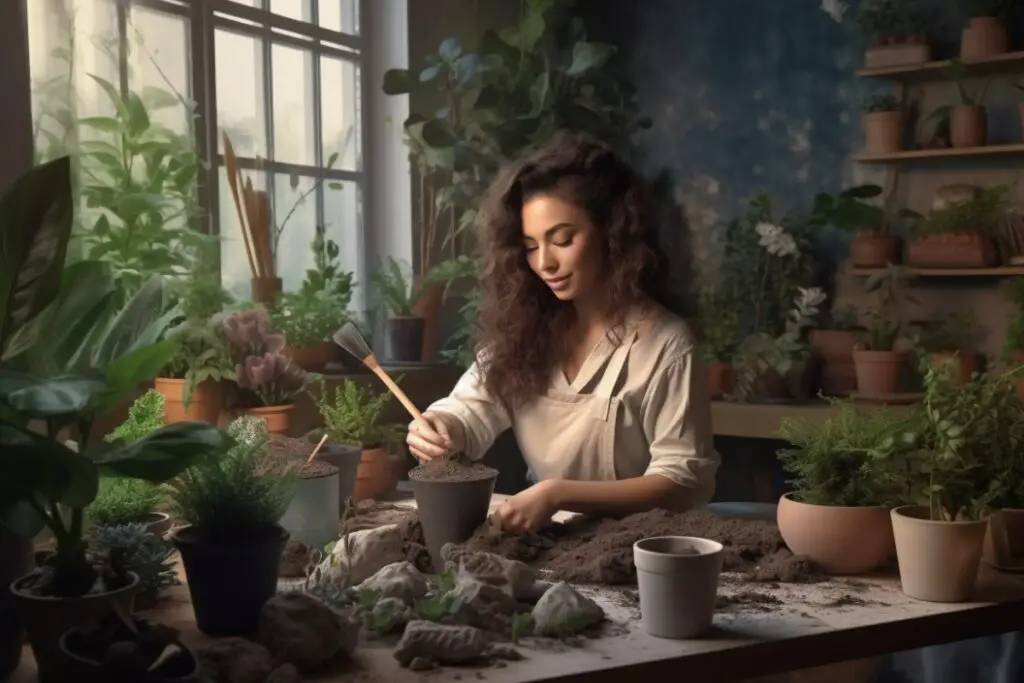
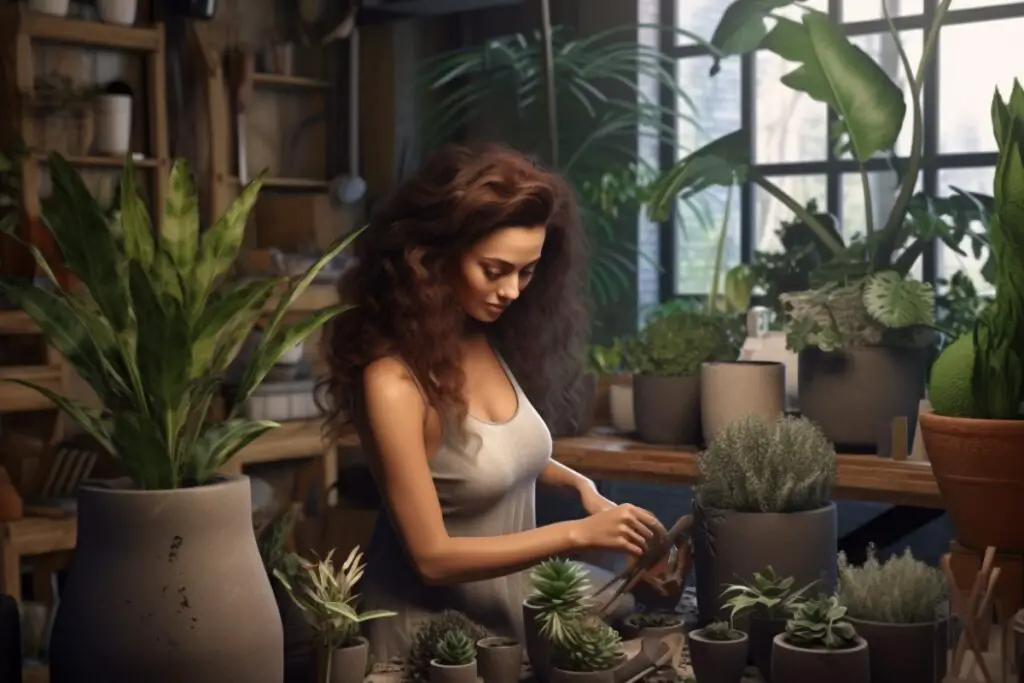
Step 5: Repot your indoor plant
Now that your plant is prepared, it’s time to repot!
Begin by adding a layer of potting soil to the new pot, creating a base for your plant to sit on. Ensure proper drainage by placing a piece of mesh or a coffee filter over the drainage holes to prevent soil from washing out.
Carefully place your plant in the new pot, centering and leveling it. Fill in with potting soil around the plant, gently firming the soil to eliminate air pockets. Water the plant thoroughly to help it settle into its new environment.
Key Factors to Consider When Choosing a Pot for Your Indoor Plant
Selecting the right pot for your indoor plant is crucial for its health and growth. Let’s explore the key factors to consider, including material options, size, and additional factors like weight, durability, and aesthetics. We’ll also provide helpful data and facts to make this the best resource for choosing a pot.
Material options
Each pot material offers unique benefits and drawbacks. Consider your plant’s needs and your personal preferences when selecting a material.
Here’s a more detailed comparison of different pot materials.
| Material | Pros | Cons | Ideal for |
|---|---|---|---|
| Plastic | Lightweight, affordable, retains moisture, various designs | Less breathable, may become brittle over time, less eco-friendly | Plants requiring consistent moisture, budget-friendly options |
| Ceramic | Attractive, heavy (stable), retains moisture, various designs | Heavy, may break easily, can be expensive | Decorative purposes, plants needing stability |
| Terracotta | Breathable, promotes healthy root growth, affordable, classic look | Heavy, fragile, dries out quickly | Plants requiring good aeration and drainage, traditional aesthetic |
Size considerations
Choose a pot that is 1-2 inches larger in diameter than the current pot to provide room for growth without overwhelming the plant. Remember that larger pots hold more moisture, which may require adjusting your watering schedule.
Drainage holes
Proper drainage is crucial for preventing root rot and maintaining soil health. Look for pots with sufficient drainage holes or consider adding them yourself if necessary.
Additional factors to consider
When selecting a pot, there are additional factors to consider, such as weight, durability, and aesthetics.
Weight
Lightweight pots are easier to move and handle, while heavier pots provide stability for larger plants or top-heavy specimens.
Durability
Some materials, like plastic, are more durable and less prone to breakage than others, such as ceramic or terracotta. Consider the durability of the pot, especially if it’s placed in a high-traffic area.
Aesthetics
Choose a pot that complements your plant and your home’s décor. A beautiful pot can enhance your plant’s appearance and contribute to the overall aesthetic of your space.
Insulation
Certain materials, like ceramic and terracotta, provide better insulation than plastic pots. Insulation can help protect your plant’s roots from temperature fluctuations and prevent the soil from drying out too quickly.
Taking these factors into account when choosing a pot for your indoor plant will ensure its well-being and contribute to a thriving, beautiful indoor garden.
How to Select the Right Potting Soil for Your Indoor Plant?
Selecting the ideal potting soil can have a significant impact on your plant’s well-being. Let’s review the various types of potting soil and how to customize the mix for your plant’s needs.
Importance of appropriate potting mix
The right potting mix provides your plant with essential nutrients, drainage, and aeration. Investing in quality soil can make all the difference in your plant’s overall health and growth.
Common types of potting soil
Understanding the differences between potting soil types and their unique characteristics will help you make an informed decision based on your plant’s specific requirements. Here’s a comparison of common potting soil types.
| Potting Soil Type | Components | Benefits | Ideal for |
|---|---|---|---|
| All-purpose potting mix | Soil, peat moss, perlite, compost, and/or vermiculite | Balanced nutrient content, good drainage and aeration | Most indoor plants, including foliage and flowering plants |
| Soilless mix | Peat moss, vermiculite, and/or perlite | Lightweight, excellent drainage, low risk of pests and diseases | Seedlings, cuttings, and plants that need good drainage (e.g., succulents) |
| Specialty mix | Formulated for specific plant types, may include bark, sand, or other amendments | Tailored nutrient content and drainage properties | Specialized plants like cacti, succulents, orchids, or African violets |
Customizing the potting mix
Tailoring your potting mix to your plant’s needs can give it the best chance to thrive. Experiment with these common components to create the ideal blend for your indoor plant.
| Amendment | Purpose | Benefits | Usage Tips |
|---|---|---|---|
| Perlite | Improve drainage | Lightweight, porous, prevents soil compaction | Mix with potting soil, use up to 30% for plants needing excellent drainage |
| Vermiculite | Enhance moisture retention | Absorbent, lightweight, promotes root growth | Mix with potting soil, use up to 30% for moisture-loving plants |
| Coco coir | Increase aeration and moisture retention | Sustainable, resistant to pests and diseases, promotes root growth | Replace peat moss or mix with potting soil, use up to 40% of the mix |
| Sand | Improve drainage and aeration | Heavy, adds weight to pots for stability | Mix with potting soil, use up to 20% for plants needing excellent drainage (e.g., cacti) |
| Bark | Add aeration and drainage, especially for epiphytic plants | Mimics natural growing conditions, promotes air circulation | Use in specialty mixes for orchids, bromeliads, or other epiphytes |
How to Properly Prepare Your Plant for Repotting?
Thorough preparation before repotting your plant is essential for a smooth and stress-free process, ensuring the well-being of your indoor plants. By taking the time to prepare your plant, you can minimize the risk of damage to its root system and make the repotting process more manageable. Lets delve deeper into the key steps for preparing your plant for repotting, discussing the importance of each step, and offering expert advice to ensure a successful transition.
Watering the Plant
One of the most critical steps in preparing your plant for repotting is to water it adequately. Watering your plant 24 to 48 hours before repotting will not only minimize stress but also make it easier to remove the plant from its current pot without causing damage to the root system.
Properly hydrated roots are more flexible and less prone to breakage. Moreover, moist soil clings together better, reducing the risk of soil falling apart and causing further root disturbance during repotting.
Removing the Plant from Its Current Pot
When it’s time to remove your plant from its current pot, doing so gently and carefully can help prevent root damage and make the repotting process more manageable. Start by loosening the soil around the edges of the pot using a trowel or your fingers. If the plant is root-bound or stuck, you may need to tap the sides of the pot or carefully slide a knife between the pot and the soil to loosen it further.
Once the soil is loosened, place one hand over the top of the pot, with your fingers supporting the base of the plant, and slowly invert the pot. Gently shake the pot, allowing the plant to slide out into your other hand. Be patient during this process and avoid pulling or tugging on the plant, as this can cause significant root damage.
Inspecting for Pests and Diseases
Before repotting your plant, it’s essential to inspect it for any signs of pests or diseases. This step is crucial as it prevents the spread of harmful pathogens or insects to your plant’s new environment. Carefully examine the leaves, stems, and roots for any unusual spots, discoloration, or signs of infestation.
If you discover any health issues, treat them accordingly with appropriate remedies, such as insecticidal soap or fungicides, before proceeding with the repotting process. By taking the time to address these concerns, you can ensure a healthier, happier plant in its new pot.
What is the Proper Technique for Repotting Your Indoor Plant?
Adhering to a methodical approach when repotting your indoor plant can significantly contribute to its health and well-being. A careful and well-executed technique can minimize the risk of damage to the root system, ensuring that your plant thrives in its new environment. In this section, we will examine the proper technique for repotting, detailing the importance of each step and providing expert guidance for a successful repotting experience.
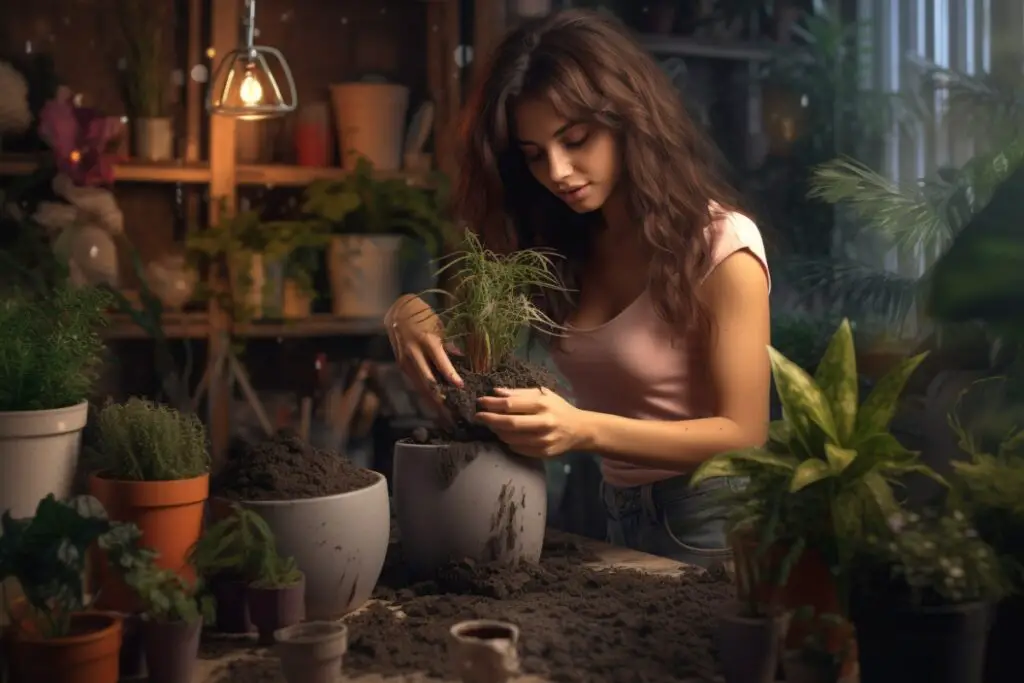
Adding Potting Soil to the New Pot
Creating a solid soil base and ensuring proper drainage are critical components in establishing a healthy environment for your plant’s growth in its new pot. Start by adding a layer of potting soil to the bottom of the pot, ensuring that it is deep enough to accommodate your plant’s root system comfortably. If your pot has large drainage holes, consider placing a small piece of mesh or a coffee filter over the holes to prevent soil from washing away while still allowing excess water to escape.
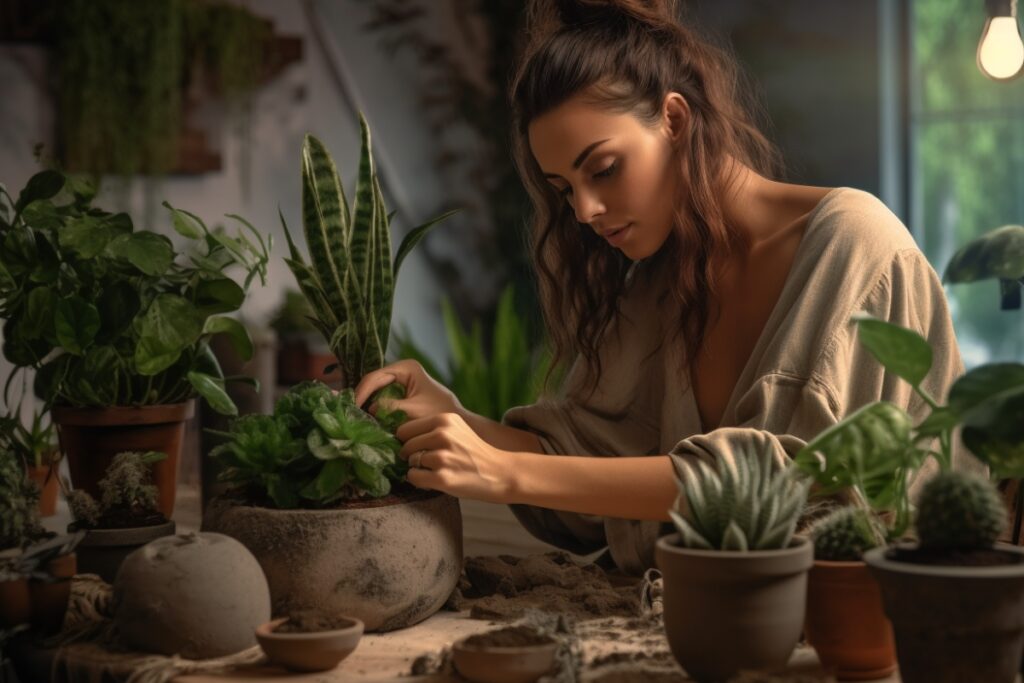
Positioning the Plant in the New Pot
Centering and leveling your plant in its new pot is vital for providing stability and encouraging even growth. Hold the plant by its base, with the root ball resting on the soil layer in the pot, and gently spread the roots out. Make sure the plant is centered and upright, with the top of the root ball sitting slightly below the pot’s rim. This positioning allows for adequate space to add more soil while ensuring that the plant remains stable.
Firming the Soil and Watering
Eliminating air pockets and watering your plant after repotting is crucial for helping it settle into its new environment. Gradually add more potting soil around the plant’s root ball, lightly firming the soil as you go to remove any air pockets. Be careful not to compact the soil too much, as this can impede aeration and drainage.
Once you have filled the pot with soil, water your plant thoroughly to help the soil settle and establish good contact with the roots. Make sure to allow excess water to drain away, as standing water can lead to root rot and other health issues.
By following this proper technique for repotting, you can ensure a smooth transition for your indoor plant, setting the stage for continued growth and vitality in its new home.
How to Care for Your Repotted Plant?
After successfully repotting your indoor plant, it’s crucial to provide proper care to ensure its continued health and growth. In this section, we will explore essential post-repotting care tips and discuss how to monitor your plant’s health, addressing potential problems promptly.
Post-Repotting Care Tips
Watering
Adjust your watering schedule to accommodate your plant’s needs in its new pot. Be mindful of over-watering or under-watering, as both can have detrimental effects on your plant. It’s essential to observe your plant’s specific requirements, taking into account factors such as its species, the size of the pot, and the potting mix used. Keep a close eye on the soil moisture level and adjust your watering frequency and quantity accordingly.
Providing Adequate Sunlight
Ensure your plant receives the appropriate amount of sunlight for its specific needs. Monitor its response to the new environment and adjust its placement as needed to provide optimal lighting conditions. Some plants may require direct sunlight, while others may thrive in indirect or filtered light. Regularly check the plant’s foliage and growth patterns to determine if it’s receiving adequate light.
Monitoring Plant Health
Regularly inspect your repotted plant to ensure it’s thriving in its new home. By keeping a close eye on its progress, you can spot potential problems early and take action to address them.
Signs of Successful Repotting
- New growth: Healthy new leaves or stems are a sign that your plant is happy in its new pot and adapting well to its new environment.
- Improved coloration: A return to vibrant, healthy foliage indicates successful repotting and suggests that the plant is receiving adequate nutrients and care.
Addressing Potential Problems
If your plant exhibits signs of distress or stagnation after repotting, investigate potential causes and take corrective action. Some common issues to consider include inadequate watering, insufficient sunlight, or problems with the potting mix. Monitor your plant’s condition and make adjustments as needed to support its health and growth in the new pot.