
Air layering is a widely acknowledged method of plant propagation, especially potent for woody indoor plants. This technique traces its roots to ancient China and Japan, refined over centuries to aid the propagation of hard-to-root plant species. The principle of air layering lies in simulating the natural process of layering where a stem, still attached to the parent plant, forms roots at one of its nodes.
Leveraging the parent plant’s nutrients, the stem develops a robust root system prior to being separated. This leads to a significantly higher success rate compared to conventional cuttings. Woody indoor plants, renowned for their dense and resilient nature, are often propagated via air layering. However, the process requires careful execution – from the selection of an appropriate stem to the eventual separation of the new plant.
In this comprehensive guide, we illuminate the entire process of air layering, providing practical advice, backed by scientific understanding, to foster your propagation success. Let’s embark on this rewarding journey of plant multiplication.
What is Air Layering Propagation?
Air layering, an age-old horticulture technique, facilitates the propagation of woody plants. Unlike traditional propagation methods that focus on seeds or cuttings, air layering initiates root growth while the stem remains part of the parent plant.
Definition of Air Layering Propagation
In essence, air layering is a vegetative method of plant propagation. It induces roots to form on a plant’s stem while still attached to the parent plant. The process exploits the plant’s natural response to wounding, encouraging it to produce roots to seek out water and nutrients. By maintaining the connection to the parent plant, the propagule can continue to photosynthesize and grow during root formation.
How Does Air Layering Differ from Other Propagation Techniques?
Unlike conventional cuttings, where a stem or leaf is completely detached and then coaxed into rooting, air layering doesn’t sever the stem from the parent plant until roots have formed. Consequently, the stem section can continue to receive water and nutrients from the parent plant, reducing propagation stress.
In comparison to seed propagation, air layering ensures genetic consistency. Seed-grown plants can express different traits due to genetic variation, but air-layered plants are clones of the parent plant, ensuring a match in appearance and vigor.
Which Types of Woody Indoor Plants Are Suitable for Air Layering?
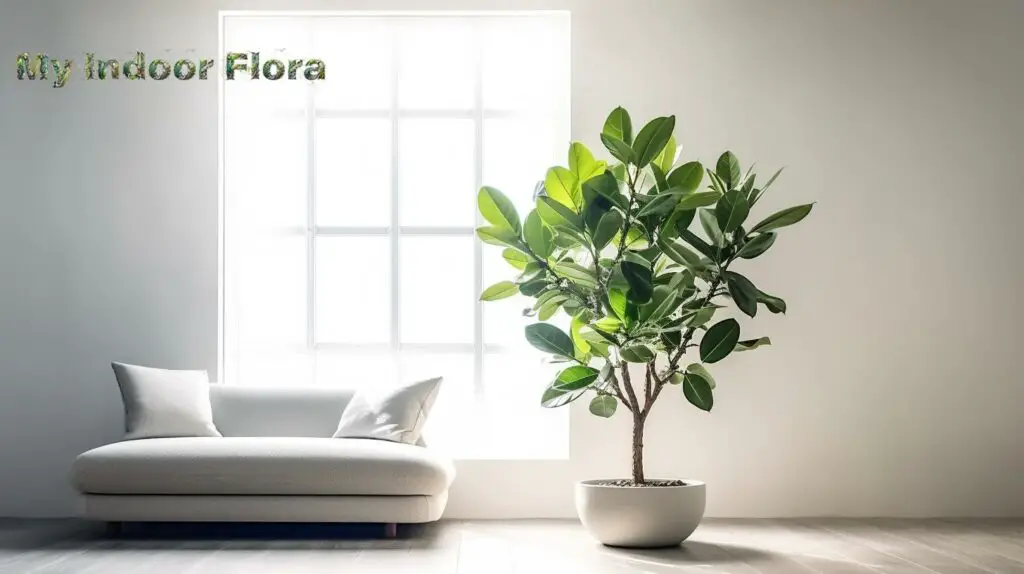
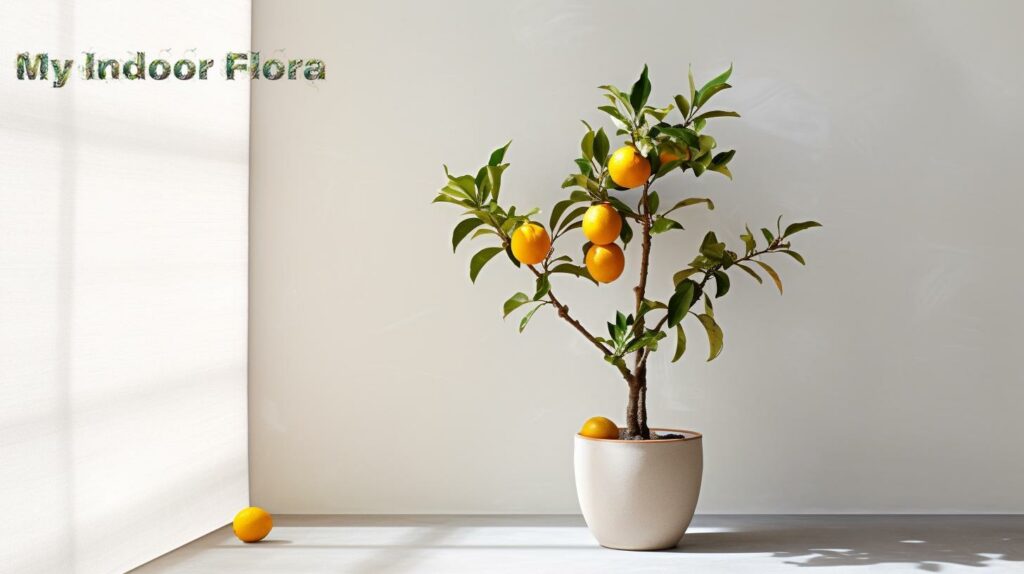
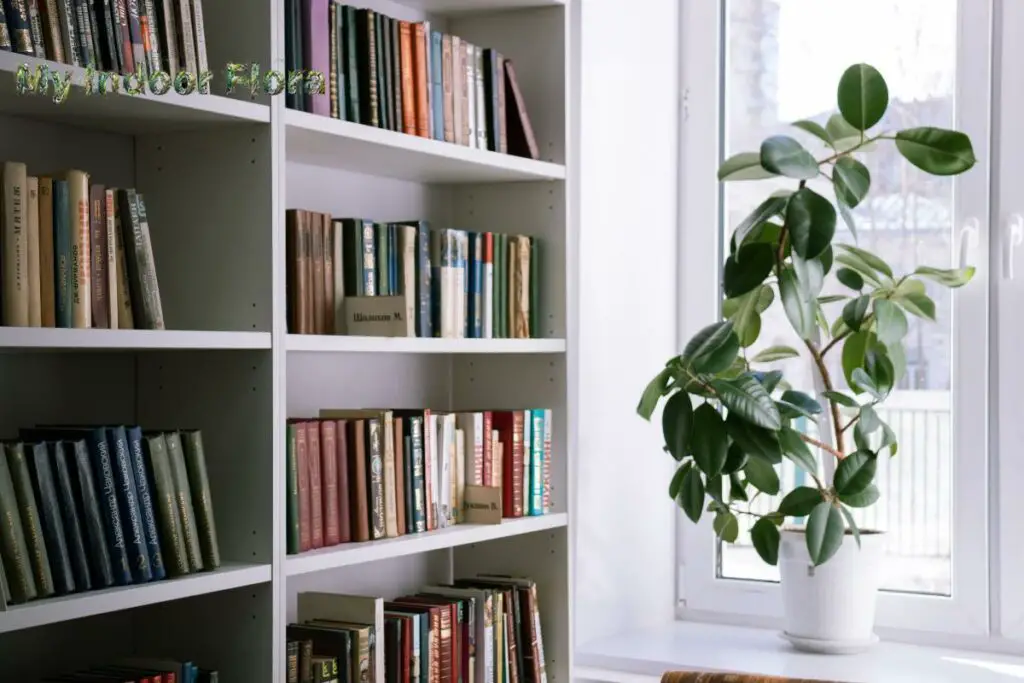
Air layering is suitable for a plethora of woody indoor plants, but it is particularly effective for those with thick stems that don’t root well from cuttings. Examples include Ficus elastica (Rubber Plant), Dracaena spp., and various types of Citrus trees.
Why is Air Layering the Preferred Method for Certain Types of Houseplants?
Air layering has distinct advantages over other propagation methods, particularly for certain woody indoor plants. It is the chosen technique for large houseplants that are difficult to propagate through traditional cuttings.
Benefits of Air Layering for Woody Plants
One primary benefit of air layering is it allows for the propagation of larger plant sections. Consequently, you can create a sizable new plant in less time than it would take a small cutting or seed to reach the same size.
Furthermore, air layering doesn’t require the parent plant to expend as much energy as producing seeds. It also provides a reliable means to propagate varieties that are difficult to root, thereby preserving the plant’s specific traits.
Comparative Advantages of Air Layering Over Other Propagation Methods
While air layering requires more time and skill compared to other propagation methods, it offers a higher success rate for hard-to-root plants. Cuttings often struggle to form roots, and seeds may not always be viable or true to the parent plant’s traits. By contrast, air layering allows the stem to receive continuous nourishment from the parent plant while roots form, enhancing its survival chances.
Here is detailed comparison table between air layering, stem cutting, seed sowing, and division propagation of plants for your convenience.
| Propagation Method | Air Layering | Seed Sowing | Stem Cuttings | Division |
|---|---|---|---|---|
| Success Rate | High (the layer continues to receive nutrients from the parent plant until it has formed roots) | Variable (depends on the viability of the seed and suitable germination conditions) | Moderate to High (depends on the species and care given to the cutting) | High (depends on careful handling to avoid damage) |
| Time to New Plant | Intermediate (weeks to months, depending on the species and conditions) | Long (from germination to a mature plant can take months to years, depending on the species) | Short to Intermediate (days to weeks, depending on the species and conditions) | Short (the divided sections are often mature plants already) |
| Complexity | Moderate (requires careful technique to make the layer and wrap it properly) | Low (usually just requires sowing the seed at the correct depth and providing suitable conditions) | Low to Moderate (cutting needs to be taken properly, and may require treatment with rooting hormone) | Moderate (requires the plant to be dug up and the roots to be carefully separated) |
| Cost | Low (requires only some sphagnum moss, plastic wrap, and optional rooting hormone) | Variable (cost of seeds can vary widely, and some equipment may be needed for germination) | Low (usually just requires a clean cutting tool and optional rooting hormone) | Low (requires only a clean cutting tool and new potting soil) |
| Range of Species | High (especially effective for woody plants that are difficult to root from cuttings) | High (works for any plant that produces seeds, but some seeds are difficult to germinate) | Moderate (works well for many herbaceous plants and some woody plants) | Low to Moderate (only works for plants that form clumps or have spreading root systems) |
Required Tools and Materials for Air Layering Propagation
Before embarking on the air layering journey, it’s crucial to gather the right tools and materials. These tools form the backbone of the process, each with a specific function to ensure success.
Here is a comprehensive list of tools you will need for successful air layering.
- Sharp, sterilized knife or pair of scissors
- High-quality sphagnum moss
- Plastic wrap or a plastic bag
- Twist ties, string, or rubber bands
- Rooting hormone (optional)
Each tool in the list plays an essential role in the air layering process. The knife or scissors are used to wound the plant and induce root formation. Sphagnum moss serves as the rooting medium, providing a humid environment to stimulate root growth. Plastic wrap or a bag is necessary to enclose the moss and maintain humidity. Finally, twist ties or rubber bands help secure the plastic wrap around the wounded stem.
Rooting hormone, while not essential, can increase the speed and success rate of root formation. It contains chemicals that promote root growth, especially for species that are more challenging to propagate.
The next sections will delve deeper into the application of these tools in air layering, guiding you through the process step by step.
How to Prepare a Woody Indoor Plant for Air Layering?
Proper preparation is vital to air layering success. It’s crucial to choose a healthy stem from a well-nourished parent plant.
Identifying a suitable stem for air layering follows these general criteria:
- The stem should be healthy, showing no signs of disease or pest damage.
- It should be flexible enough to bend without breaking, indicating a level of youthfulness and vigor.
- Typically, a stem of one-year growth is optimal. It should be about the thickness of a pencil.
Plant health can significantly influence the success of air layering. Healthy plants have a robust defense system and are more likely to survive the wounding process. Before starting, ensure the plant is well-watered and shows no signs of nutritional deficiencies. The healthier the parent plant, the higher the chances of successful propagation.
How is Air Layering Performed: Step-by-Step Guide
Air layering, while detailed, is a simple and straightforward process when executed carefully. It encompasses a few essential steps that gradually lead to the emergence of a new, root-laden plant.
Below are the detailed steps to successfully perform air layering on your chosen woody indoor plant:
- Identify the site for air layering, typically 12-18 inches from the tip of the stem.
- Make an upward 1-2 inch long cut, about one-third deep into the stem. This cut, known as a girdling cut, removes a ring of bark, cambium, and some sapwood.
- Apply a small amount of rooting hormone into the cut, if available. This step is optional but recommended for more challenging species.
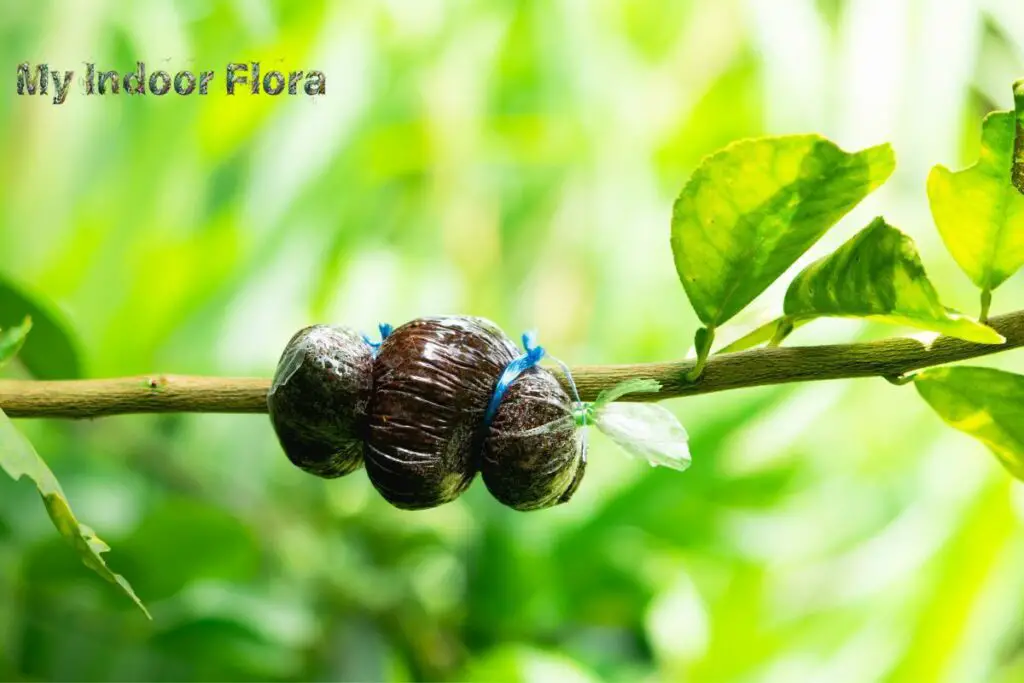
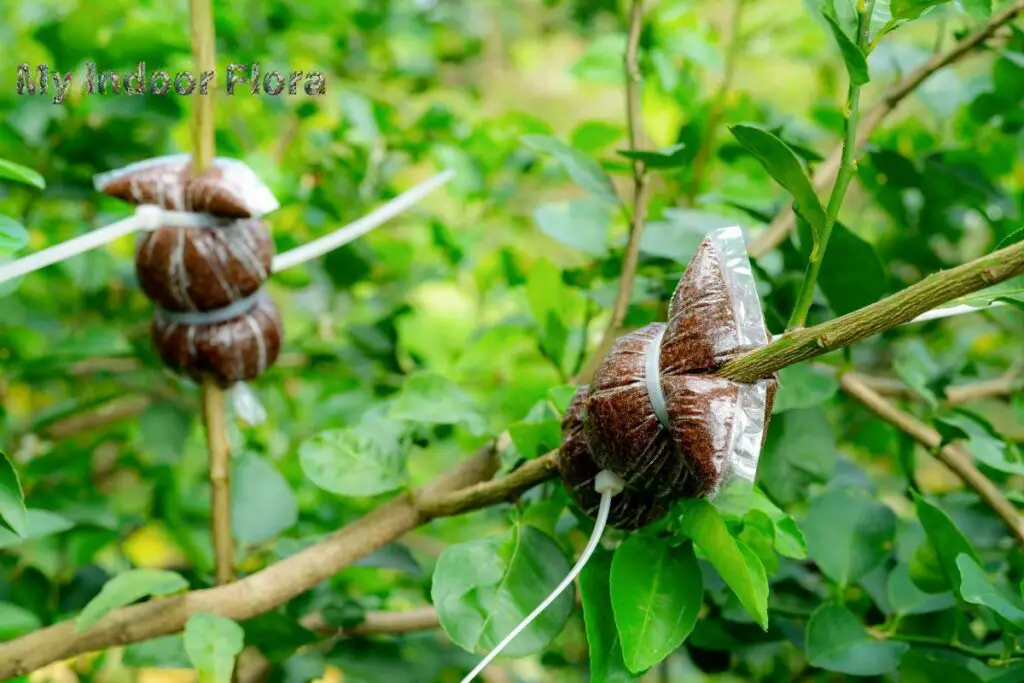
- Soak the sphagnum moss in water, then squeeze out the excess water. Wrap the moist sphagnum moss around the wounded area.
- Cover the moss with plastic wrap or a bag to maintain a high humidity environment, securing it with ties or rubber bands on both ends.
- Monitor the wound site regularly and keep the moss moist until roots form.
Tips and Tricks for Successful Air Layering
Here are a few expert tips to improve the success rate of your air layering:
- The timing of air layering is critical. Spring, when plants are actively growing, is usually the best time.
- The cut should be clean and precise to minimize plant stress.
- It’s important to keep the sphagnum moss moist. Dry conditions can halt root formation.
- Make sure the plastic wrap is secure, but not too tight. Roots need oxygen to grow.
What Should be the Aftercare Once Air Layering is Done?
Air layering aftercare involves monitoring and maintaining an optimum environment to encourage root growth. It requires careful observation and patience.
Aftercare should focus on maintaining the health of the parent plant while nurturing the developing roots. Here are some practical tips:
- Keep the parent plant in optimal health with regular watering and fertilizing.
- Ensure the moss stays moist. This might involve adding water through small holes in the plastic wrap.
- Shield the air layering site from direct sunlight to prevent overheating.
- Monitor for root development. This may take a few weeks to several months, depending on the species.
How to Identify Successful Air Layering: Signs and Symptoms
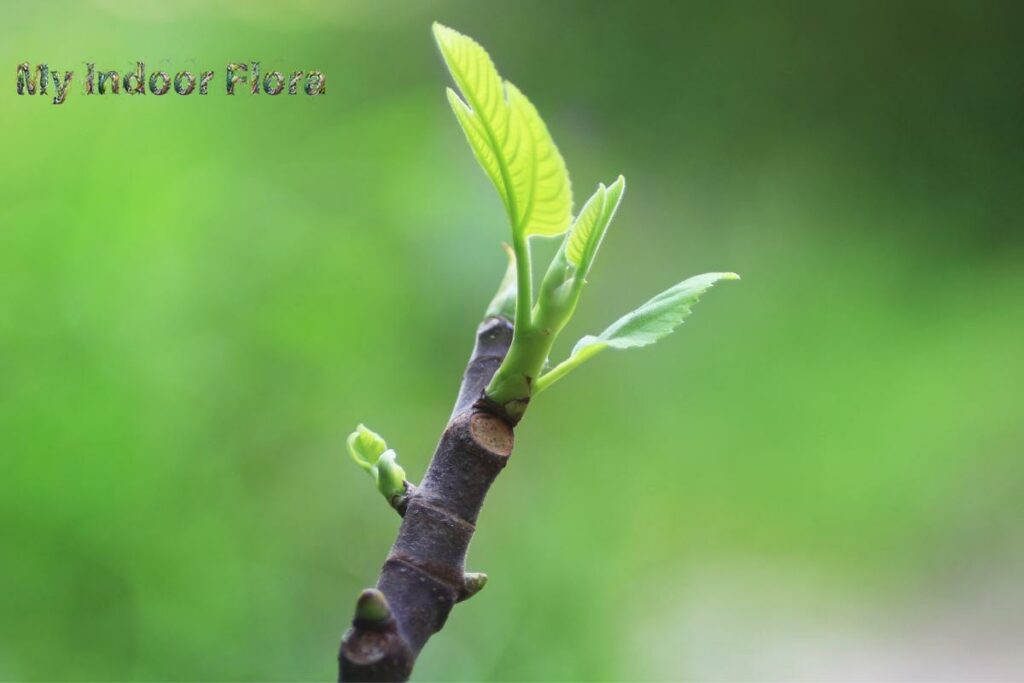
Successful air layering can be detected by the appearance of roots within the sphagnum moss. This is visible through the plastic wrap. The rooted stem may also start developing new leaves, indicating a successful propagation.
Potential Problems During Air Layering and How to Troubleshoot Them
Air layering, though effective, can occasionally run into hitches. Being aware of potential problems and their solutions can boost your chances of success.
Common Challenges in Air Layering Process
Some common challenges faced during air layering include:
- Dry sphagnum moss: The moss must remain moist to encourage root formation. If the moss dries out, it can halt or slow down this process.
- Stem rot: This can occur if the moss is too wet or if the plastic wrap is too tight, limiting air circulation.
- Lack of root formation: This might be due to an improperly made cut, incorrect application of rooting hormone, or inadequate care after layering.
Effective Solutions for Common Air Layering Problems
For each of the above challenges, there are effective solutions:
- If the sphagnum moss is dry, moisten it by injecting water through a small hole in the plastic wrap.
- To prevent stem rot, ensure the moss is moist but not overly wet. Also, make sure the plastic wrap is secure but not too tight.
- If there’s no root formation after a considerable time, you may need to redo the process. Check your technique and make sure to provide proper aftercare.
When and How Should the Air Layer be Separated from the Parent Plant?
Separation of the air layer from the parent plant is a moment of excitement. It signifies the successful generation of a new plant. However, timing is crucial to ensure the new plant can survive independently.
Identifying the Right Time to Separate the Air Layer
The ideal time to separate the air layer is once a healthy root system is visible within the sphagnum moss. Depending on the plant species and environmental conditions, this might take anywhere from a few weeks to several months.
Procedure to Separate and Transplant the Air Layer
Once a substantial root system has developed, follow these steps:
- Carefully remove the plastic wrap and moss, trying not to disturb the new roots.
- Using a sterilized knife or scissors, cut the stem just below the new root mass.
- Transplant the newly rooted section into a pot filled with a suitable potting mix.
- Water the new plant thoroughly and place it in a location with suitable light and temperature.
Remember, like any newly transplanted plant, it will require careful monitoring and care.
How to Care for the New Plant After Separation from the Parent Plant?
Post-separation care is crucial to help the new plant adapt to its individual existence. This stage requires specific attention to watering, light, and temperature conditions.
The newly propagated plant should be treated gently and given optimal care. Here are some pointers:
- Initially, provide bright, indirect light to the new plant. Direct sunlight can cause leaf scorch.
- Water the plant when the top inch of the soil is dry, ensuring good drainage to prevent waterlogging.
- Keep the plant in a stable environment, avoiding temperature extremes.
- Be patient. The plant may take some time to adjust and begin new growth.
Ensure the Transplanted Air Layer Thrives in its New Environment
To ensure the transplanted air layer thrives:
- Regularly monitor its growth and adjust care as necessary.
- Protect it from pests and diseases. A stressed plant can be more susceptible to these issues.
- After a few weeks, when the plant is established, begin regular fertilizing to encourage growth.
What Impact Does Air Layering Have on the Parent Plant?
Air layering, while a brilliant technique for plant propagation, also impacts the parent plant. Knowing what to expect can help you care for the parent plant post-propagation.
After the air layer has been removed, the parent plant will have an open wound where the stem was cut. This wound will typically heal over time. Some plants may experience a temporary slowdown in growth due to energy diversion to wound healing.
Continued care for the parent plant after air layering involves:
- Regular watering and fertilizing.
- Keeping an eye on the wound site for any signs of disease or pest infestation.
- Pruning the wound site, if necessary, to encourage healing and new growth.
Conclusion
Air layering is a fascinating, practical technique for propagating woody indoor plants. With patience, attention to detail, and diligent care, you can replicate your favorite plants while boosting your indoor plant collection. The best part? You’re actively participating in the marvels of plant life and growth. Ready to give it a try? Your indoor garden awaits your nurturing touch.
References
- Hartmann, H.T., Kester, D.E., Davies, F.T., Geneve, R.L. (2011). Plant Propagation: Principles and Practices. Prentice Hall.
- American Horticultural Society. (2018). Plant Propagation. DK Publishing.