Air layering is a horticultural propagation technique that induces a stem to produce roots while still attached to the parent plant. Historically rooted in ancient China and Japan, this method has been applied to various plants, including the Monstera, a tropical plant renowned for its large, fenestrated leaves and aerial roots. Scientifically, the process capitalizes on the plant’s natural response to wounds, where hormones like auxin accumulate, promoting root formation in a controlled, humid environment.
So, why air layer a Monstera? Simply put, air layering offers a higher success rate, especially for mature stems, by ensuring faster root development and reducing plant stress compared to traditional propagation methods.
This article provides a comprehensive guide on air layering Monstera, from understanding the process and gathering essential tools to expert tips for success. Whether you’re a novice gardener or a seasoned plant enthusiast, discover the intricacies of this method and how to nurture a thriving new Monstera plant.
Air Layering Process for Monstera
Air layering is a propagation technique that’s been around for centuries, but its application to Monstera plants has garnered significant attention due to the unique anatomy and growth patterns of this tropical plant.
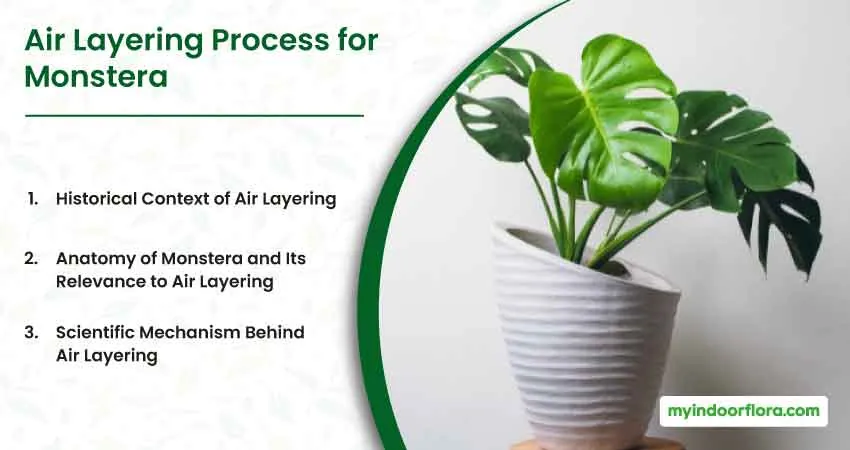
Historical Context of Air Layering
Air layering, also known as “marcotting,” has its roots (pun intended) in ancient China and Japan. It was primarily used for woody ornamentals like camellias and citrus trees. The technique was introduced to the West in the early 1900s and has since been adopted for various plants, including the Monstera.
Anatomy of Monstera and Its Relevance to Air Layering
Monstera plants, with their aerial roots and large fenestrated leaves, are naturally inclined to climb trees and other structures in their native tropical rainforests. These aerial roots:
- Seek Support: They anchor the plant to trees or other supports.
- Absorb Moisture: In humid environments, they can absorb water from the air.
- Facilitate Propagation: They can develop into full root systems when given the right conditions.
Given this natural propensity, air layering taps into the Monstera’s innate ability to produce roots from its stem, making the process more successful.
Scientific Mechanism Behind Air Layering
When a stem is wounded, it produces a hormone called auxin. This hormone promotes root growth. In the typical environment, the wound might heal, or callus over, without producing roots. However, in the moist, enclosed environment created by air layering, the auxin accumulates, and root formation is promoted.
| Hormone | Function | Effect on Air Layering |
|---|---|---|
| Auxin | Promotes root formation | Accumulates at the wound site, encouraging roots |
| Cytokinin | Promotes cell division | Balances auxin to ensure healthy root development |
| Gibberellin | Promotes stem elongation | Lesser role in air layering, but ensures stem health |
Essential Tools and Materials for Air Layering
The success of air layering largely depends on having the right tools and materials at hand. Each item serves a specific purpose, ensuring the stem remains healthy and roots develop optimally.
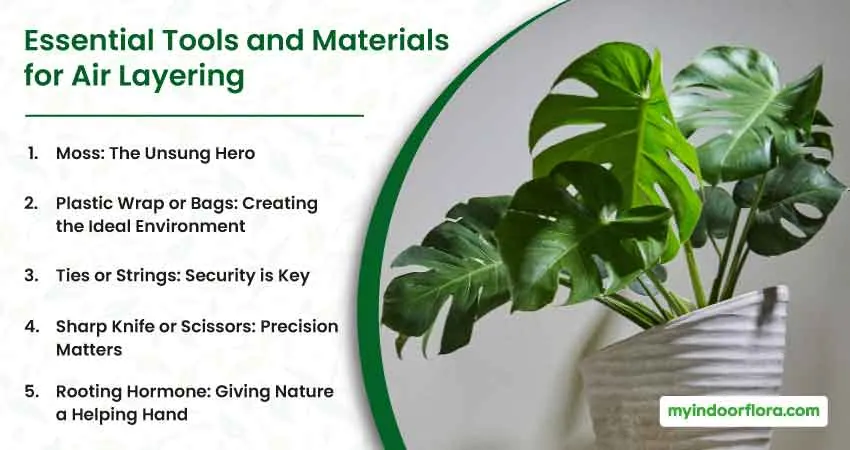
1. Moss: The Unsung Hero
While it might seem like a simple substrate, moss plays a crucial role in air layering.
Sphagnum Moss: This is the most recommended type for air layering. It’s known for its excellent water retention properties and its ability to provide aeration.
| Moss Type | Water Retention | Aeration | Antifungal Properties |
|---|---|---|---|
| Sphagnum Moss | High | High | Yes |
| Peat Moss | Medium | Low | No |
| Spanish Moss | Low | High | No |
2. Plastic Wrap or Bags: Creating the Ideal Environment
The plastic wrap or bag serves to trap moisture, creating a mini greenhouse effect. This high humidity environment is essential for root development.
- Transparency: Using clear plastic allows you to monitor root growth without disturbing the setup.
- Flexibility: It should be flexible enough to wrap tightly around the stem and moss.
3. Ties or Strings: Security is Key
The ties or strings you use should be durable and resistant to moisture. They ensure the plastic wrap stays in place, maintaining the humid environment.
4. Sharp Knife or Scissors: Precision Matters
A clean, sharp cut is essential for successful air layering.
- Sterilization: Always sterilize your tools before making a cut to prevent infection.
- Type of Cut: An upward slanting cut is recommended as it provides a larger surface area for root formation and prevents water from collecting at the wound site.
5. Rooting Hormone: Giving Nature a Helping Hand
While optional, rooting hormones can significantly boost the success rate of air layering.
- Types: Rooting hormones come in gel, powder, and liquid forms. The choice depends on personal preference, but all types contain the active ingredient that promotes root formation.
- Application: A light dusting or application at the cut site is sufficient.
Step-by-Step Guide to Air Layering Monstera
Air layering Monstera is a meticulous process that requires patience and precision. Here’s a detailed breakdown of each step, ensuring you have all the information needed for success.
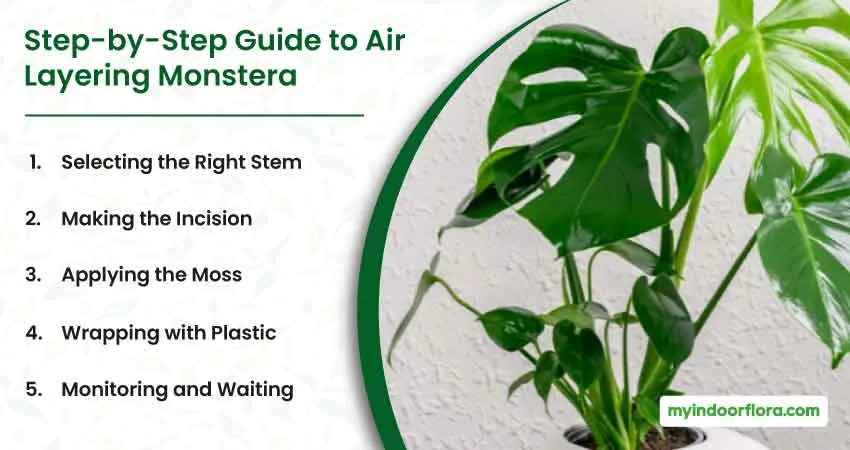
1. Selecting the Right Stem
The stem you choose will be the foundation of your new Monstera plant, so it’s crucial to select wisely.
Ideally, the stem should be at least a year old. Younger stems might not have the maturity required for successful root development.
| Characteristic | Description | Why It’s Important |
|---|---|---|
| Maturity | At least a year old | Ensures stem strength and resilience |
| Health | Free from diseases or pests | Prevents transferring issues to the new plant |
| Accessibility | Easy to work with and monitor | Simplifies the air layering process |
2. Making the Incision
The incision is where the magic happens. It’s the site from which your new roots will emerge.
- Location: About a foot below a leaf node. This area tends to have a higher concentration of the hormones that promote root growth.
- Depth: The cut should be upward slanting and about one-third of the way through the stem. This provides a large surface area for root formation and prevents water from collecting at the wound.
3. Applying the Moss
Moss acts as a medium for the roots to grow into. It retains moisture, providing the perfect environment for root development.
- Preparation: Soak the moss in water for about an hour. This ensures it’s thoroughly saturated. Squeeze out excess moisture before application.
- Application: Pack the wet moss around the cut, making sure it’s in direct contact with the wound. The moss should cover a few inches above and below the incision.
4. Wrapping with Plastic
This step is crucial for maintaining the high humidity environment required for root growth.
- Technique: Start wrapping from below the moss, moving upwards, ensuring no moss is exposed. This prevents it from drying out.
- Security: Use ties or strings to secure the plastic wrap at both ends.
5. Monitoring and Waiting
This is where patience comes into play. Over the next few weeks, the stem will start producing roots.
- Moss Maintenance: Ensure the moss remains moist throughout. If it appears to be drying out, mist it lightly with water.
- Root Development: In about 3-8 weeks, depending on conditions, you should start seeing white, healthy roots emerging within the moss.
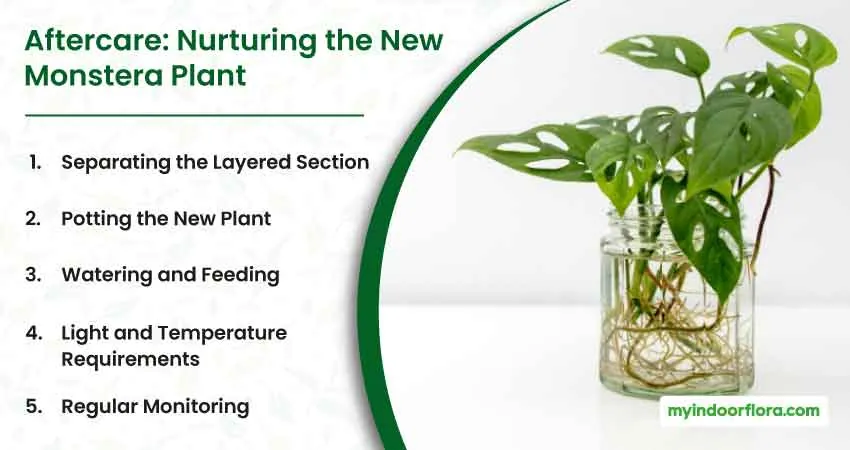
Aftercare: Nurturing the New Monstera Plant
Once your Monstera has developed roots, the journey isn’t over. Proper aftercare ensures your new plant thrives.
1. Separating the Layered Section
With a clean, sharp tool, cut the stem below the rooted section. You now have a new Monstera plant, ready to be potted.
2. Potting the New Plant
The initial environment you provide will play a significant role in the plant’s future health.
- Soil: A well-draining potting mix is crucial. Monstera plants don’t like to sit in water. Consider a mix of peat, perlite, and pine bark.
- Pot: Ensure it has good drainage holes. A pot that’s too large can hold excess moisture, leading to root rot.
3. Watering and Feeding
The first few weeks are crucial as the plant adjusts to its new environment.
- Watering: Initially, keep the soil consistently moist but not waterlogged. As the plant establishes, you can reduce watering, letting the top inch of soil dry out between watering sessions.
- Feeding: After about a month, you can start feeding your Monstera with a balanced liquid fertilizer every 2-4 weeks during the growing season.
4. Light and Temperature Requirements
Monstera plants are native to tropical rainforests, so replicating this environment will ensure they thrive.
- Light: Bright, indirect light is ideal. Direct sunlight can burn the leaves.
- Temperature: A range between 65°F and 75°F is perfect. Avoid sudden temperature fluctuations.
5. Regular Monitoring
Keep an eye out for any signs of distress, like yellowing leaves or drooping. These can be indicators of overwatering, pests, or other issues.
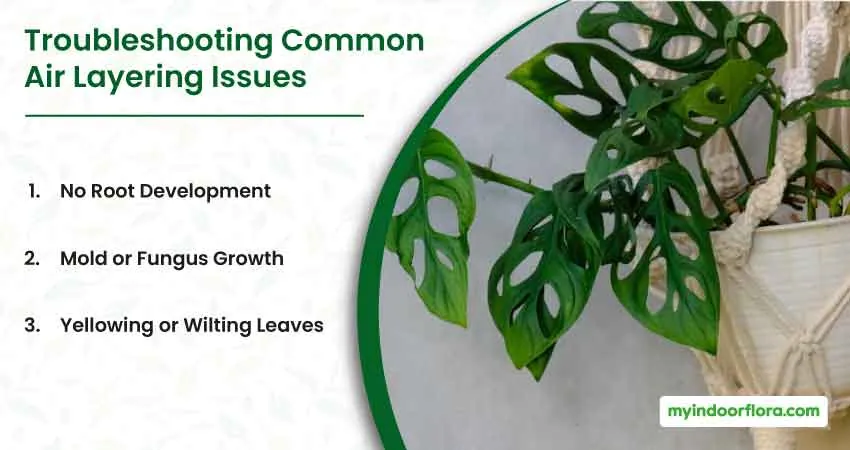
Troubleshooting Common Air Layering Issues
Even with the best of intentions and meticulous care, air layering can sometimes present challenges. Here’s a detailed analysis of common issues and how to address them.
1. No Root Development
One of the most disheartening issues is when no roots develop.
- Potential Causes:
- Insufficient Humidity: The moss may have dried out, or the plastic wrap wasn’t sealed properly.
- Healed Cut: The incision might have healed over without producing roots.
- Inadequate Depth of Cut: The cut wasn’t deep enough to induce rooting.
- Solutions:
- Re-moisten the moss and ensure the plastic wrap is sealed tightly.
- Consider re-cutting the stem, ensuring a deeper and cleaner incision.
- Apply rooting hormone to the cut to boost root development.
2. Mold or Fungus Growth
A common issue, especially in high humidity environments.
- Potential Causes:
- Excessive Moisture: Overly wet moss can promote fungal growth.
- Lack of Air Circulation: The plastic wrap might be too tight, preventing any air exchange.
- Solutions:
- Remove the affected moss, clean the area, and replace it with fresh, damp moss.
- Loosen the plastic wrap slightly to allow for minimal air exchange.
3. Yellowing or Wilting Leaves
This can be a sign of stress or inadequate care.
- Potential Causes:
- Overwatering: The moss might be too wet, leading to root rot.
- Underwatering: The moss may have dried out.
- Exposure to Direct Sunlight: The plant might be getting sunburned.
- Solutions:
- Adjust watering to ensure the moss remains damp but not waterlogged.
- Relocate the plant to a location with bright, indirect light.
| Issue | Potential Causes | Solutions |
|---|---|---|
| No root development | Insufficient humidity, healed cut, shallow cut | Re-moisten moss, re-cut stem, apply rooting hormone |
| Mold or fungus | Excessive moisture, lack of air circulation | Replace moss, loosen plastic wrap |
| Yellowing/wilting leaves | Over/underwatering, direct sunlight | Adjust watering, relocate plant |
Benefits of Air Layering Over Other Propagation Methods
Air layering, while more involved than some propagation methods, offers distinct advantages.
1. Faster Root Development
Air layering allows the stem to continue receiving nutrients from the parent plant, promoting quicker root development compared to methods like cuttings.
2. Healthier Plants
Starting with a mature stem often results in a more robust plant. The stem has a store of energy that can be directed towards root development.
3. Higher Success Rate
Especially with older or larger stems, air layering can be more successful than traditional cuttings, which might rot before rooting.
4. Less Stress on the Plant
Since the stem remains attached to the parent plant during the rooting process, it doesn’t experience the same shock as a severed cutting.
| Method | Speed of Root Development | Plant Health | Success Rate | Stress Level |
|---|---|---|---|---|
| Air Layering | Fast | High | High | Low |
| Cuttings | Moderate to slow | Moderate | Variable | Moderate to high |
| Seeds | Slow | Variable | Variable | Low |

Expert Tips for Air Layering Success
Gleaning wisdom from seasoned gardeners can significantly boost your air layering success.
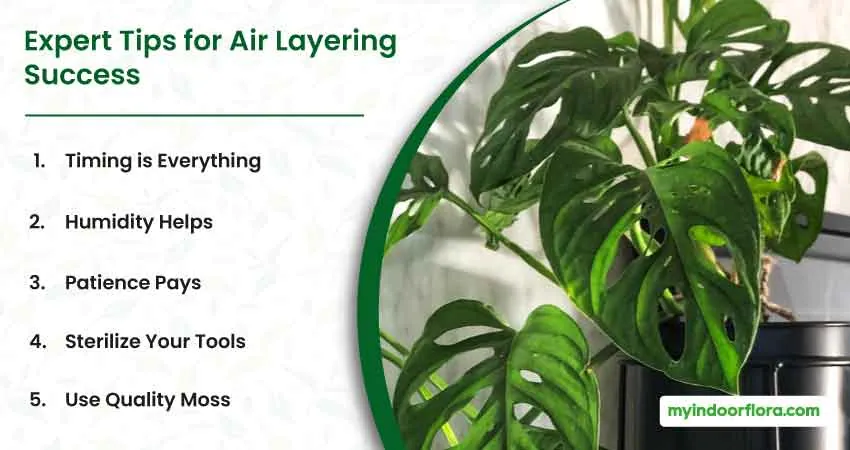
1. Timing is Everything
Spring and early summer, when plants are in active growth, are ideal for air layering. This is when the plant’s energy is directed towards growth, promoting faster root development.
2. Humidity Helps
Consider placing a humidity dome or plastic bag over the entire plant to boost humidity levels. Monstera plants thrive in high humidity environments.
3. Patience Pays
Don’t rush the process. Nature has its own timeline. Regularly check the moss’s moisture level, but resist the urge to peek at the roots too often.
4. Sterilize Your Tools
Always sterilize your tools before making a cut. This prevents potential infections and ensures a clean incision.
5. Use Quality Moss
Not all moss is created equal. Investing in high-quality sphagnum moss can make a significant difference in your air layering success.